Posted on

Review – Brite Strike APALS personal light beacons by Fiser.

Fiser Brite Strike APALS Lights
Brighten up your day with Fiser Innovative Solutions.

There are a lot of flashlights out there.  When you need light, there are many varieties of portable lights from which to choose.  Sometimes you need lots of light, sometimes less.  Sometimes under water, sometimes they need to be small.  Whatever your specific need, there are solutions.

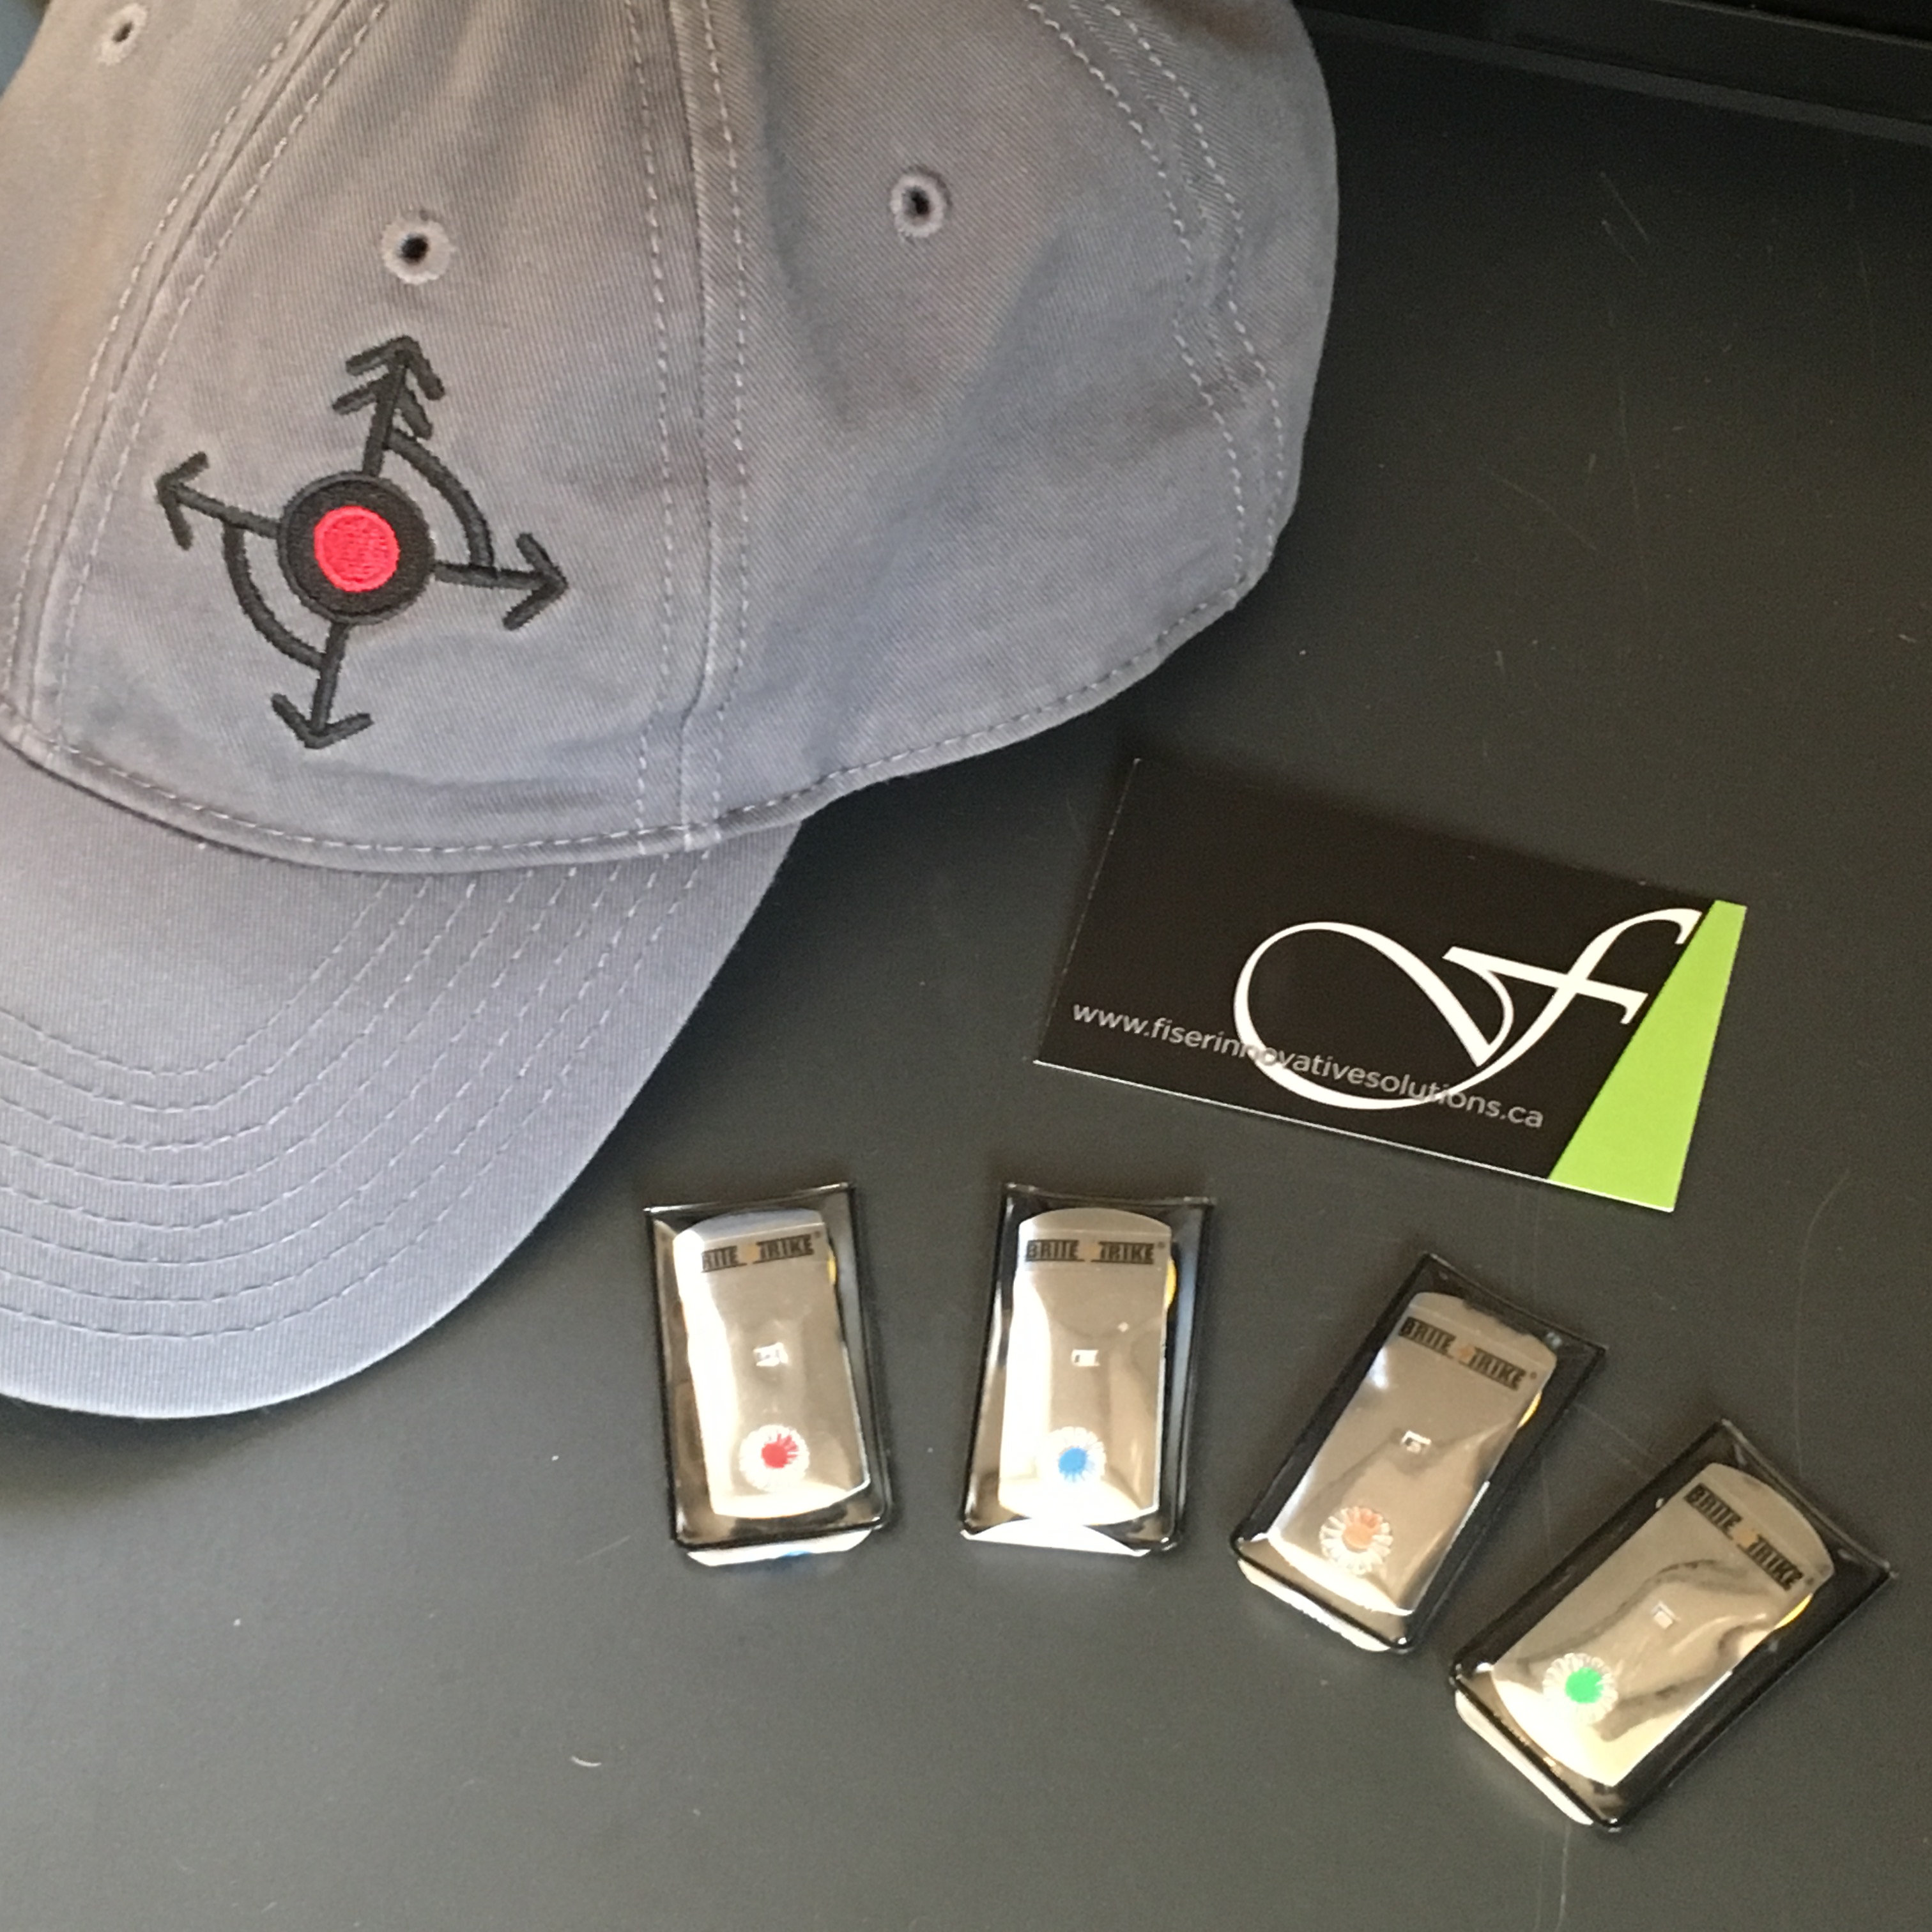
When I was introduced to the  Brite Strike APALS mini LED lights distributed  in Canada by Fiser Innovative Solutions, I didn’t know what to think of them.  (APALS stands for All Purpose Adhesive Light Strips). They were small, I didn’t expect much but so what?  Then I turned one on.  BRIGHT!  As I played around with the tiny light in my hand, Tom Fiser (Owner), gave me a rundown of the many technical specifications of these lights along with the ingenious uses they have integrated them into.

(Update & correction:  Fiser is the Canadian distributor. Brite Strike Technologies Inc. is the manufacturer, they are made in the US.)

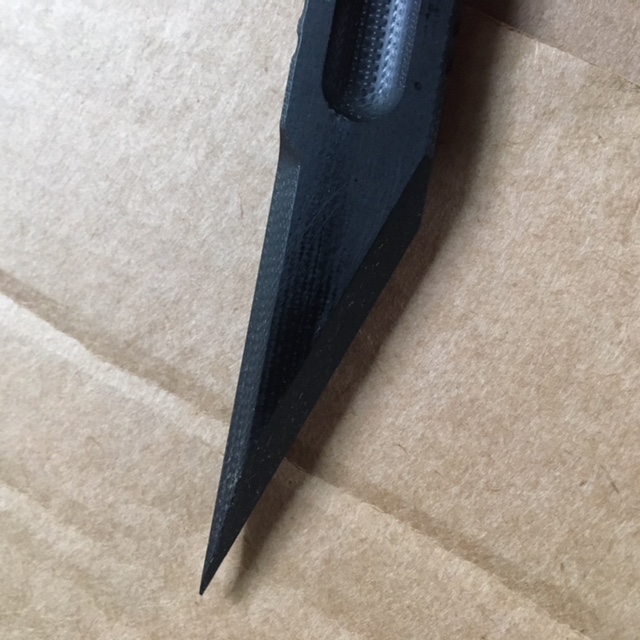
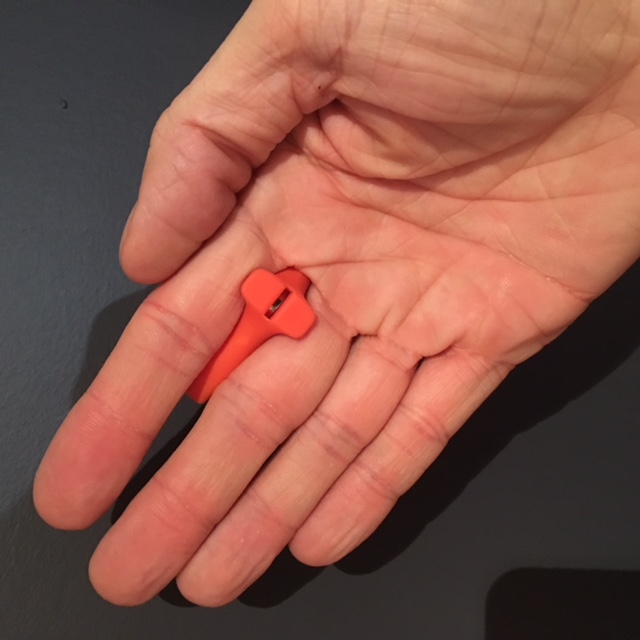
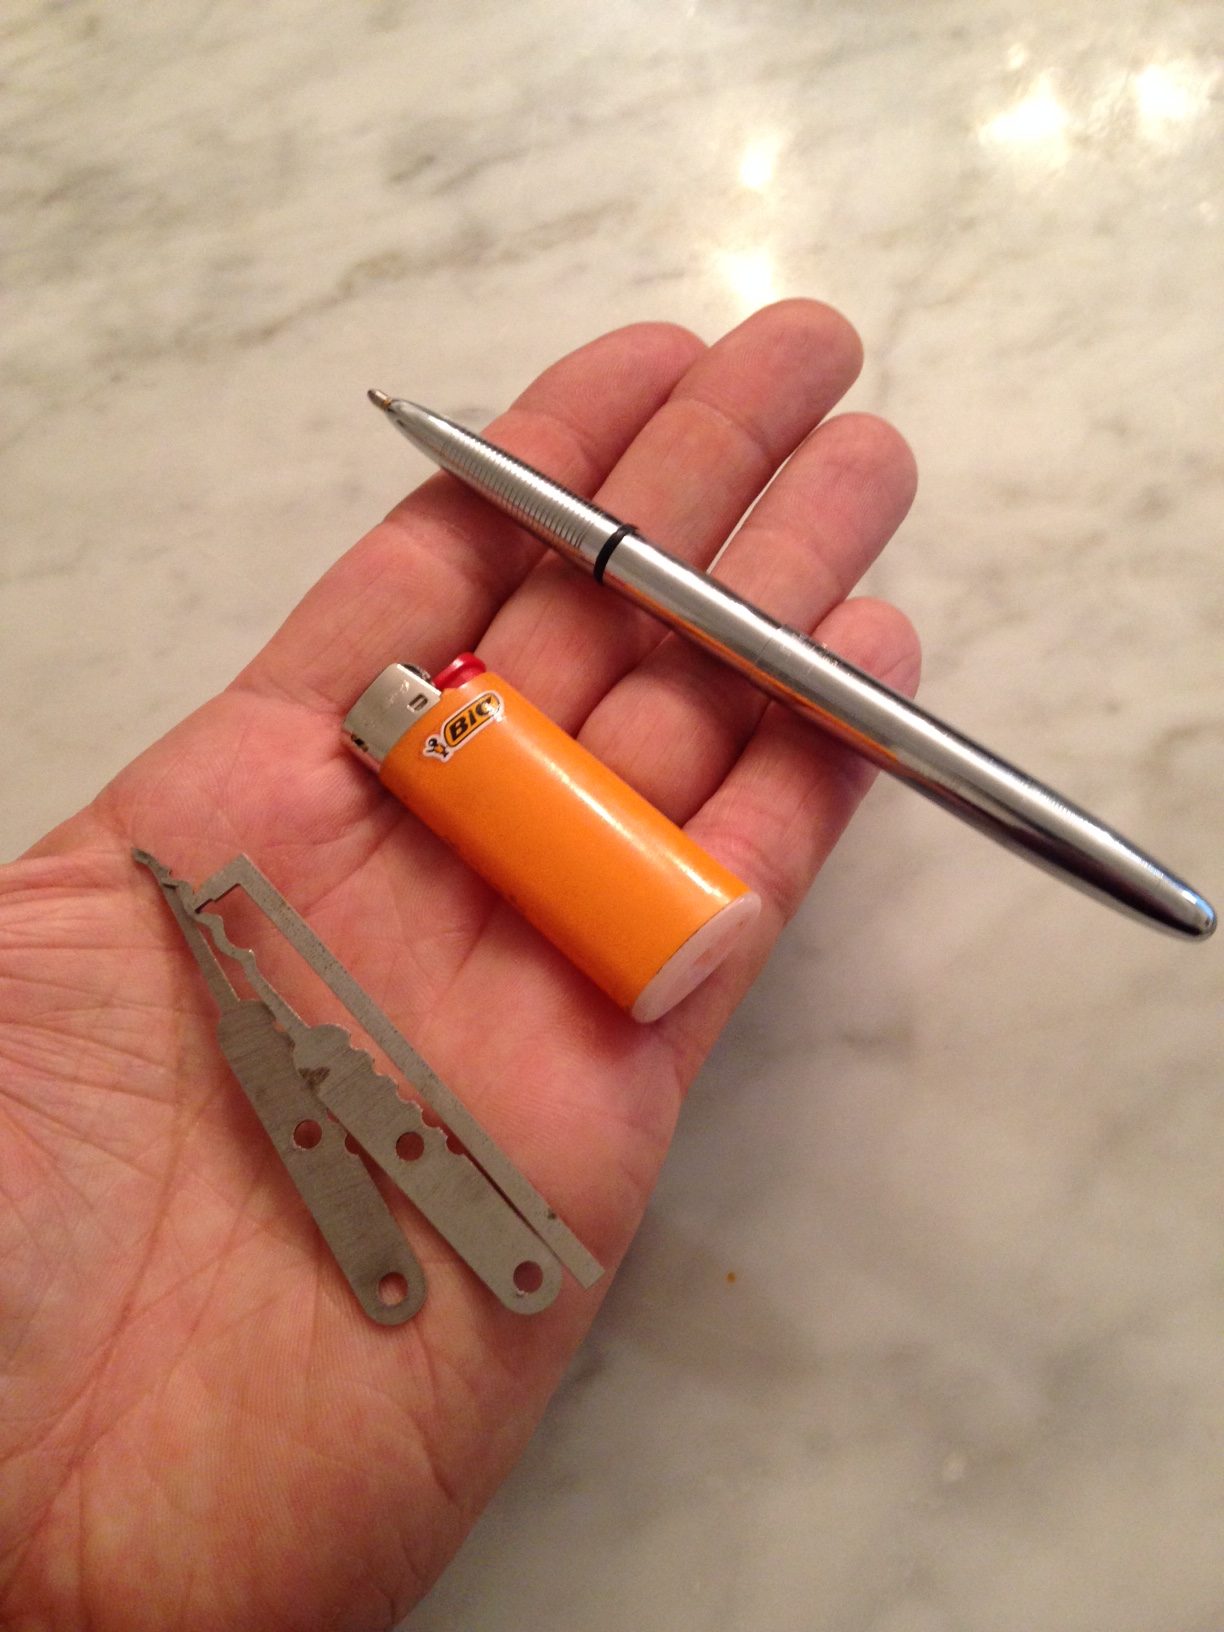
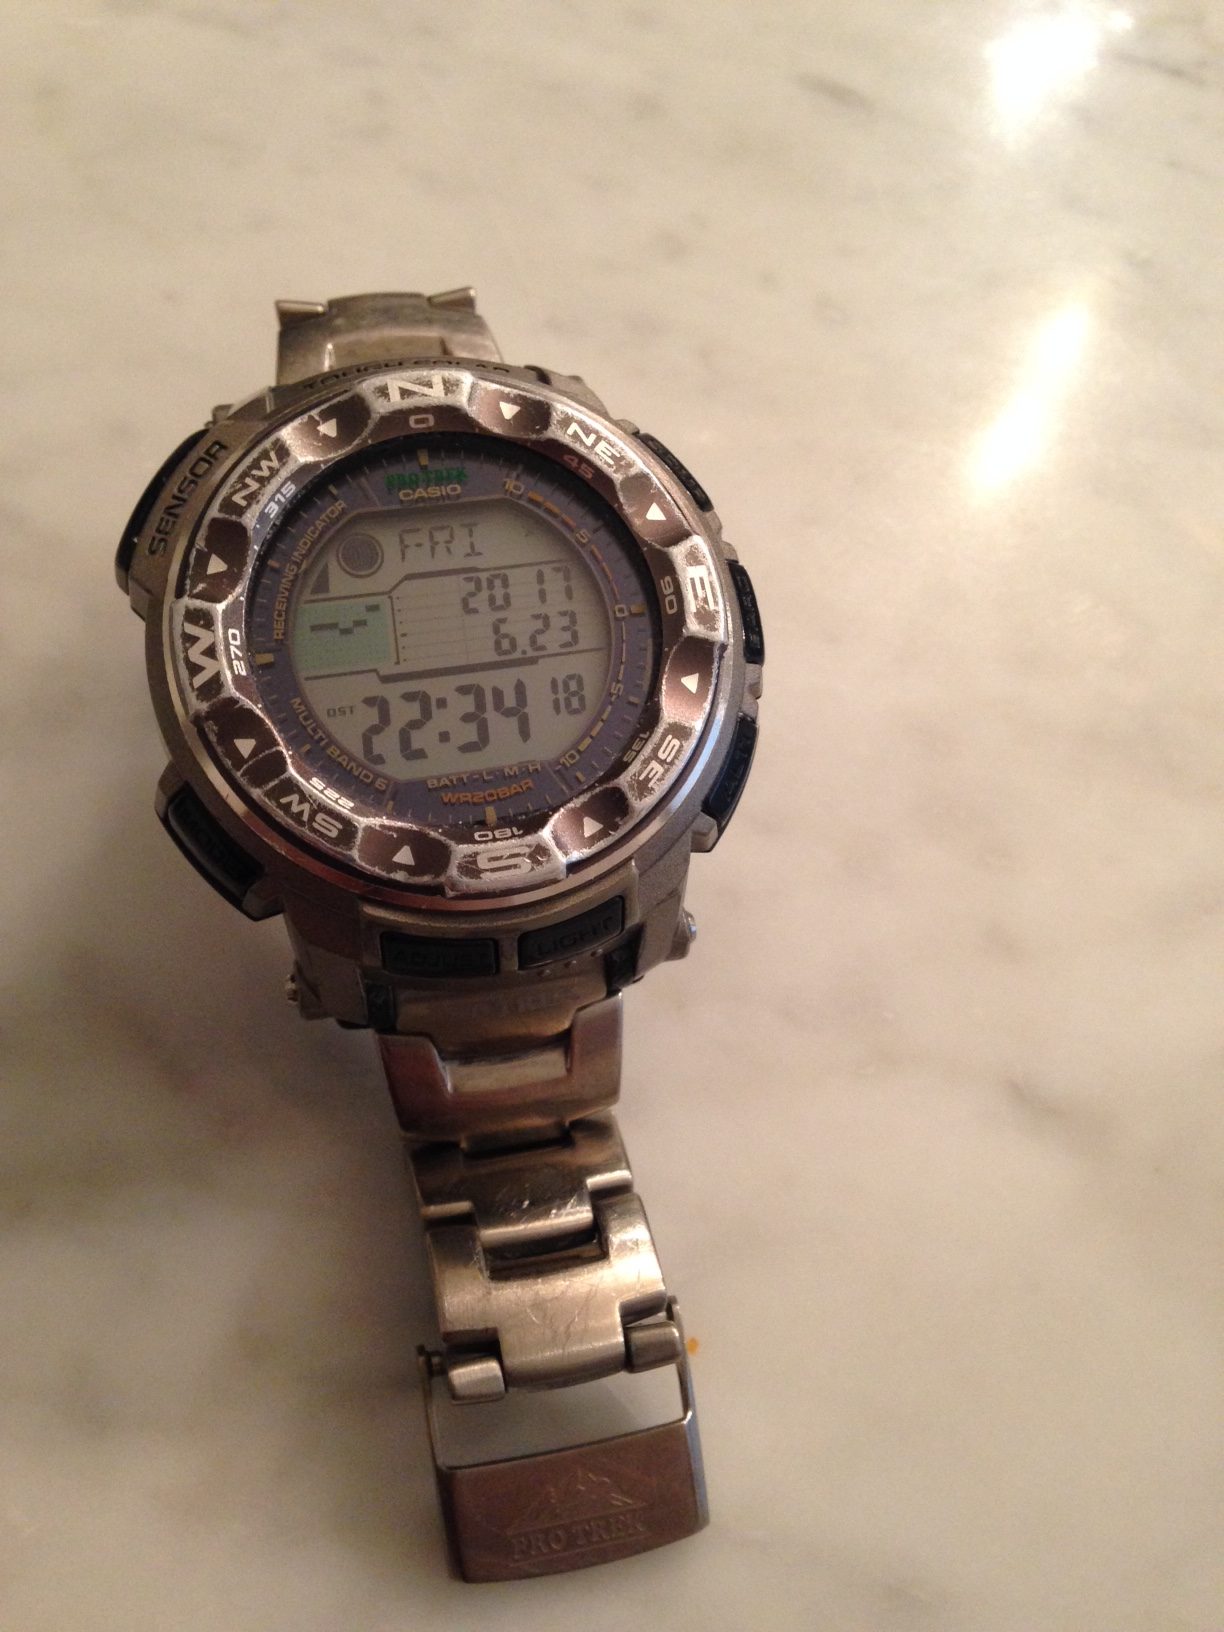
Here is a photo for sizing comparison:

2 Fiser lights, end-to-end, against a standard Bic lighter for size comparison.  The 3M adhesive backing shown to view both sides.

They are very thin, weigh next to nothing and can stick to just about anything.  Here are some technical specs:

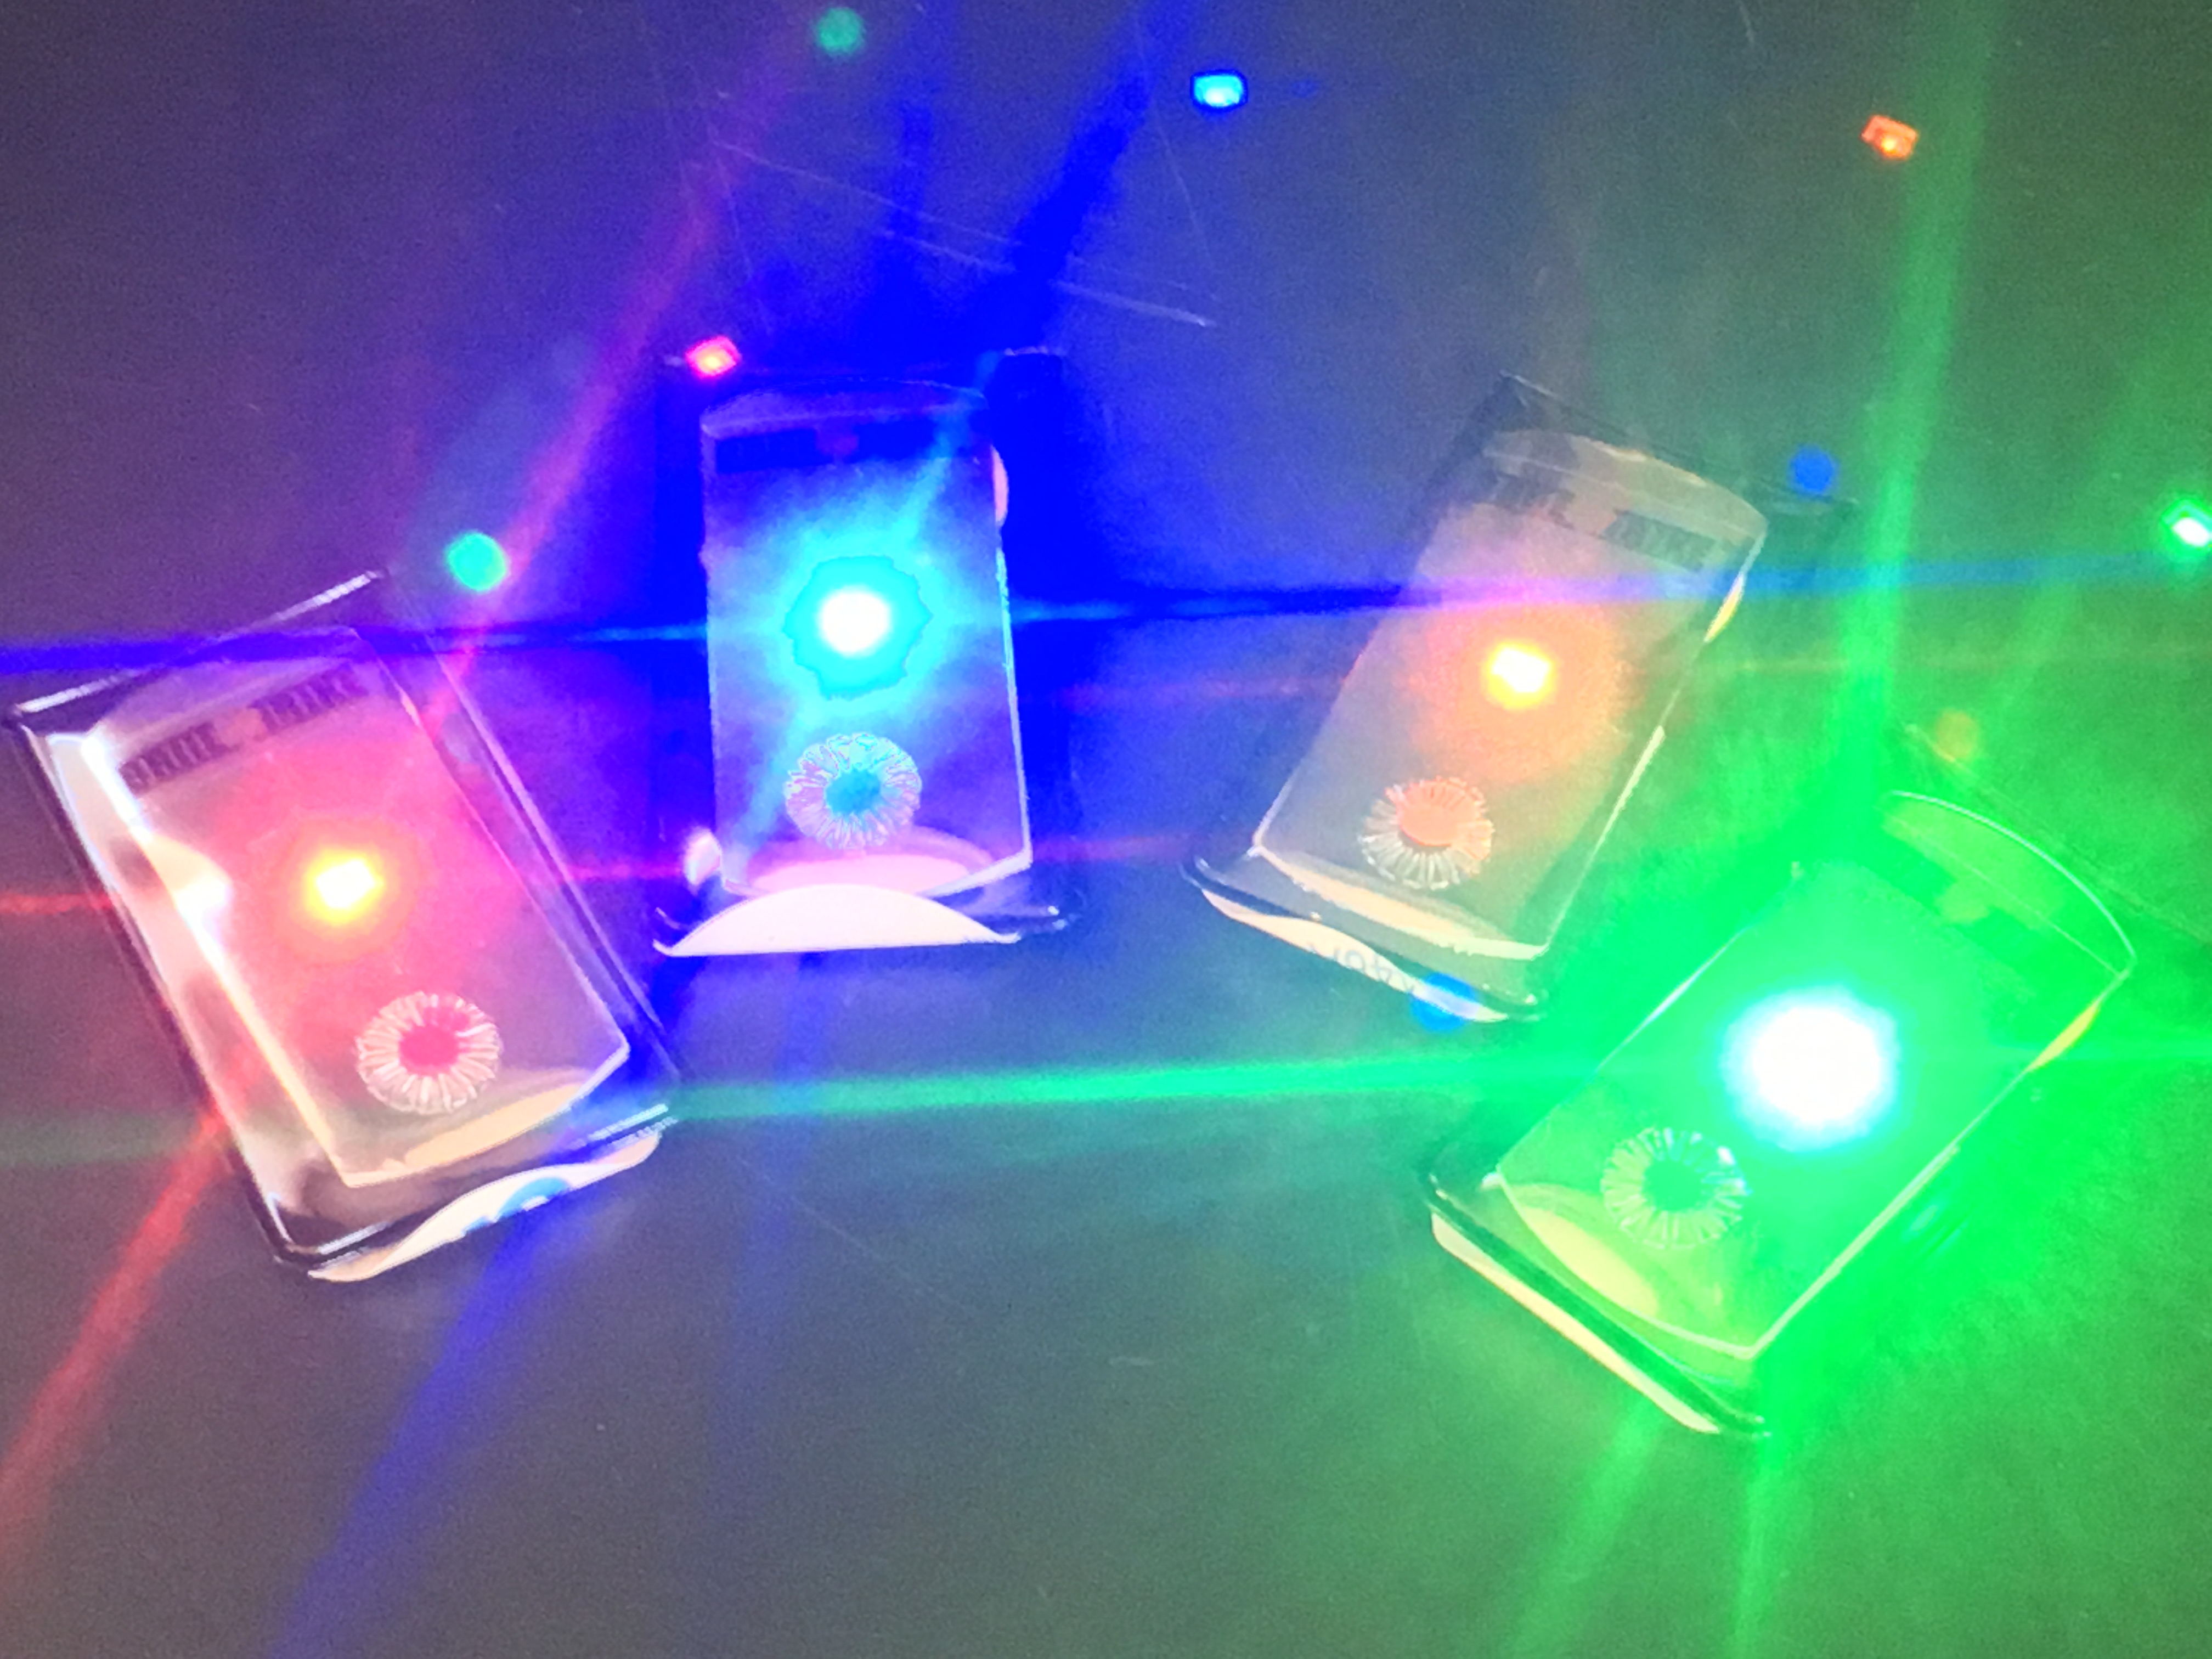
  • very small, 2″ long, almost completely flat;
  • featherweight at less than 5g;
  • Visible up to 3.2km(2miles) on land, 4.8km(3miles) from the air;
  • Up to 200 hours or run time;
  • Waterproof to 200FT;
  • Modes: Fast Strobe/Slow Strobe/Steady On/Off;
  • Available in 5 colours (Red, Orange/Amber, Blue, Green, White);
  • Heavy Duty 3M® Adhesive Back Tape;
  • Easy Pull Tab;
  • Waterproof, Dust-proof & Shockproof.

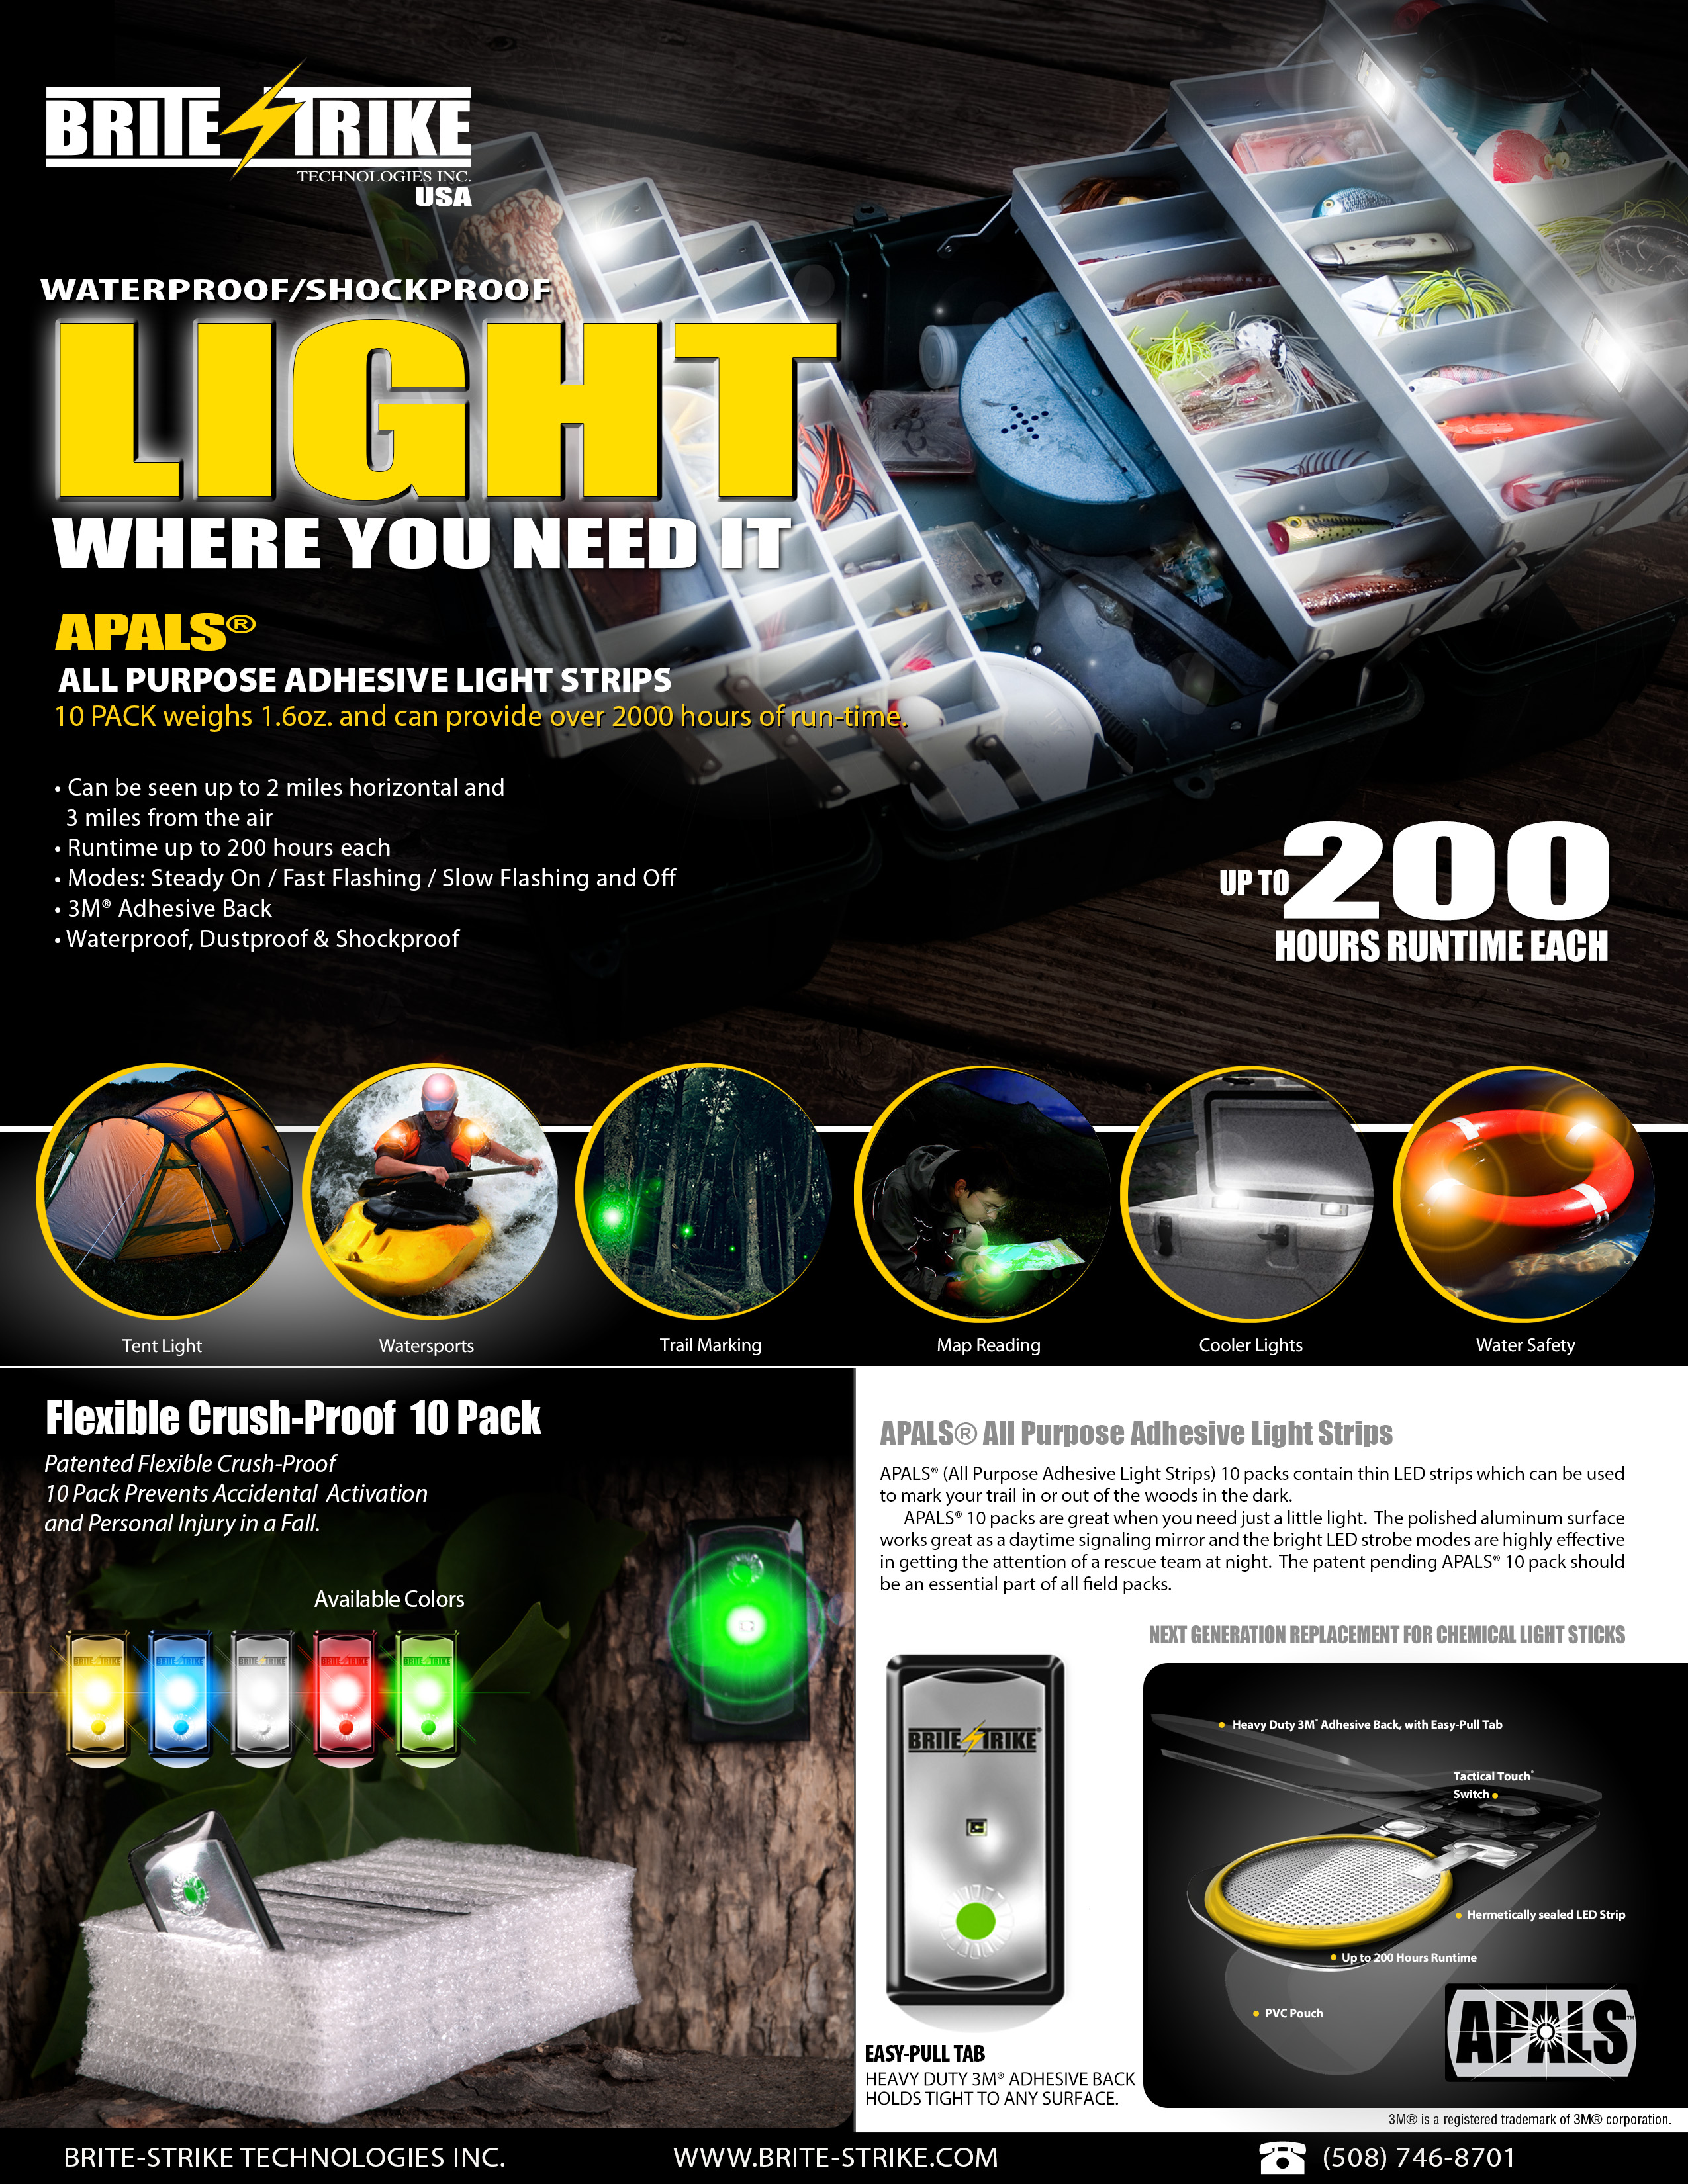
Here is a pdf of their info sheet:

Fiser Light Info

On the Fiser website, they list several innovative and creative uses for these mini lights.  They even make gloves with little sleeves for them for Police working traffic duty, police on bicycles, SCUBA divers, hunters, cycling & roller sports, outdoor adventure and even for pets!  I’d feel comfortable in adding that, for such a light package with 3 modes, high-visibility and 200hrs of run time, you could throw a few in your car, home, go-bag, any emergency kits, keep one in your first aid kit.  They’re so versatile.  For those doing plain clothes work, members of your team can keep one in their pocket for activation for hi-viz identification by peeling off the backing and sticking it on themselves.  They can be used to mark entrances, evidence, route or trail marking, bike light, land or water recovery…the possibilities are quite vast.

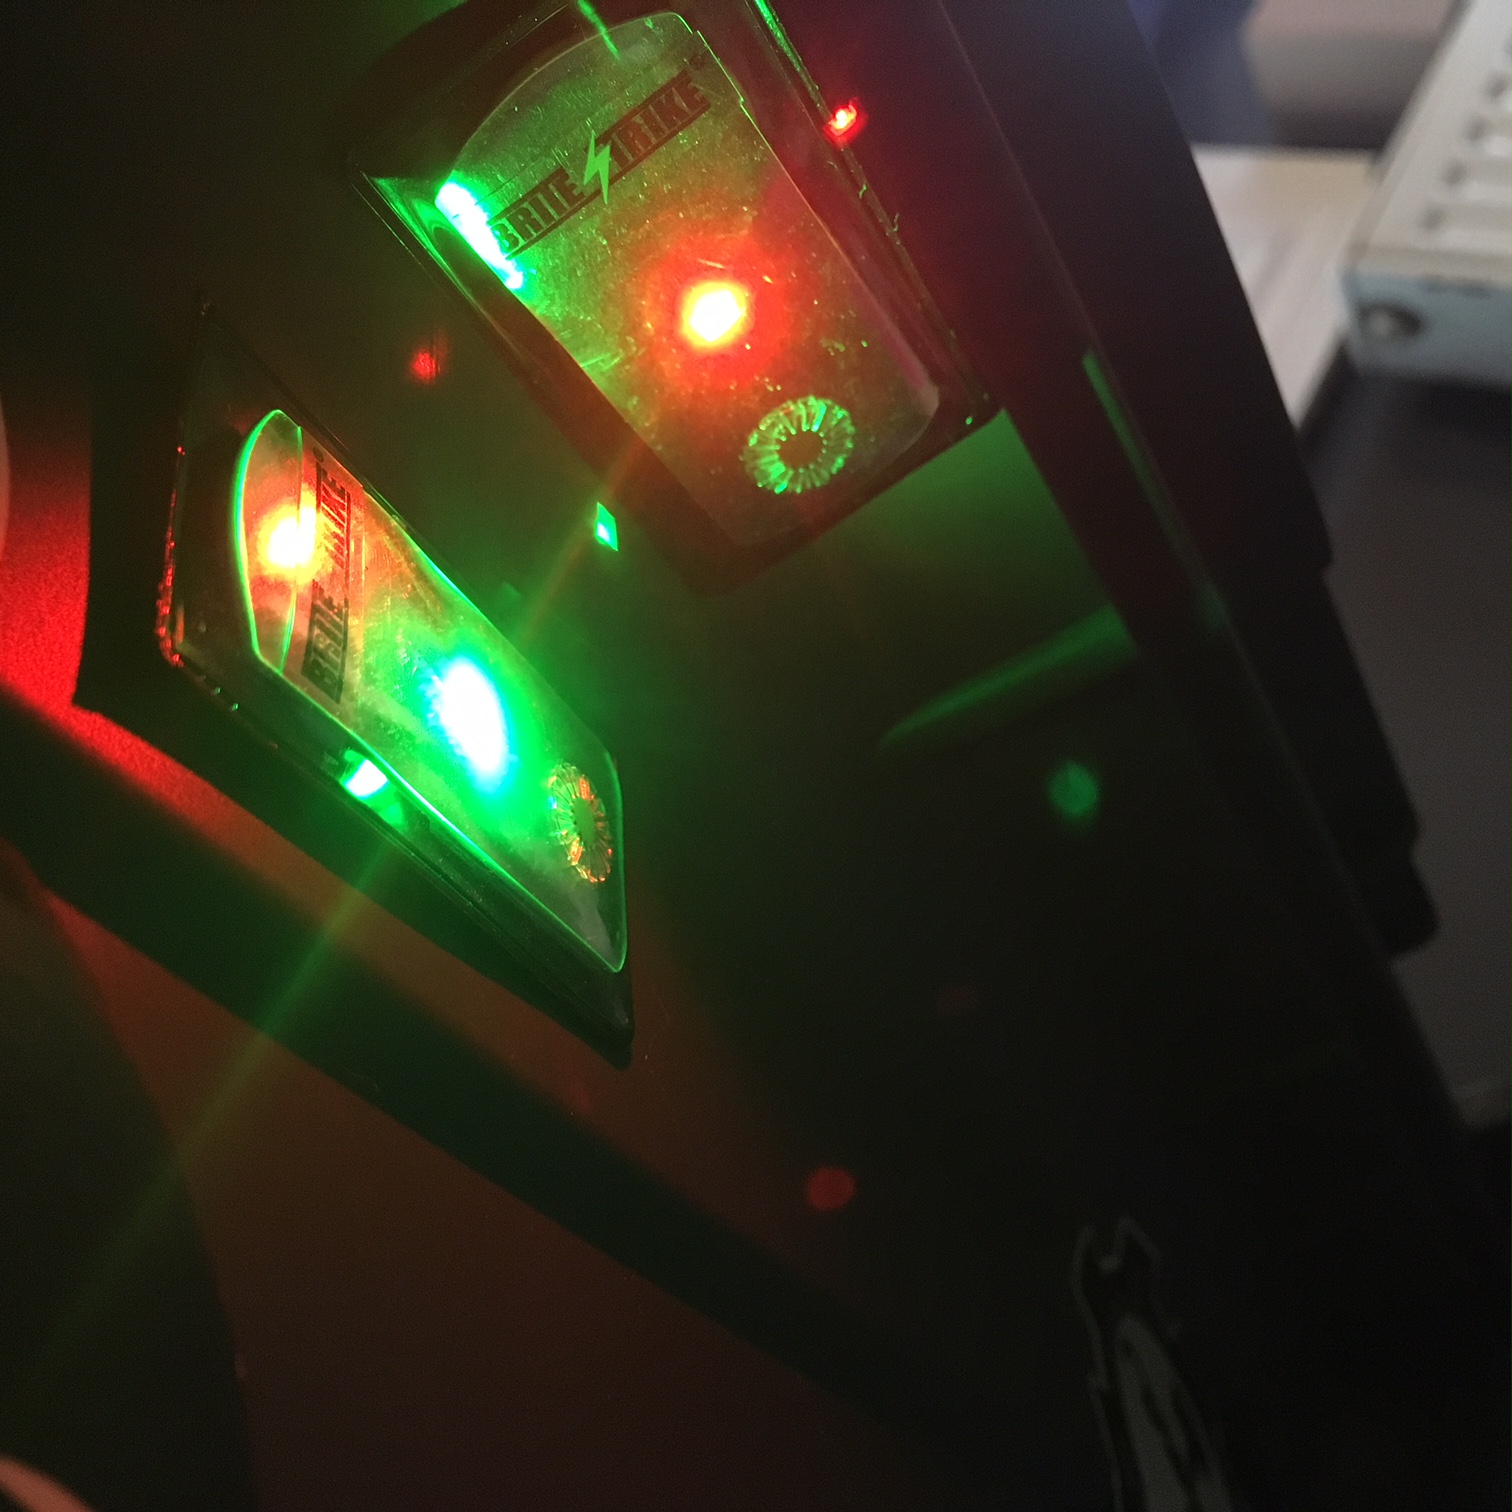
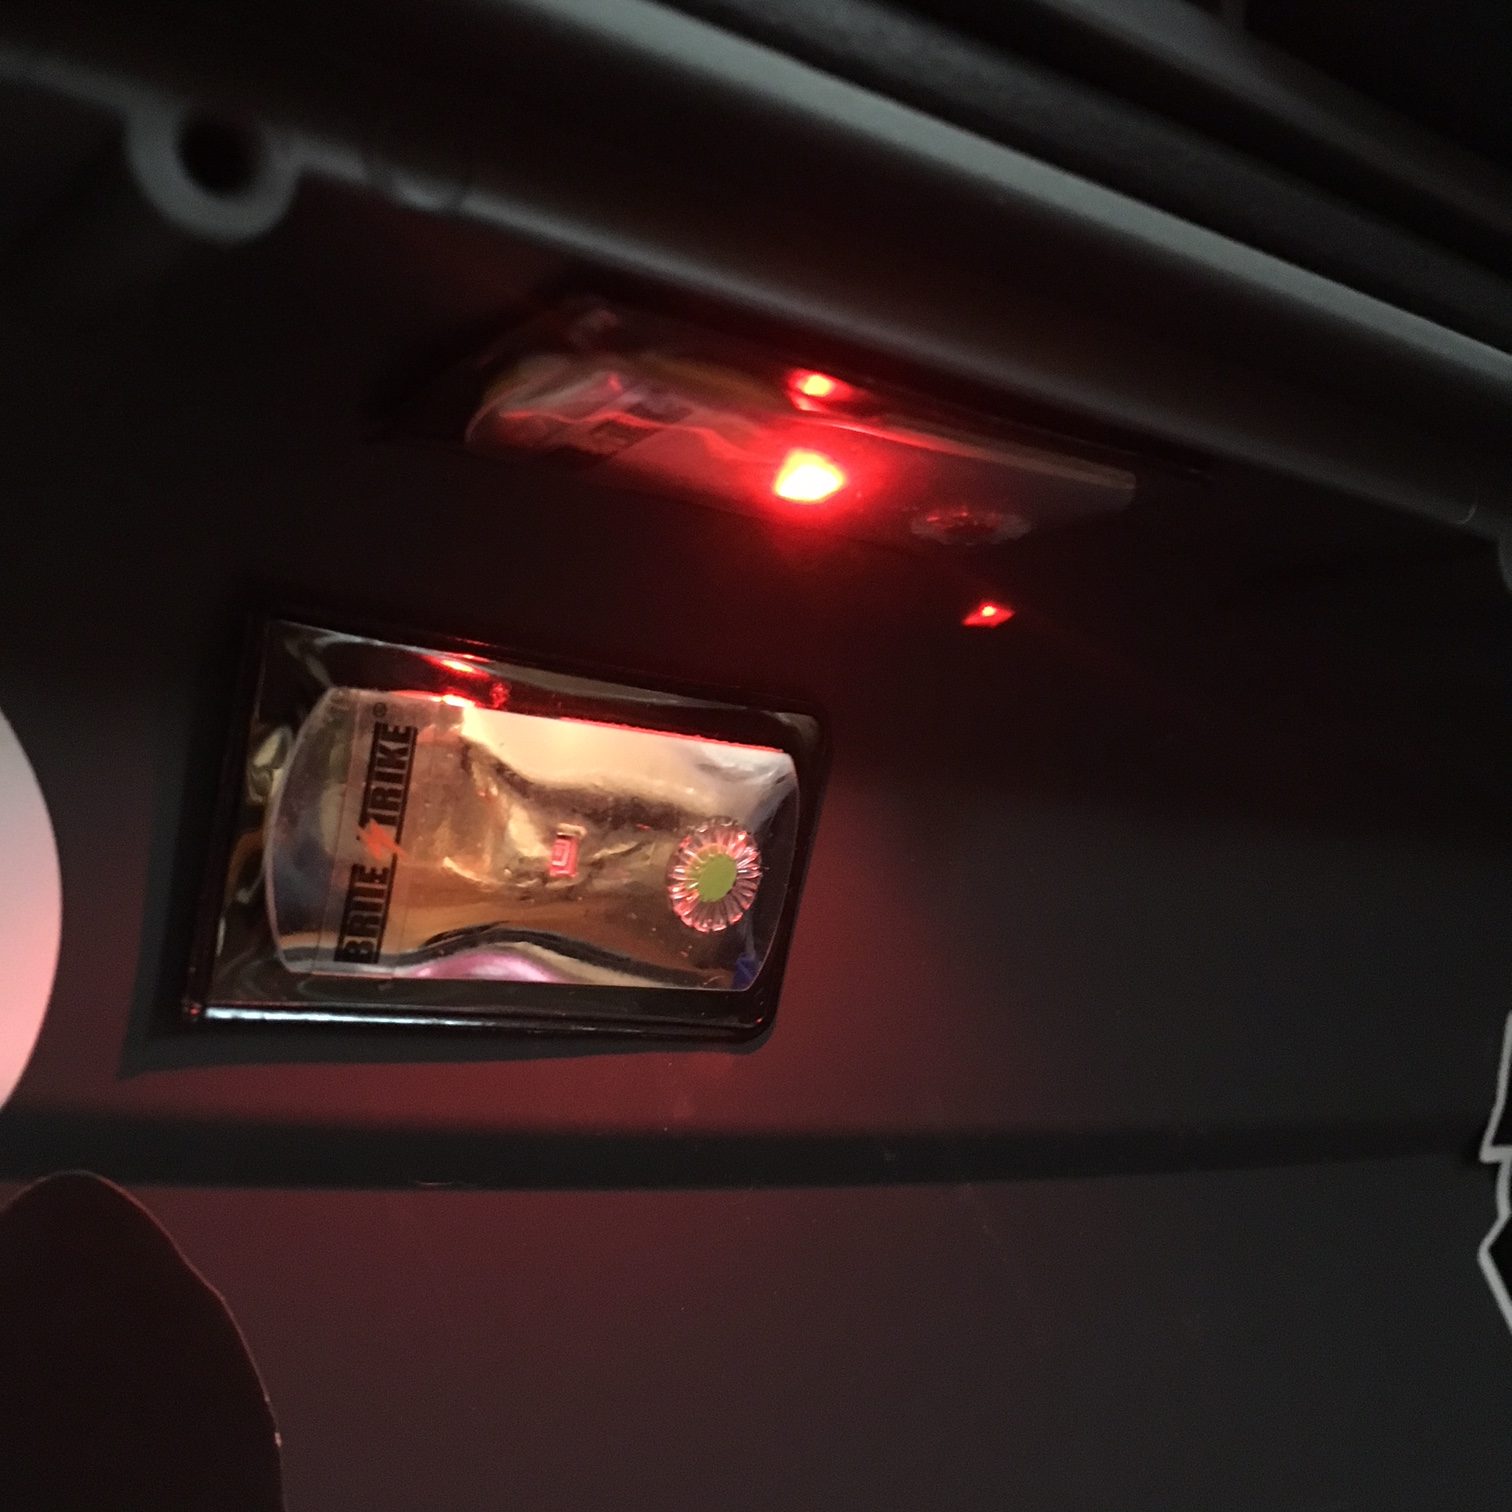
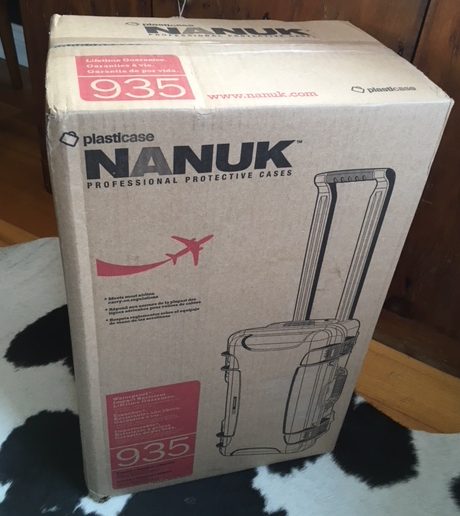
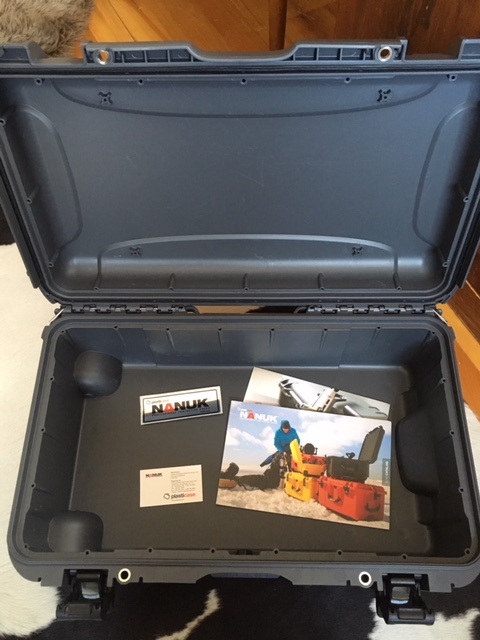
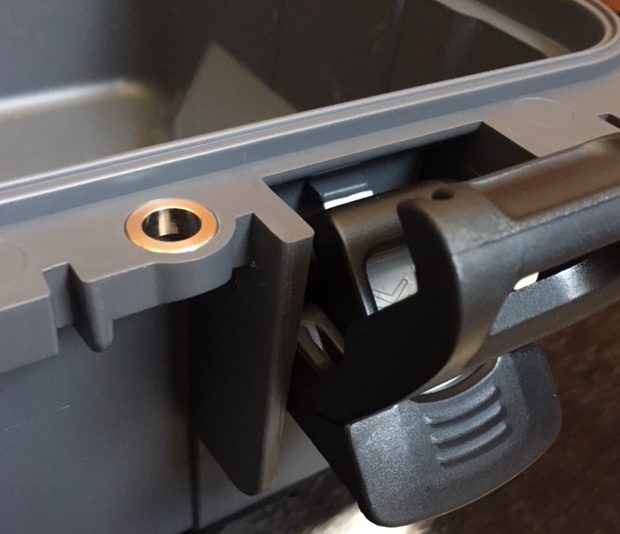
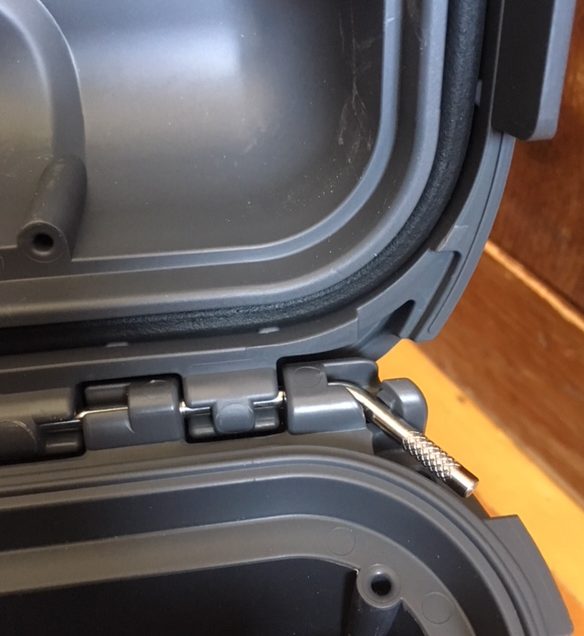
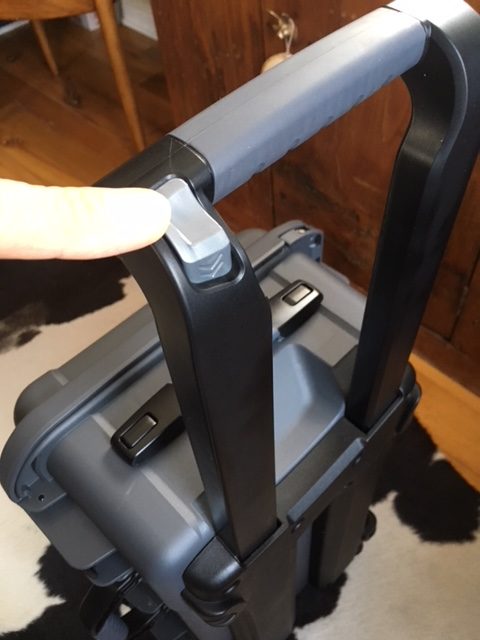
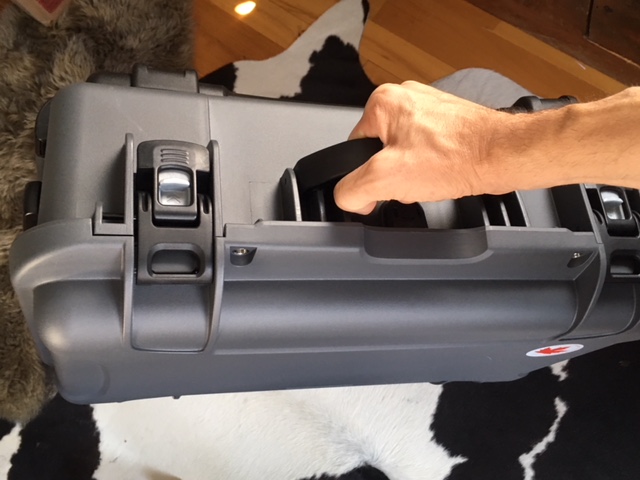
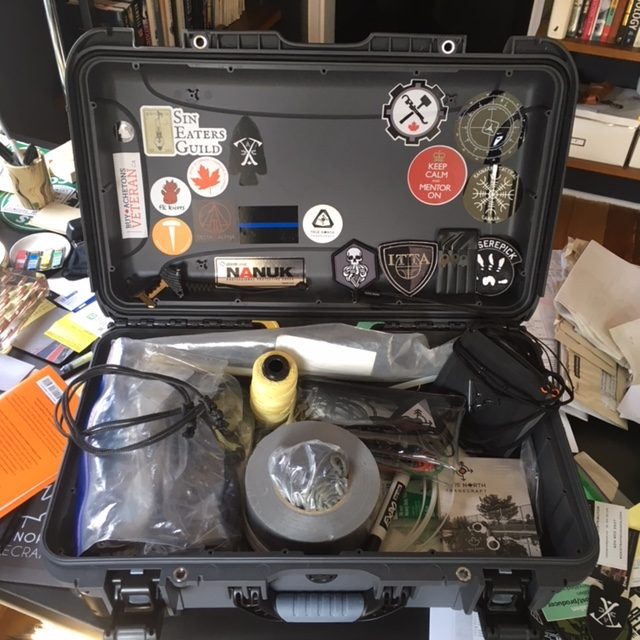
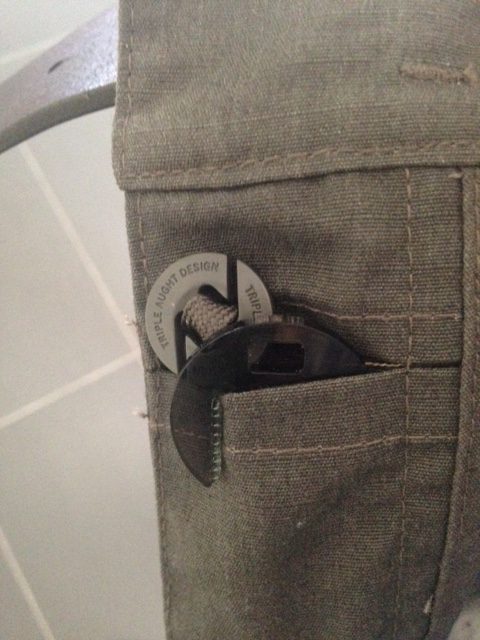
I’ve even put 2 in my Nanuk 935 roller case (both red and green) for backup light and low-pro options.  They stick to the lid and do not obstruct anything and are almost invisible (see below):

Green light turned off because it was too bright for the photos head-on.
This kind of setup can be adapted to closets, cabinets, safes, gun safes, medicine cabinets, suitcases, etc as a back-up in case you need it, especially during a power outage.

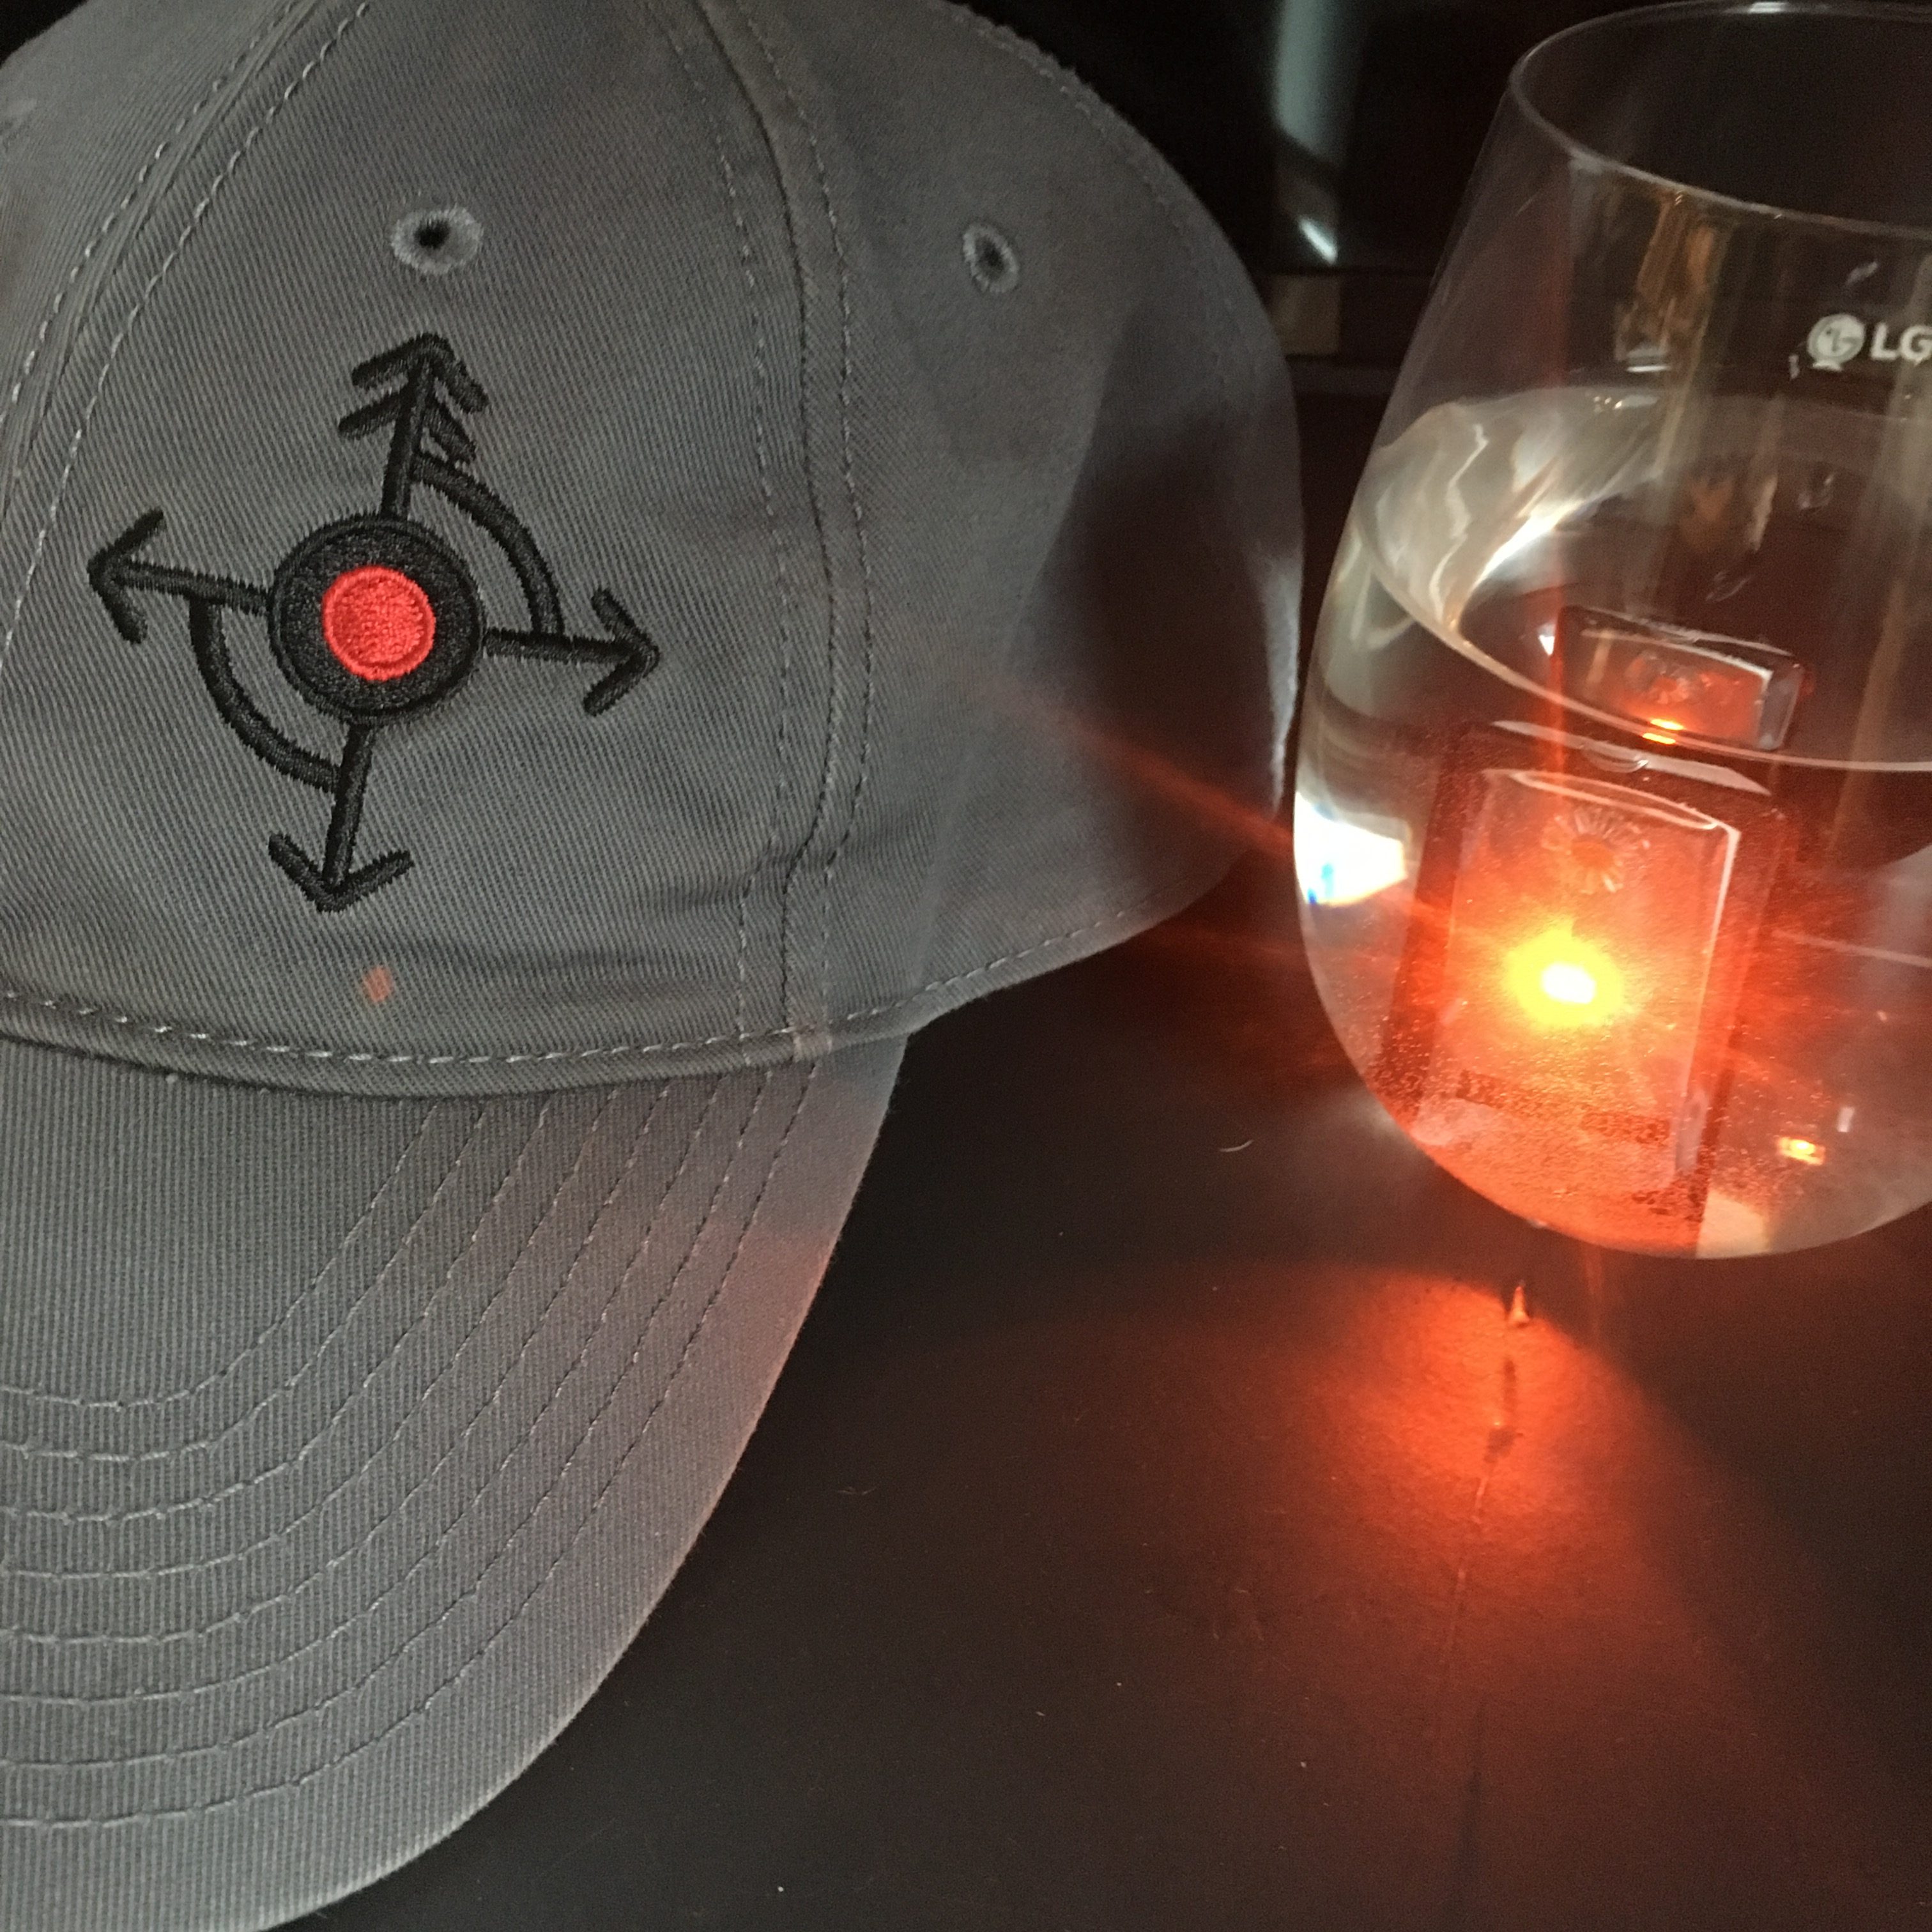
I also popped one into a glass of water for a half-hour to see how it did:

Waterproof!

Here’s a short APALS video of it blinking too!

Overall, I’m very impressed with these little lights.  They last longer and are brighter than glow sticks and are smaller too.  I like the 3-mode options they have and that they are almost weightless.

They even sell them in 10-packs for expeditions or teams.  Pretty great.  Canadian too, from Hamilton, Ontario.

If you are looking for a different kind of light to augment your situation or if these sound useful, reach out to Fiser Innovative Solutions at their website.

Till next time, stay safe, stay visible (when you want to be), and stay crafty.

https://fiser.ca

Posted on

Product Review – Fat Lazy Cat Knives (hint, they’re neither fat nor lazy)

An assortment of G10 implements from FLC Knives.

FLC knives are pretty interesting…

I haven’t, to this point, dipped my toes into the waters of G10 implements.  After doing some training down south of the border, I was introduced to G10 tools.  Strong, non-metallic, non-magnetic, very light-weight and can be fashioned into almost any shape, I was properly intrigued.  I reached out to Dave at Fat Lazy Cat Knives , just outside of Toronto, and read up on his materials, production processes and available models.

For those who don’t know what G10 is (like I didn’t) here is the explanation from Wikipedia:

G10 is a high-pressure fiberglass laminate, a kind of composite material.[1] It is created by stacking multiple layers of glass cloth, soaking in epoxy resin, and compressing the resulting material under heat until the epoxy cures.[2][3] It is manufactured in flat sheets, most often a few millimeters thick.

G10 is very similar to Micarta and carbon fiber laminates, because they are all resin-based laminates, except that the base material used is glass cloth. G10 is the toughest of the glass fiber resin laminates and therefore the most commonly used.

Dave and I chatted for a while and I arranged a small batch purchase to test and play around with.  That was a few months ago.  I have now had an opportunity to poke things with these sharps and I am very impressed with their durability, sharpness and craftsmanship.

As I can only speak to the models I have tried I will say that I received prompt, courteous service, fast shipping and nicely packaged products.

I received as follows:

  • Get Off Me Tool (GOMT) No. 6 in G10, stubby, offset, with Kydex sheath
  • GOMT No. 4 (ventilator)
  • GOMT No. 1 (Synthetic, Slim) with Kydex carrier
  • “Hatchlings” (both thick and thin profiles)
  • Cool stickers. (Thanks Dave!)

Immediately out of the box I noticed a few things:

  1. SHARP points on all (good thing they come in protective tubing)
  2. Very lightweight.  I’d equate them to a pen.
  3. Sturdy, durable and smooth.
  4. The jute twine which furnishes the handles is comfortable and epoxied to hold the cordage in place.  It works well.

Though I have yet to test them in an organic medium, they easily penetrate several layers of cardboard and towels.  The points seem sturdy (none have broken yet, but again, no organic medium testing yet) and maintain their sharp points even after several uses.

The box testing I did (the photos in this entry are not all-inclusive) showed no damage to the points, an easy grip and to-the-grip penetration.  The GOMT No. 6 even managed to cut the box (with the point) several times without noticeable resistance and maintain its integrity.

Get Off Me Tool (GOMT) No. 6 (left) and a Hatchling.
Small size. Comfortable grip.


No resistance or deformation of the point.
No problem.
Cuts just like a metal knife through cardboard.
Strong point. Very sharp. Easily field sharpened on concrete.
VERY sharp point.

As you can see, the G10 penetrated with ease and there was no damage to any of the points.  The ergonomics worked quite well and felt comfortable in the hand – easy to hold and manipulate.  They can even be re-sharpened on concrete in a pinch!

To see some more, check out some YouTube videos of other testing of FLC Knives:

Get Off Me Tool #4 – Durability

Hatchling 2.1 – Organic Medium

All told, the implements made by FLC Knives are top-notch quality.  I am very happy with my purchase and do not hesitate to recommend them to others.  Just be careful, they’re pointy.

Till next time, stay safe and stay crafty.


Posted on

Product Review – Nanuk Hard Case: Top-tier protection for your gear

The 935 Roller Case by Nanuk. Solid protection for your sensitive gear.

In an effort to organize some of my equipment, I have gone through several options to address issues surrounding ease of transport, durability, security and protection.  I initially went with low-cost/low-quality options such as boxes, bags, duffels, etc., and tried to keep everything organized, protected from damage and loss and something properly sized to fit everything in one piece.  I was hesitant to go with a Pelican case, as their price point was too  high for what I was looking for, so I searched for other options.

Enter Nanuk Professional Protective Cases, by Plasticase.

Earlier this year, when I was at the Toronto Sportsman’s Show, I had the fortune of meeting Dan from Nanuk (pronounced “Na-Nook”, the Inuit word for the mighty Polar Bear) and exchanged contacts.  Their display was expansive and their options for protective cases ranged across sizes, colours, shapes and options.  I also liked the fact that they were Canadian and also that they offered a Military/Law-Enforcement discount.

A couple of weeks ago, after several failed trials to organize my gear the way I wanted, I reached out to Dan and arranged to purchase the Nanuk 935 hard case.  The following covers my experience dealing with Nanuk and my impressions of the Nanuk 935.

First off, the service was FAST.  As in the case arrived at my door within 48hrs.  I was impressed.  The customer service and administration was excellent.  The team at Plasticase is very efficient.

The 935 arrived mint.

My first impression of the 935 (even though I had seen it before at the Sportsman’s Show) was how solid it felt.  Everything on this thing is heavy-duty.  Not a piece feels flimsy or cheap, despite its relative light weight.

Here is a rundown of some of the key features of Nanuk cases generally and the 935 Roller Case in particular:

  • Features the “Powerclaw” latching system.
  • Waterproof:  rated to IP67 for 30mins under 1m(3.3′) of water.
  • Automatic pressure release valve
  • Hard-wearing NK-7 resin for impact resistance
  • Stainless steel hardware
  • Model-specific bezel and gasket system to ensure a watertight seal
  • Handle & lid stays
  • Polyurethane wheels
  • Conditional Lifetime Warranty
  • Model 935 features a 2-stage, heavy-duty pull handle for rolling the case behind you like a carry-on.
  • Model 935:  Interior dimensions (L x W x H): 20.5″ x 11.3″ x 7.5″ & Exterior dimensions (L x W x H): 22.0″ x 14.0″ x 9.0″, Weight 11.6lbs (5.2kg)
  • Carry-on compatible (check with your airline for specifics)
  • Comes in a variety of colours and internal configurations.
  • Made in Canada!

For more complete details about the Nanuk 935, go to the webpage here.

Below are more detailed photos with cations speaking to the above specifications and observations.


Lots of space inside.
Powerclaw latches are beefy, tough and connect with a positive and satisfying click. To open, you have to actuate the button and latch.
Stainless steel hardware and tough, large gasket seal to ensure long life and solid seal.
Steel-ringed (x2) rivets for padlocks. Make sure you get something high-quality. Nanuk cases don’t protect themselves from thieves.

As a note to the latching system, though the latching system is effective at preventing water and dust from getting in, it is NOT effective in securing the contents from unauthorized access.  It is a hair-pulling pet peeve of mine when I see people buy a top-of-the-line protective case (like a Nanuk or Pelican, etc) to store an expensive piece of equipment (like a tricked-out rifle, research gear, optics, etc) and then go to Home Depot and buy a $10 lock to keep it “secure”.  Just don’t.  Please.  If your investment in case and equipment is up there, why entrust it to a $10 lock?  Do yourself a favour and visit a proper locksmith and spend the $80-$120 or so for a high-quality padlock (Like an ABUS, Abloy, S&G or something similar) and keep your stuff protected.  Just do it.  You’ll also be interested to know that Nanuk now offers to retrofit the latches to lockable latches to TSA specifications if you would like to lock your Nanuk without a padlock.

Heavy-duty polyurethane whees with stainless steel hardware roll smooth even when the case is fully loaded.
Substantial pull arm features a 2-stage adjustment and easy-access release button.
Automatic pressure relief valve.
Easy to carry with 3 handle options, lightweight for what it is and comfortable grips.
Can take a beating on the inside too.
All loaded up. With room to spare. Fantastic piece of kit.


All in all, I am very impressed with the Nanuk 935.  You can take a look at their entire line of products here.

They feature protective solutions for everything from your smart phone to weapons cases, sensitive electronics, photography gear, laptops and even custom solutions for whatever you may need.

If you’re looking for a high-quality, Canadian-made protective case for your equipment, do consider Nanuk cases in your search.  Unfortunately, members of the general public will have to look for Nanuk dealers near you to purchase, but if you’re Military or Law Enforcement, you can buy directly from them.

Till next time, stay safe and stay crafty.


Posted on

Training Opportunity in Toronto – Safe Dial Mechanics – 14 & 15 May, 2018

For the FIRST time in Canada….

The CORE Group

Safe Dial Mechanics – 1st Canadian Offering!


This course will teach Law Enforcement Personnel, Special Operations Forces, and Government employees and security professionals the principles of safe dial mechanics.

This course is basically two courses in one. Day 1 you will learn everything you need to know to install, dial, open, change the combination, diagnose and troubleshoot UL Group 2 mechanical combination locks. By the end of the day you will be able to completely disassemble and reassemble most mechanical dials in use today. Some non-invasive covert methods will also be discussed.

Day 2 we will teach you how to use the design flaws in mechanical combination locks to manipulate the wheels and components to obtain a locks combination while opening the locking mechanism. All mechanical locks have factory defects, known as tolerances, which allows them to be manipulated.

This is a non-invasive method for obtaining access to a safe as well as retrieve the combination. Since the techniques taught in this class are largely nondestructive, agencies will also benefit by having a decrease in costs and civil actions due to property damage.

The cost of the course is $510 CAD with a $200 deposit required to hold your place.  If taken with Covert Entry Concepts, the cost is $1150 for both.

Equipment:

There may be an opportunity to purchase specialized equipment during this course. Details to follow in the logistics e-mail which will be sent out to attendees.

Logistics:

A logistics e-mail will be sent out to attendees separately prior to course.


E-mail us at:

[email protected]

For more information and payment instructions.

***SEE FLYER LINK AT BOTTOM***

Course Schedule is:

Mon May 14: 0800hrs – 1700hrs

Tues May 15: 0800hrs – 1700hrs

***Mon & Tues breakfasts, coffee and snacks included.

This course is being offered by The CORE Group      (www.enterthecore.net) , facilitated, supported and sponsored by True North Tradecraft (www.truenorthtradecraft.ca).

SAFE DIAL MECHANICS flyer_May 2018


DISCLAIMER:  *Nothing in the course offering is intended to be used for unlawful purposes.  Consult with your local laws prior to employing these techniques in the field.  This is intended for lawful use ONLY.  True North Tradecraft and its partners do not condone or advocate illegal activities.*

Posted on 2 Comments

Tactikey Review

Low-pro force multiplier.

I recently discovered a new self-defence product – Tactikey.

Tactikey is an upgrade on an old-school, low-tech means of self-defence.  The old “punch them with your keys” technique, except with some modern upgrades.

The product itself is a small (1 x 1.75 x 0.5 in), lightweight (6.5 g) and strong (TPE 110 Composite material) designed to ergonomically accept a standard Kwikset house key and give it a platform to use as an impact weapon.  This design is helpful in reducing injury to the defender’s hand while allowing the transference of force through the key point to the assailant’s soft tissues.

Tactikey in it’s packaging (front).
Tactikey packaging (back).

The combination of supporting grip and solid metal point is surprisingly effective and protects the user from injury well, unlike an un-shrouded key being used for the same thing.

Low-pro force multiplier.

When I received my package of a few Tactikeys and was caught by several positive things:

  • VERY light
  • VERY small
  • VERY easy to add to your key ring
  • Usable in non-permissive environments and will likely not raise any red flags if inspected by authorities
  • Allow the key to be used for it’s intended function AND as a self-defence implement and;
  • Comes in your choice of Blaze Orange, Hot Pink or Carbon Black.
  • Inexpensive (as of this writing – going for $9.99 ea with free US Shipping)
  • Full details from website available here.

Along with the personalized note from them, I immediately equipped my Tactikey and went to work playing around with it.

I found that holding it was comfortable.  The finish on the grip was soft and smooth but didn’t slip.

Ergonomic and secure grip.
Fits well into the hand.

It intuitively holds well between the fingers and stays solid when striking.

Pointy, ouchy and very solidly held.

I had access to a building site where walls were being replaced and took a few jabs at drywall and lathe & plaster.  The results were good (see below).

Drywall – before.

I was able to make holes in both mediums without pain or injury to my hand.  The regular (un-sharpened key) penetrated both types of walls with relative ease making me feel confident that it could cause trauma to soft tissue on a hostile human target.

Through drywall with first strike.
Repeated strikes had no issue with penetration.

As it is a simple piece of plastic, Tactikey can go anywhere a set of keys can go and will always be ready as an added force multiplier if you should need it.  I have added this to my Every Day Carry (EDC) as it is useful, lightweight, practical and effective.  Along with the other items I carry, I feel it is a wise investment and doesn’t add bulk of weight to your setup.

Although I haven’t had the opportunity to hit a person with it at this point, I’ll be sure to update this post with those results, should they occur.  That said, punching holes in drywall happened very easily and I wouldn’t want to be on the receiving end of a hit with one of these.

Tactikey also has a fantastic return policy on it’s product (from their website):

“30 Day 110% Return Policy – Purchase with Confidence.
We at Tactikey work tirelessly to develop the world’s most unique and efficient EDC products that will help you achieve well-being and safety. We believe in our products so much that we stand behind them with a no hassle, no questions asked, satisfaction guarantee 110% return policy. If you purchase any Tactikey product on our website Tactikey.com and you are not satisfied, return it within 30 days for a 110% refund. The guarantee is applicable to all purchases made from Tacktikey.com only and does not cover Tacktikey retailers. Retail purchases will be handled by the particular retail store’s return policy. That is our commitment at Tactikey to you our customers.”

Instructions on the use of Tactikey can also be found on their website here.

The one and only downside with Tactikey is that it is only compatible with Kwikset key blanks at the moment.  If your house key or other keys on your ring are not of this kind, they may not fit properly.  That said, Tactikey is working on different formats for several other major key manufacturers (like Schlage and Yale) and customers will be able to choose which works for them.  In the grand scheme, this isn’t a big deal.  They will come out with others soon and, really, I’d sooner have a dedicated defensive key (a blank, sharpened) than my primary house key.  If you do hit something or someone and bend it, you may have issues using your key after.  Not to mention if you lose it in a fight, buddy will have your house key.  I’d sooner have a non-key.  I used an old, out of commission Kwikset key I had laying around for my test & carry key to ensure that doesn’t happen.  I will pick up a Kwikset blank and sharpen it with a file for primary EDC use in the coming days to ensure I have it the way I want it.  You can pick up a Kwikset blank from anywhere that cuts keys (Home Depot, local hardware stores, shoe repair places, etc) and just ask them for one.  Again, not a big deal right now as you’re best off to go with a dedicated key or key blank for this particular use.

Have a look at their website, check them out on social media and feel free to pick one up for yourself and maybe some family members.  For the money, I thinks it’s a great deal and you get something solid and useful.  I really like it and I bet you will too.

Till next time, stay safe and stay crafty.

Posted on

Persec Aware- A solid option for a custom belt, handmade in Canada.

A solid piece of kit, made in Toronto.

For years, I’ve been on the lookout for a solid belt.  When I say solid,  I include in that definition fit, style, strength, durability, functionality and dependability.  Almost two months ago, I think I hit pay dirt with that.

While I was planning my Bruce Trail outing, (read about it here) I found that I was missing a key piece of gear: a “solid” belt.  Sure, there are a load of well-known commercial companies that offer quality belts, but I was looking for something specific.  I wanted what they offer, something I considered “solid”, not ridiculously over-priced and, if possible, Canadian-made.

Enter Persec.  We had followed each other on Instagram and I reached out asking some questions about their products, their hardware, colours and the like.  Not only was I happy with the answers, but also the questions I was asked.  Custom work, apparently, is even better when the one making the product has a better understanding of the customer’s intentions and requirements.

Extra stitching, clean and tight cuts. Quality materials.

Some fast-facts about the belts offered by Persec:

  • They offer 3 widths – 1.5″, 1.75″ and 2″
  • Several colours (black, ODG, camp, coyote, etc)
  • Built from a combination of high-strength webbing and Codura for rigidity
  • Available in a variety of stiffnesses, strengths;
  • All are custom-lengths;
  • Every belt is made by hand, in Toronto, Canada, and with incredible attention to detail that is immediately apparent.
  • All manner of customization is available – contact them directly for more details.
Like a belt-Christmas!

As I received my order of belts, I was immediately relieved with my decision to go with Persec and try them out.

The belts were custom-sized.  Exactly what I had requested.  The shipping was very fast (they are located in Toronto).  When I held them, I could feel the quality of construction in the materials but also, when examining them closely, could tell the attention to detail in the craftsmanship.  Most consumer goods made in bulk have loose stitching, imperfect cuts and the like, but not these.  Every detail was exacting.  I was impressed.

What I had requested was a belt which would cross-over easily from the trail to the urban jungle, in black, with semi-rigidity, custom-length, with both buckle options (hook and Cobra Buckle, respectively).  Persec did not disappoint.

The Cobra buckle (left) and hook buckle (right) options on Persec belts.

The semi-rigidity of the belts, as well as the widths (they recommended 1.5″ as opposed to 1.75″ as I was interested in the cross-comparability of daily wear as well.  The 1.75″ would be more appropriate for a duty or gun belt setup).  I was happy for the choice as it easily works with jeans as well as hiking or tactical pants.

Persec belt works well as a daily wear belt in the urban wilderness as well as on the trail.  Also, the Lolly in my pocket (from Delta2Alpha’s Accent Series) compliments the belt in more ways than one.

The adjustment options for the belts work very well.  The hook buckles have three attachment points which, in harmony with the velcro hook & loop patch on the opposite side, allow for a perfect fit every time.  With the Cobra buckle, you have only the velcro strip opposite the buckle, but this too works very well as the cam cinched down reliably.

Hook buckle. Once attached is very strong and secure.

I equipped myself with two of these belts (one with the Cobra buckle, in black, the other with a hook buckle in black subdued camouflage) for the miles of hiking and have been wearing one almost every day out since returning.  They have become my daily wear.

After almost 2 months of wear, use and some abuse, my conclusions are as follows:

  • The custom fit is great.  Better than regular commercial products, I find;
  • Each piece is made with great attention to detail, high quality materials and much pride.  In my correspondence, this was very apparent.
  • Both belts are “solid” by my standards.  I have no doubt that they will last a long time.
  • There has been barely any warping – this tends to happen, especially when I load the belt up – but despite this, it has been minimal.
  • The black of the material has not faded at all, despite long periods in the sun, water and dirt.  It’s still pitch-black.
  • The semi-rigidity of the belts allow for ease of movement without digging in to me at any point, even when equipping with clip pouches or anything “in-the-waistband”  (This includes a holster.  No concerns, even for the range).
  • I have even worn it with my uniform in a training environment and like it far better than the “rigger’s belt” I’ve worn for years.  I have switched them out and feel good about it, though I’ll likely order another in OD Green so that no one gets bent out of shape about the non-issue colour.

Bottom line, I’d recommend checking out the items offered by Persec without hesitation.  You can find Persec Aware on Instagram and Facebook.  You won’t be disappointed.

Versatile, durable and dependable.

Then while you’re at it, load it up with stuff from Canadian Gun Worx, held by custom Kydex from Gray Fox Strategic and some apparel from Tactical Beaver.  And don’t forget to pocket a few useful tools from Delta 2 Alpha Design, then you’ll really be good to go!


Till next time, stay safe and stay crafty.


Posted on

Hiking the Bruce Trail – Outline & Preparations

Setting off on the Bruce Trail.

Later this month, I will be hiking the Southern half of the Bruce Trail (Queenston to Collingwood) covering ~450km in about 2 weeks.

To that end, I have been making lists, assembling gear, organizing and planning things through to ensure the fewest amount of screw-ups on the trail.

Proper Previous Planning Prevents Piss-Poor Performance.  The 7 Ps.

Planning in this context is simply Risk Management.  The basic principles of risk management are the identification of things that are possible (hazards), how devastating they would be if they happened (impact) and the probability of those things happening.  The combination of those two (what is possible to happen, combined with their likelihood of happening) equals the level of RISK.  When you have looked at your situation through risk-coloured glasses, you will be better equipped to gauge your level of RISK to a certain situation and plan accordingly.

Im my planning process for this particular adventure I have taken several things into account for my planning process:

  • Distance
  • Terrain
  • Access to re-supply (food & water)
  • Logistics
  • Navigation
  • Communications
  • Shelter & sleeping
  • Access to coffee (VERY important!)
  • Weather & environmental factors
  • Possible hazards on trail during hike
  • Likelihood of encountering said hazards
  • Possible impact of hazards if encountered
  • Volume of gear
  • Weight of gear
  • Emergency considerations and procedures (personal safety & survival -gear and immediate actions)

Now, the premise of this hike wasn’t mine initially.  My darling wife wanted to cross-off “Hiking the Bruce Trail, End-to-End” off her bucket list for her upcoming birthday.  The first half this year, the second, next Fall.  Who wouldn’t jump at that?

If you complete all ~900km of the Bruce Trail, you can get this cool patch. I want. I will have.

For me, I am not only looking forward to the hike itself with my wife, but also of taking the opportunity to field-test some of my newer gear and review some things recently acquired.  I’m also keen to tighten up my lightweight backpacking game and sharpen my level of fitness too.  The one thing we will be taking out of the hiking equation is camping.  As we traverse the Southern half of the Bruce Trail, our accommodations plan will be Bed & Breakfasts and Air BnB along the way.

Hike-in to some luxury.

This does two things: keeps me alive and married, and, allows for a level of serendipity every day.  This is meant to be a fun time, not overly gruelling.  She likes to hike in style, and who am I to argue on her birthday?

The peace of a hike in the woods. Like the Infantry, but without the weapons.

So aside from the up-scale hike camping we will be doing, we are still aiming for a pace of 32-45km per day.  I have assembled the following set-up for the trip.  I will be breaking it all down over the coming weeks and months, as I can, to discuss it all in further detail.

All my stuff ready to go (minus a full water bladder and water bottle).

As we make our way along, I will post reviews of gear and trip reports  when I can and when I have connectivity.

Stay tuned for more posts leading up to my departure.

In the meantime, stay safe and stay crafty.

Posted on

Every Day Carry – My Take

Part of my Every Day Carry (EDC)

So, here we are.  A pretty vast topic with a bazillion opinions on what is right and what isn’t.

For the uninitiated, Every Day Carry, or EDC for short, is a collection of items which you carry on your person at all times (every day) to expand your level of preparedness and resilience in your daily activities and also to provide an edge in unforeseen situations.  This doesn’t always have to be a life-or-death catastrophe.  It can be something as simple as needing emergency cash, or cut packaging, but if you don’t have simple, quality, accessible tools for such things, you’d be at a disadvantage.  In a graver scenario, if catastrophe strikes and you’re unprepared, you’ll be less-likely to weather the storm.  Either way, you should always have an escape plan.

In a larger sense, your EDC is only a small part of a larger personal resilience plan, however, I’ll write separate posts for vehicle, office, home and emergency kits later on.  Right now, lets start at the most basic.

At the end of the day, I believe in three principles to follow when developing and gearing-up your Every Day Carry (EDC).

  1. FLEXIBILE: Is your kit adaptable to changing conditions?  Can it be scaled-up/down as needed?
  2. EFFECTIVE:  Are these items useful for multiple scenarios?  
  3. APPROPRIATE:  Will this be too much to carry, too attention-grabbing, or are the pieces of low quality and will fail you in your time of need?  Is it appropriate for your environment (Toronto, ON versus Manatoulin Island, versus Dallas, TX)?  Carrying a gun in Toronto is far different than Dallas, or in the woods of Manatoulin versus a courthouse in Toronto.  

A publication I recently read listed the appropriate EDC of a security-conscious individual as this:

  • Cell or Smartphone
  • Concealed carry handgun (WTF?!)
  • Extra magazine (again, WTF?!)
  • Flashlight
  • Folding knife
  • Lighter
  • Pen & Paper
  • Multi-tool
  • Money
  • Watch

That said, you’ll notice that concealed carry handgun(!) is on the list, as well as an extra magazine.  Now, that may fly in the US, but anywhere in Canada, you’ll be looking at jail time with that load-out.  Most of the rest on the list is pretty good, but again, assessing your daily EDC with the 3 Principles mentioned above should allow you to ensure your one step ahead of a problem.  Learn unarmed self-defence, use a steel-barrelled pen and a low-profile impact weapon of you need, but for the love of all that is imagined holy, don’t carry a gun around in Canada unless you want the cops after you.

Here is a picture of some of what I carry on me on a daily basis in Toronto, Canada.

My partial EDC load-out.

The above include:

  • Fisher Space Pen (writes consistently, small size)
  • Mini Bic lighter
  • Tiny USB key
  • Subway tokens (never know when you might need to abandon your car).
  • RAT-1 foldint knife (not “tactical” looking, just a simple, sharp, disposable blade).
  • Band-Aids (because you never know if you or someone else would need one.
  • Lock picks (several sets, because you just never know).
  • Diamond wire rod (again, because you never know).
  • Cash (because cash is king, and you might need a slice of pizza sometime).
  • Low-pro clip wallet

I also carry a few more things not in the picture, such as:

  • 1-2 steel-barrelled pens (Like Zebra or Parker) *not tactical-looking.
  • Tiny Inconspicuous Handcuff Key (because unlawful restraint wouldn’t customarily be conveniently timed).
  • 2-3 6′ lengths of Kevlar/Technora cordage
  • B.A.T. Coin (by Covert Products Group – read my review here.)
  • Key chain with my keys (No JI, I won’t post a picture of them
  • Anything else the day may call for based on my quick intel-dump before I leave – such as weather, traffic, events/protests in the city, etc…
  • Tiny LED flashlight (review soon…)
  • The Lolly (from Delta2Alpha.com )
Inside-the-fly of my Triple Aught Design Recon shorts. As if the Lolly isn’t even there.
About the size of a house key. Weighs next to nothing.


I do also ALWAYS wear a watch and will have my phone with me 99% of the time.  (in a dire emergency, I can always barter or pawn my watch for some cash and still have my phone for comms).

I love my watch. Titanium, lightweight, atomic and solar, compass and barometer and more.

For my daily purposes, there won’t be a gun involved in any way and multi-tools are too bulky for my activities.  Canadian laws would make me a SWAT-team call-out for a pistol, so that’s kinda off the table.

As a matter of course, I carry lock picks.  I’ve received several shocked and troubled looks from people should they find out about this, thinking I’m a burglar or something nefarious, but the simple fact is that I strictly adhere to lock picking ethics (read more about it here) and have used them to either help others (with permission, opened a car door for a guy who locked himself out in a blizzard with the car running – I saw it happen) or myself (lost the key to my bike lock) and only would use them to save a life in a dire circumstance.  Otherwise, they’re just tools used for the sport of Locksport.  I feel that, in an emergency, sometimes salvation is behind a locked door.  Better to make amends later when you’re safe, than not have the chance.

If you want an opportunity to learn how to pick locks, check out this amazing opportunity in Toronto in July 2017.    Details HERE!!!

I feel that this load out works for me, for my lifestyle, in Toronto, most of the time.  Thankfully it is scalable, can be augmented with things from my car.  (As mentioned above, I’ll be doing a piece on other EDC/kits at a later time) I also like that it is near-zero visibility thanks to the clip wallet and my spread placement across my person.

The great thing about EDC is that it’s a wide-open topic with huge on-going debates.  I prefer to focus on adjusting mine to my needs and environment (Toronto, Canada) while adhering to the 3 principles I mentioned and looking for new ways to make it more concealed and admissible into non-permissive environments.

The bottom line is this:

Keep some things on you wherever you go that will help you out of a jam if things get tough.  

By following those 3 principles and investing in decent equipment, you’ll be miles ahead of the masses who only have their phone when things go sideways.

In the meantime, keep modifying, keep testing, keep improving.

Till next time, stay crafty.