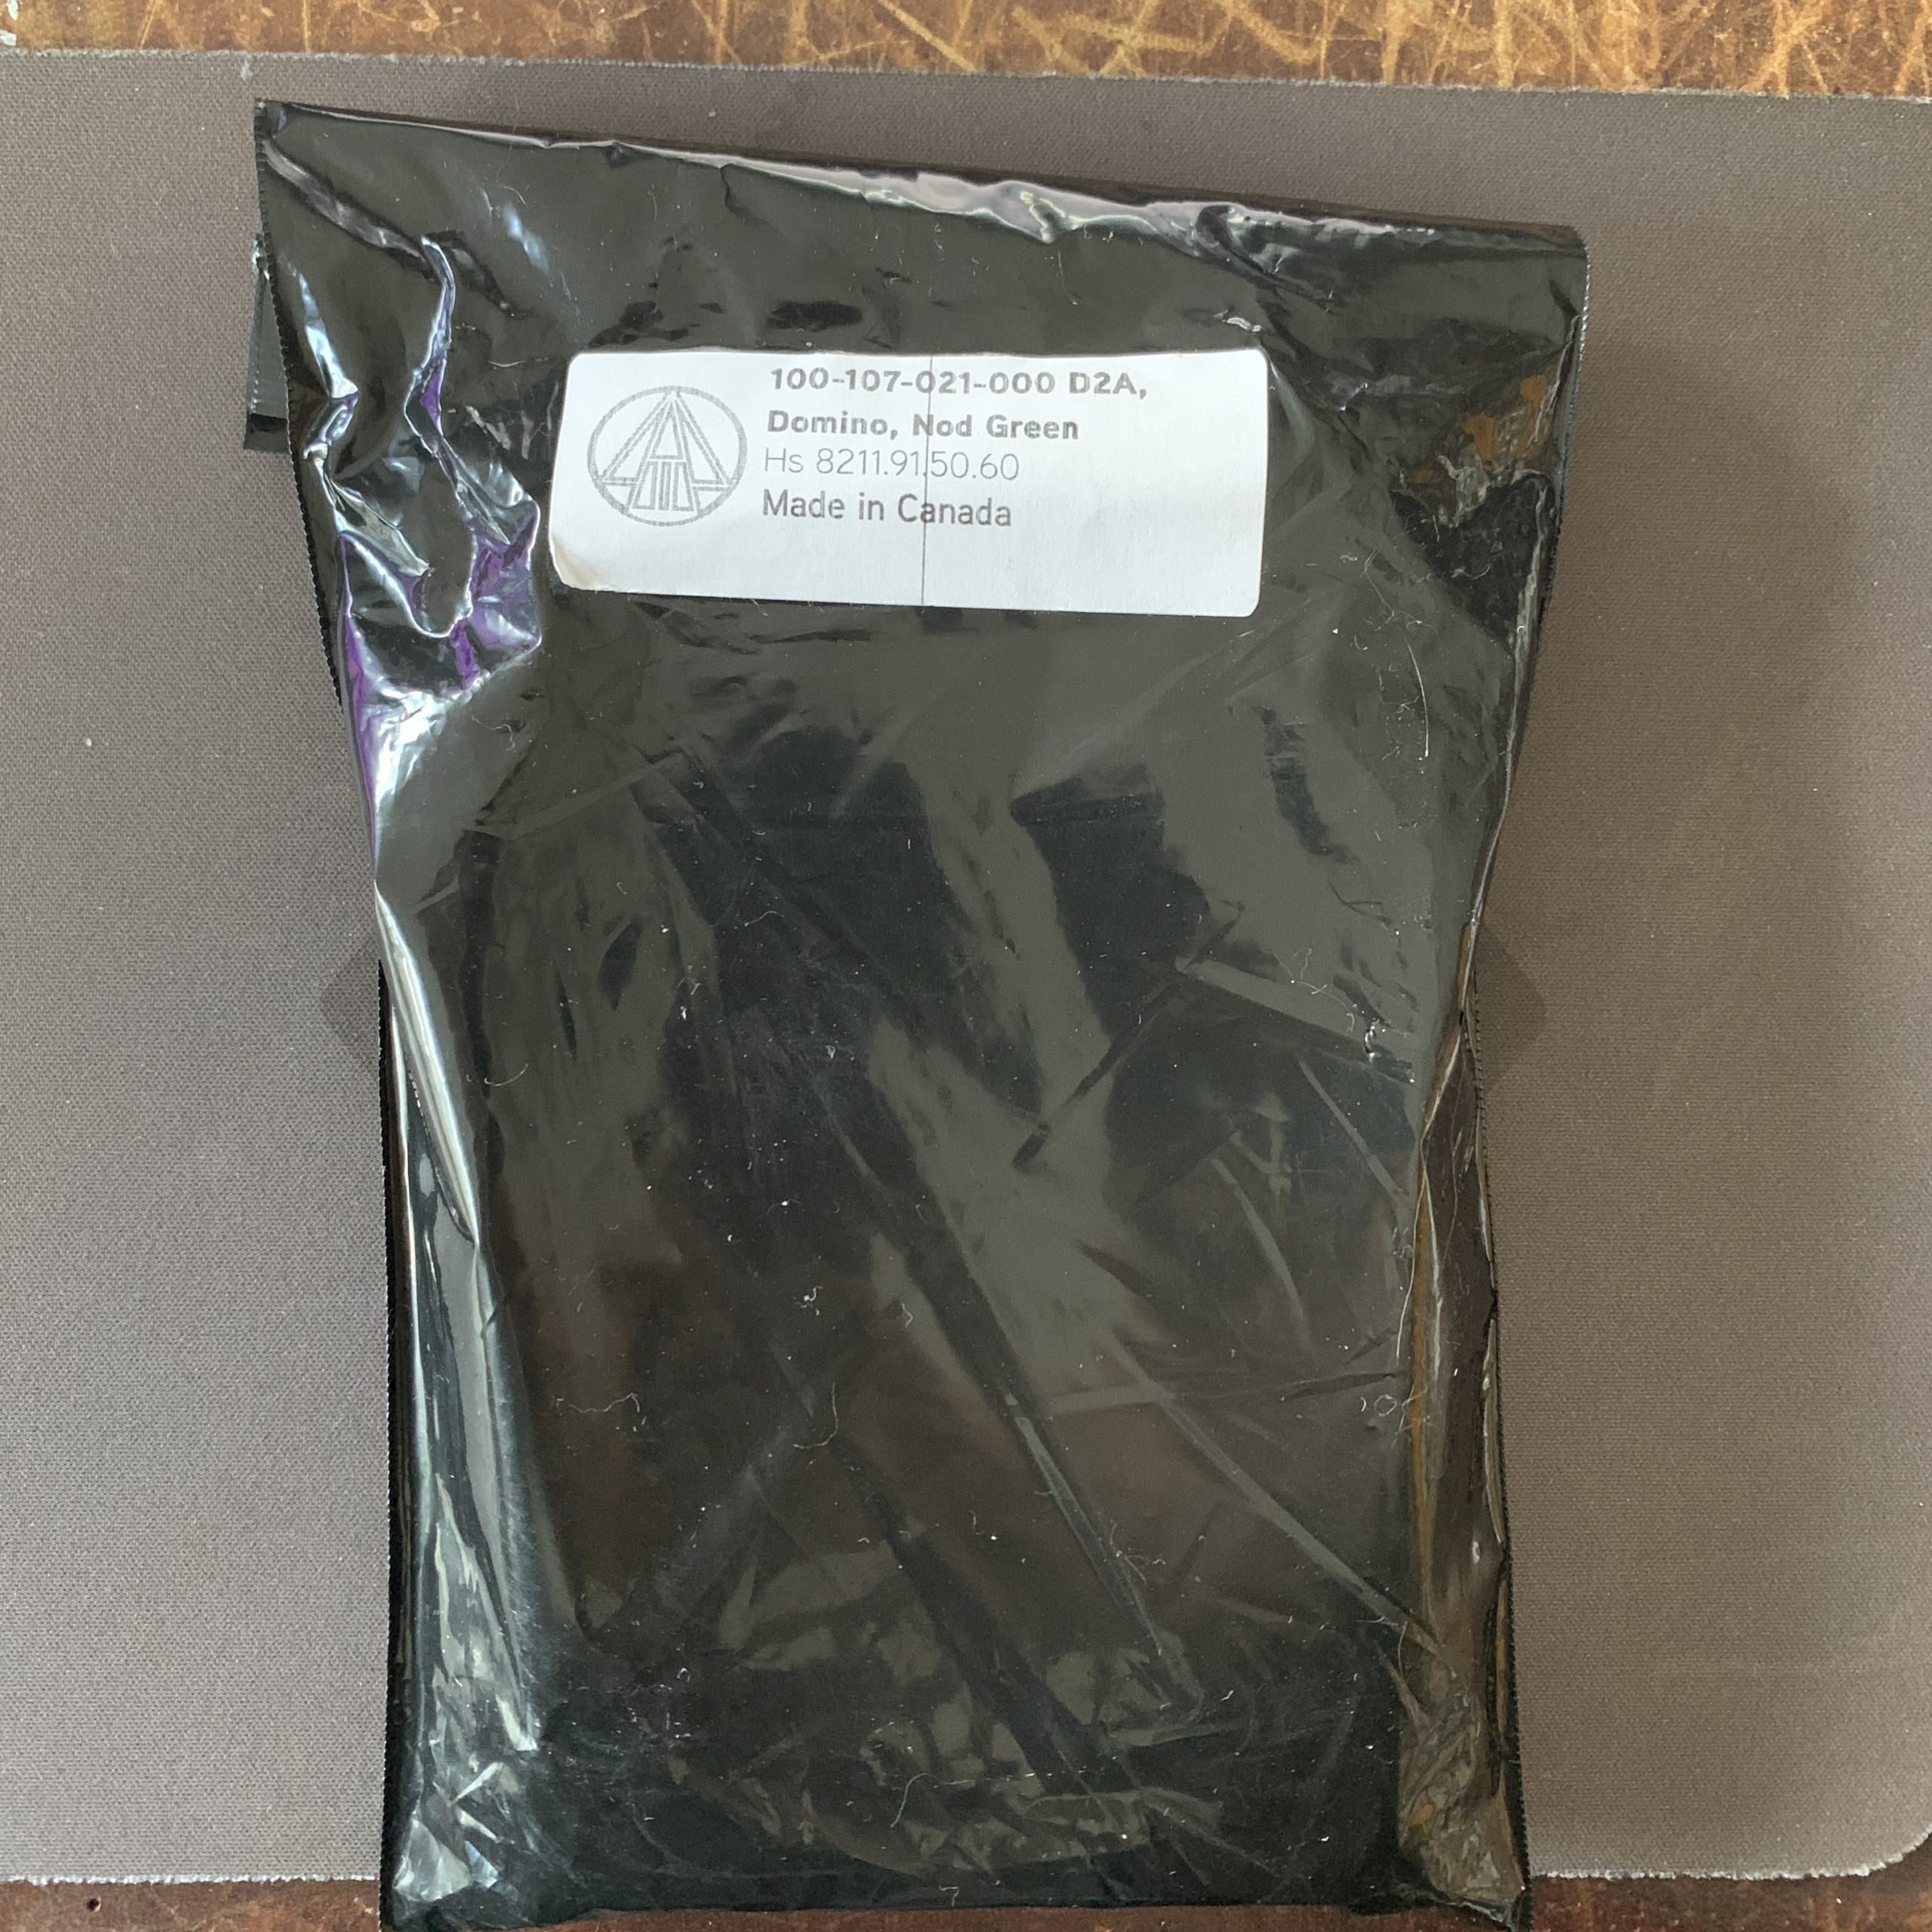
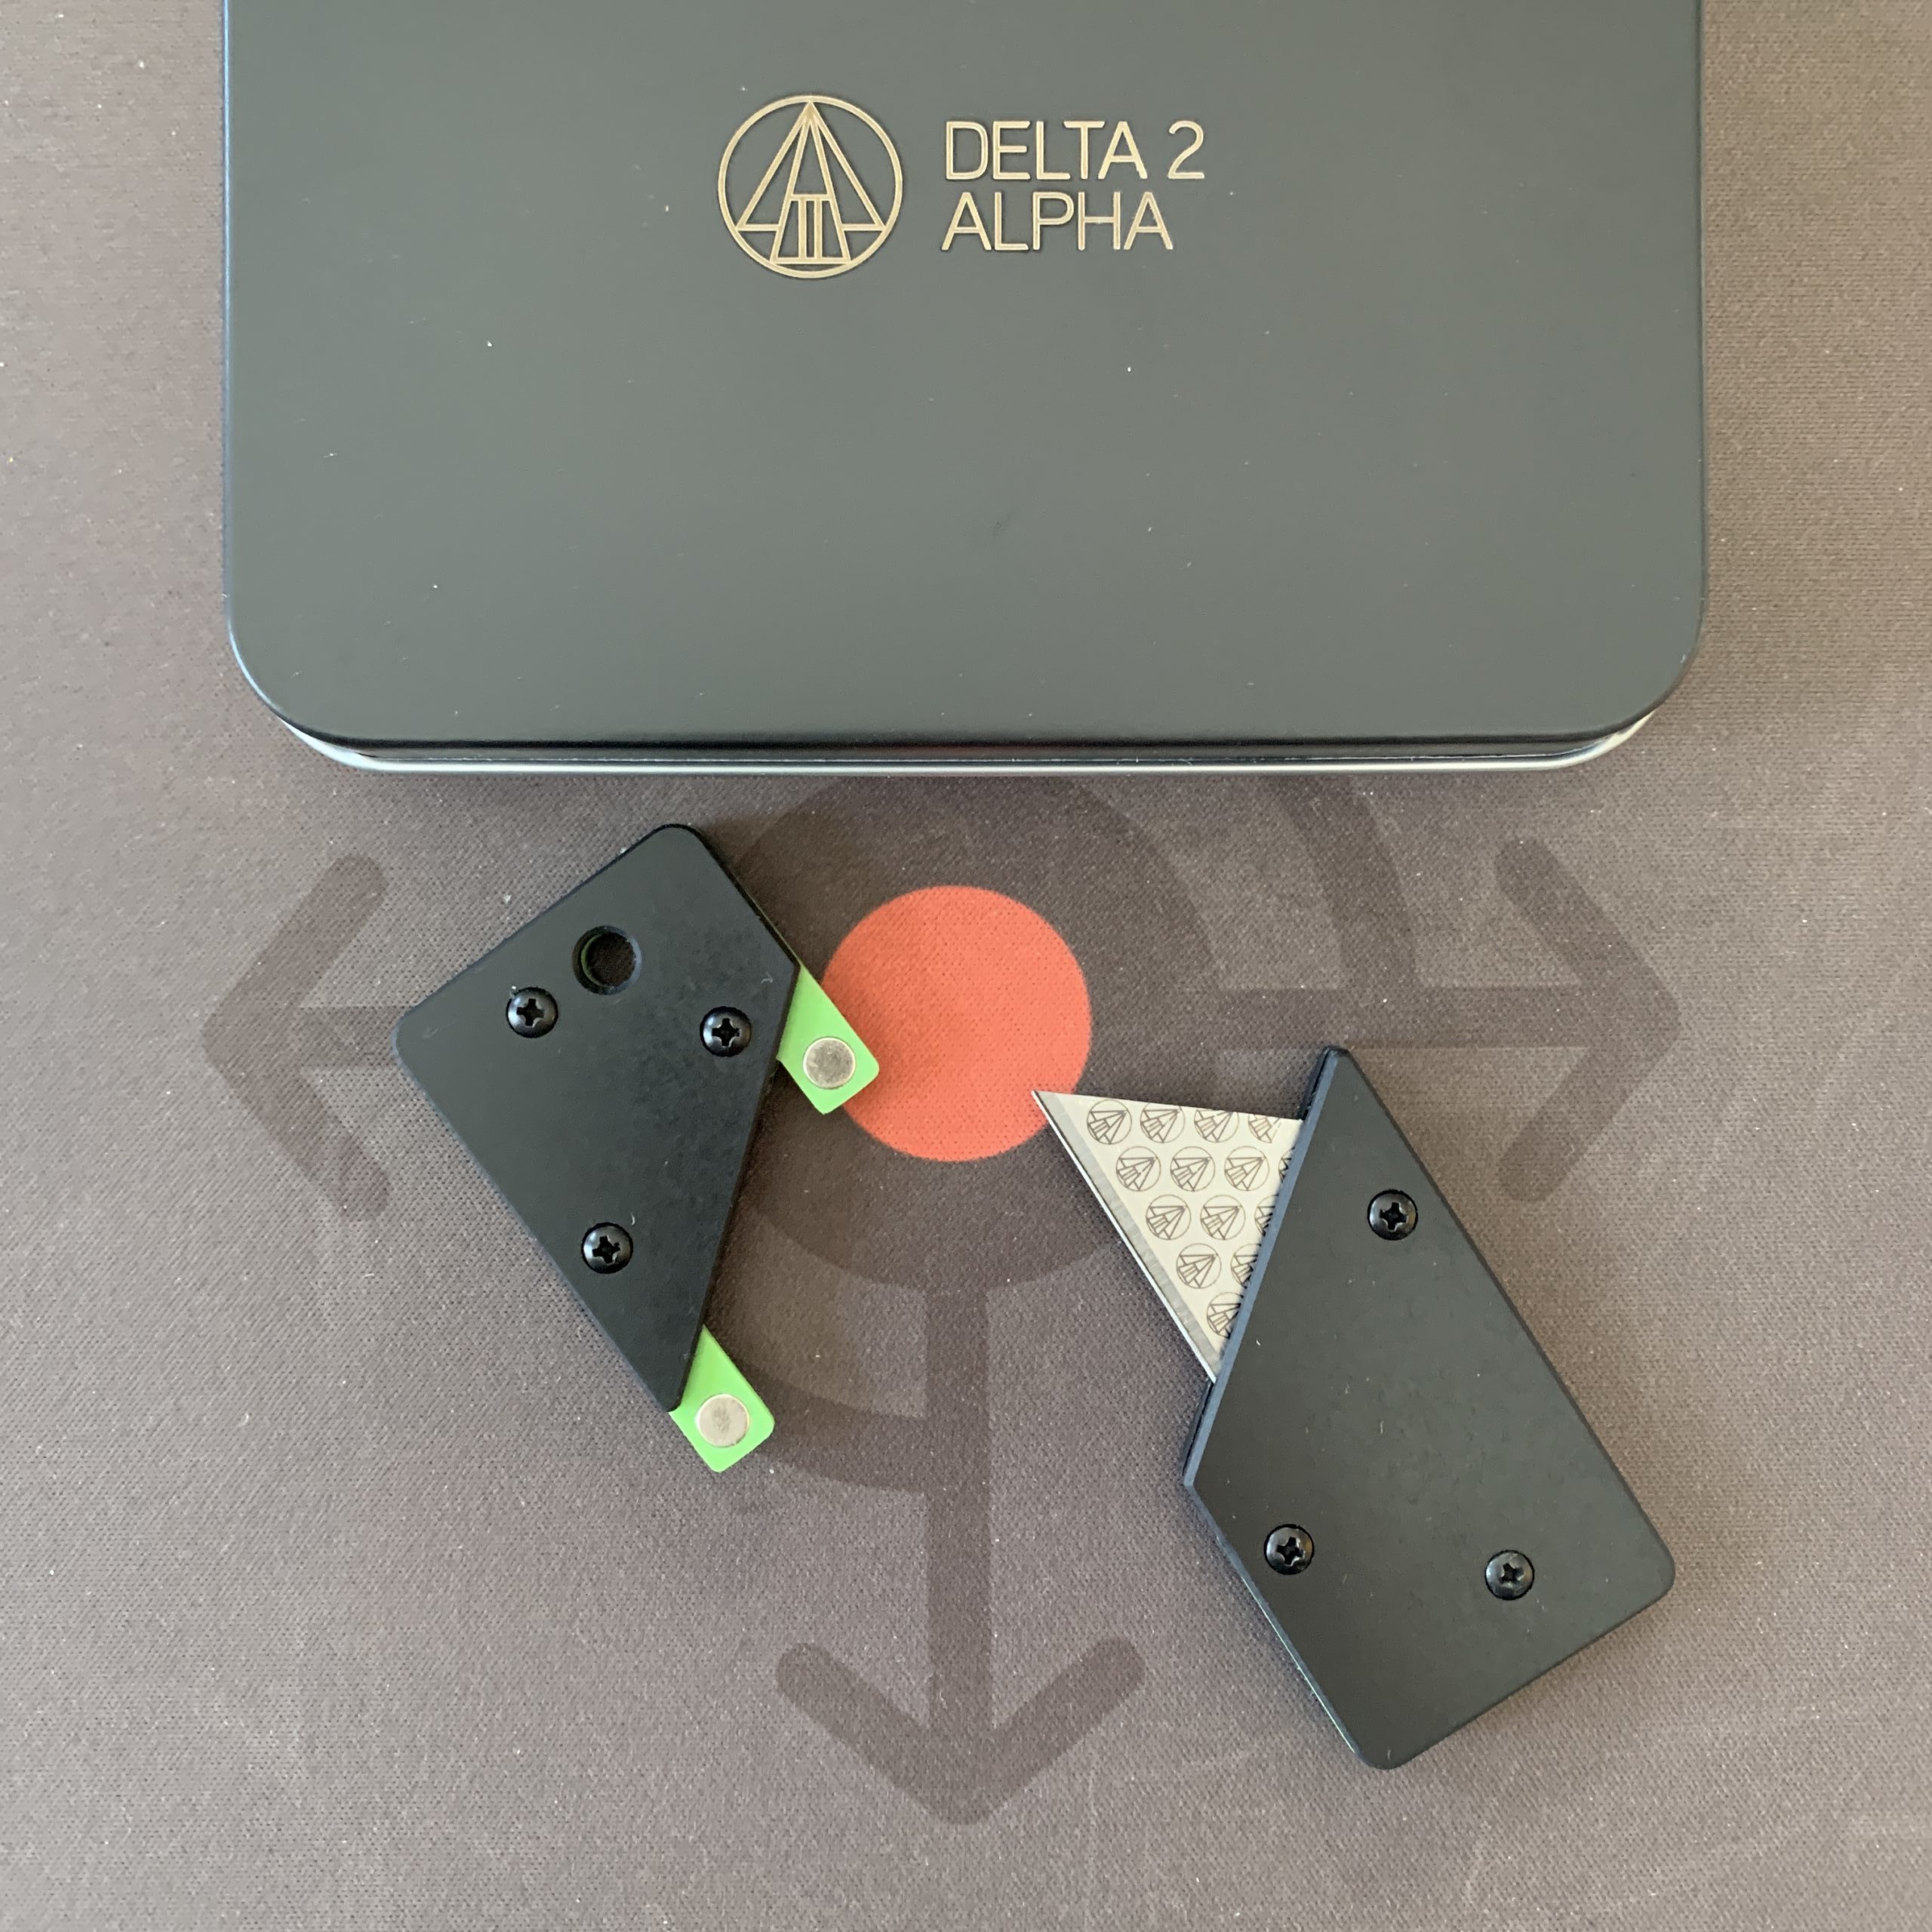
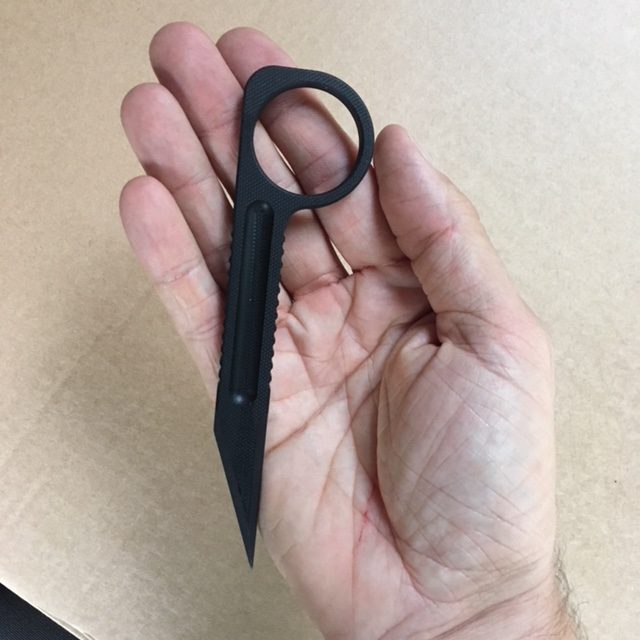
The Domino is your constant-companion packet knife when travelling.
Perfect for low-profile carry and less-permissive environments, the Domino from Delta2Alpha Design gives you a thoughtfully-built, travel-friendly cutting tool with a few cool features.
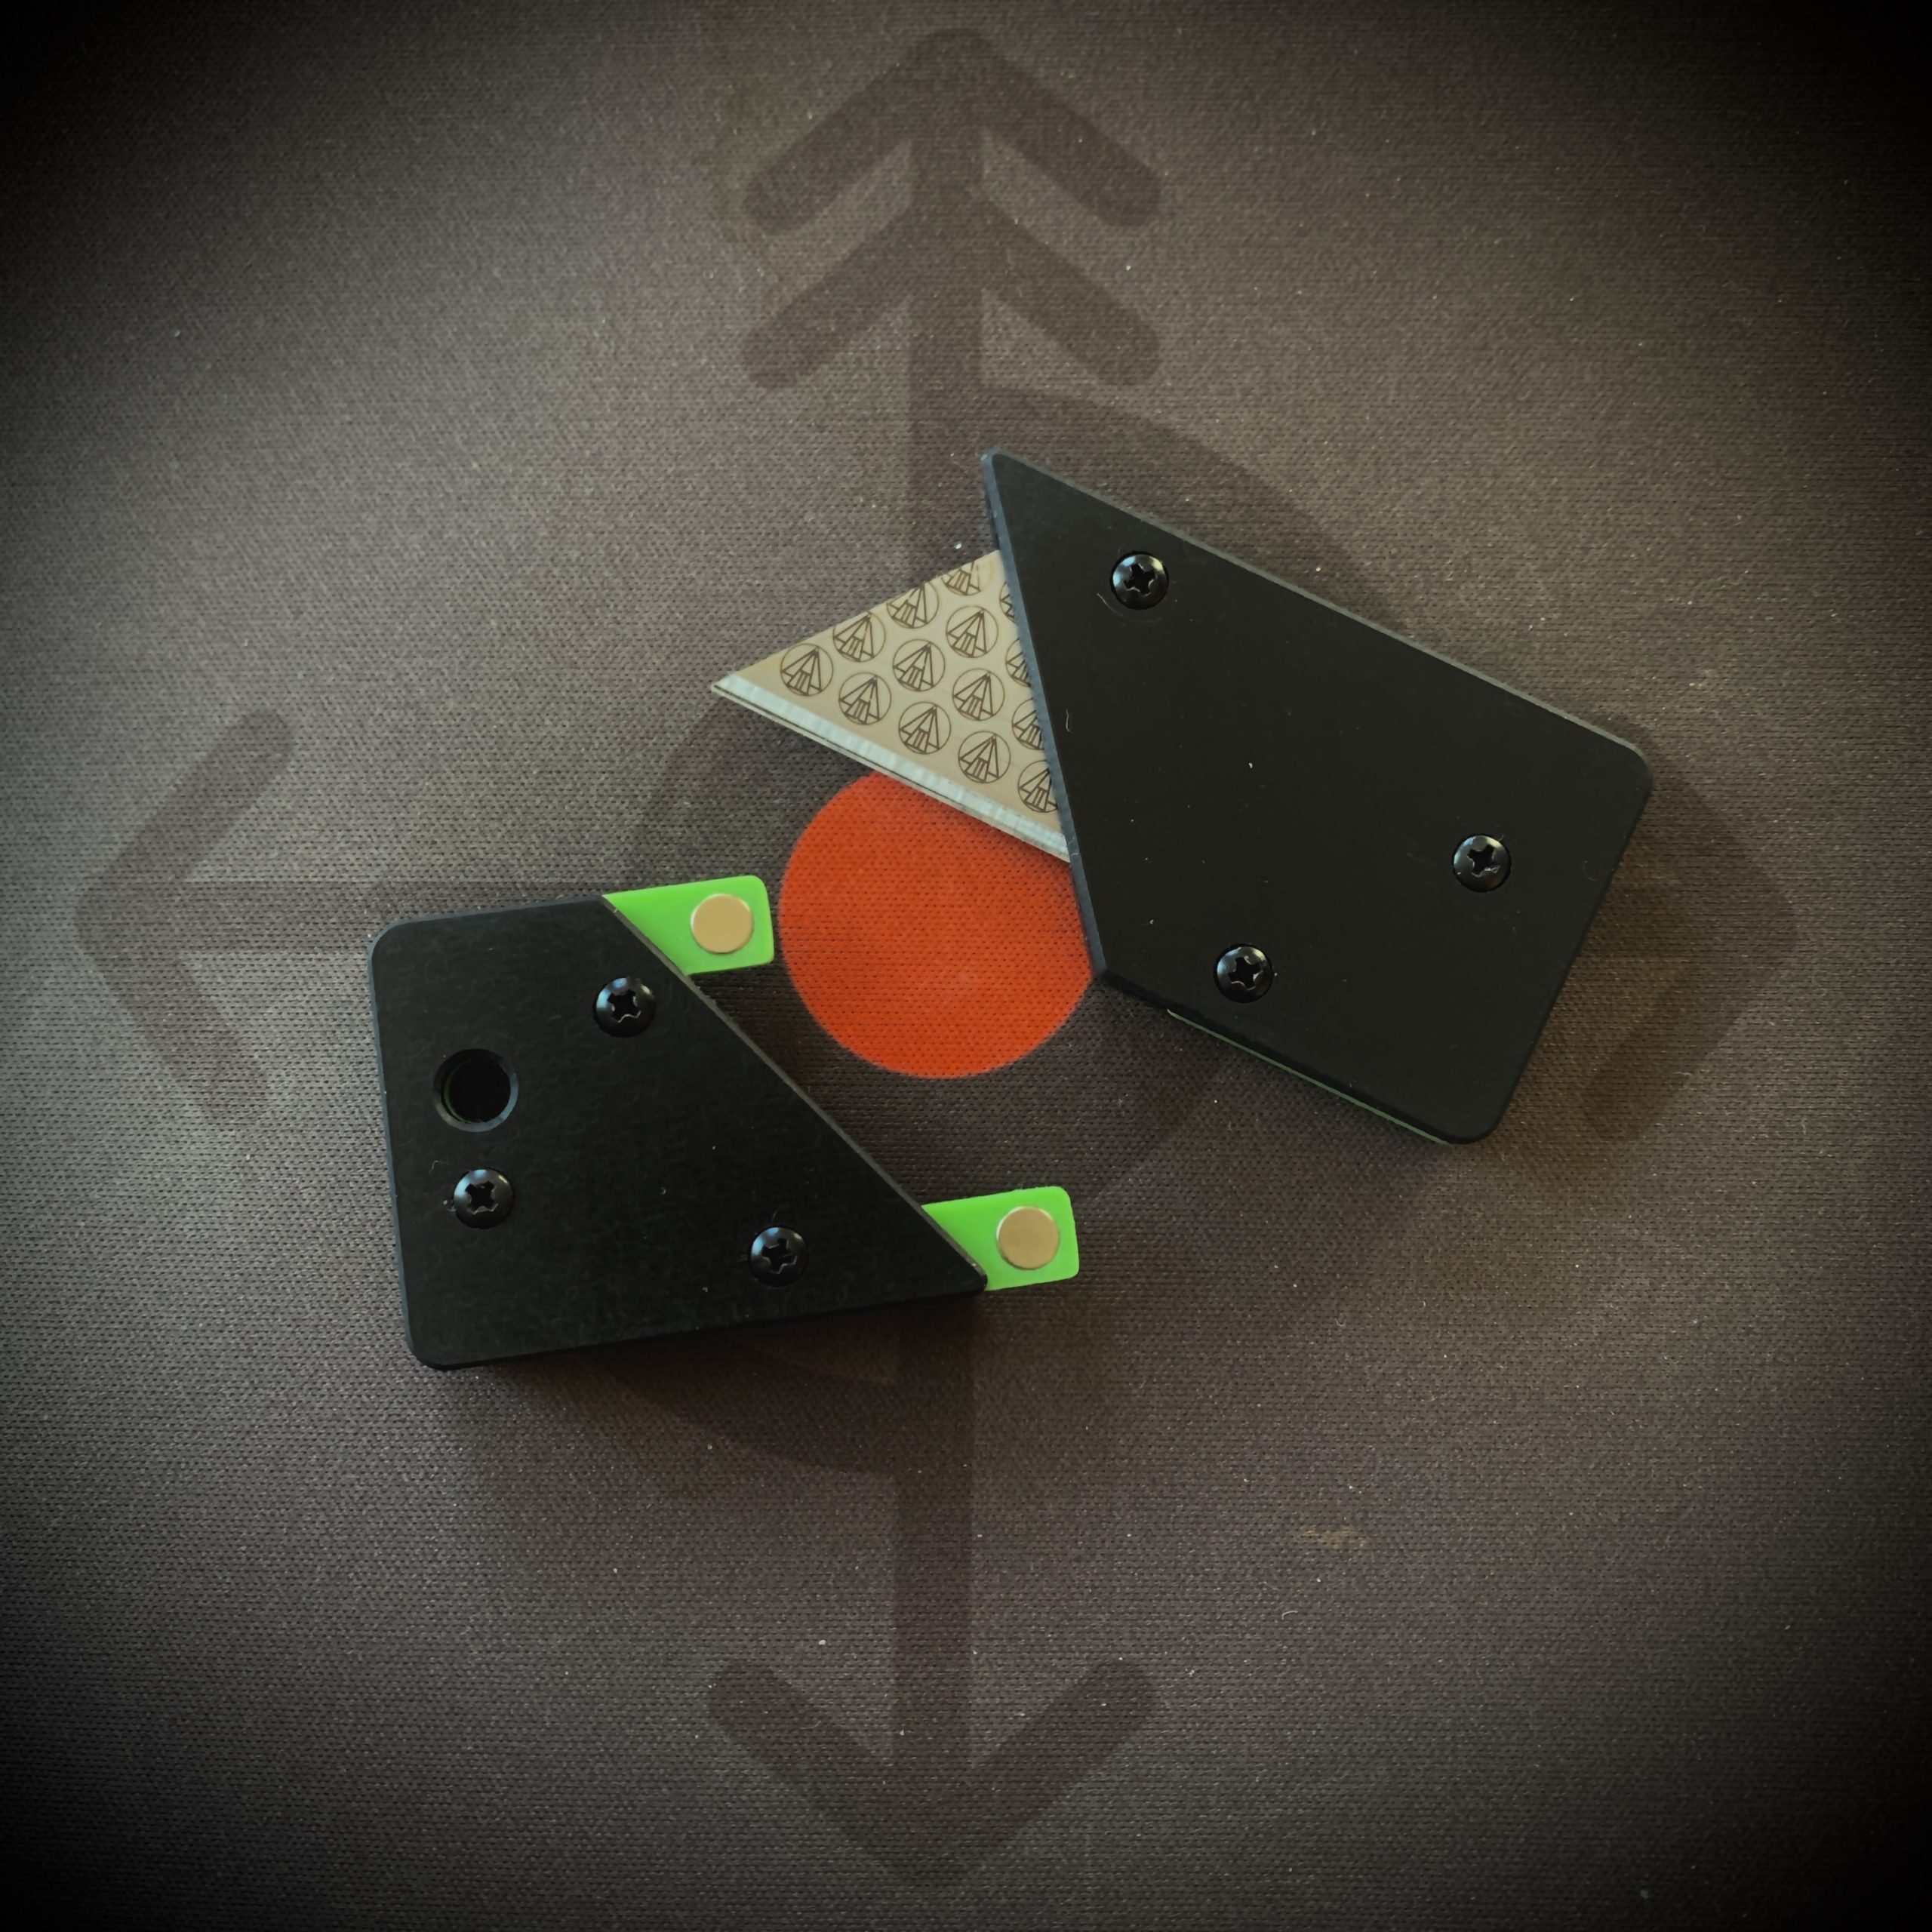
The Domino comes in three colours – Just Black, NOD Green (the one I chose) and Widow Red. All really subtle.
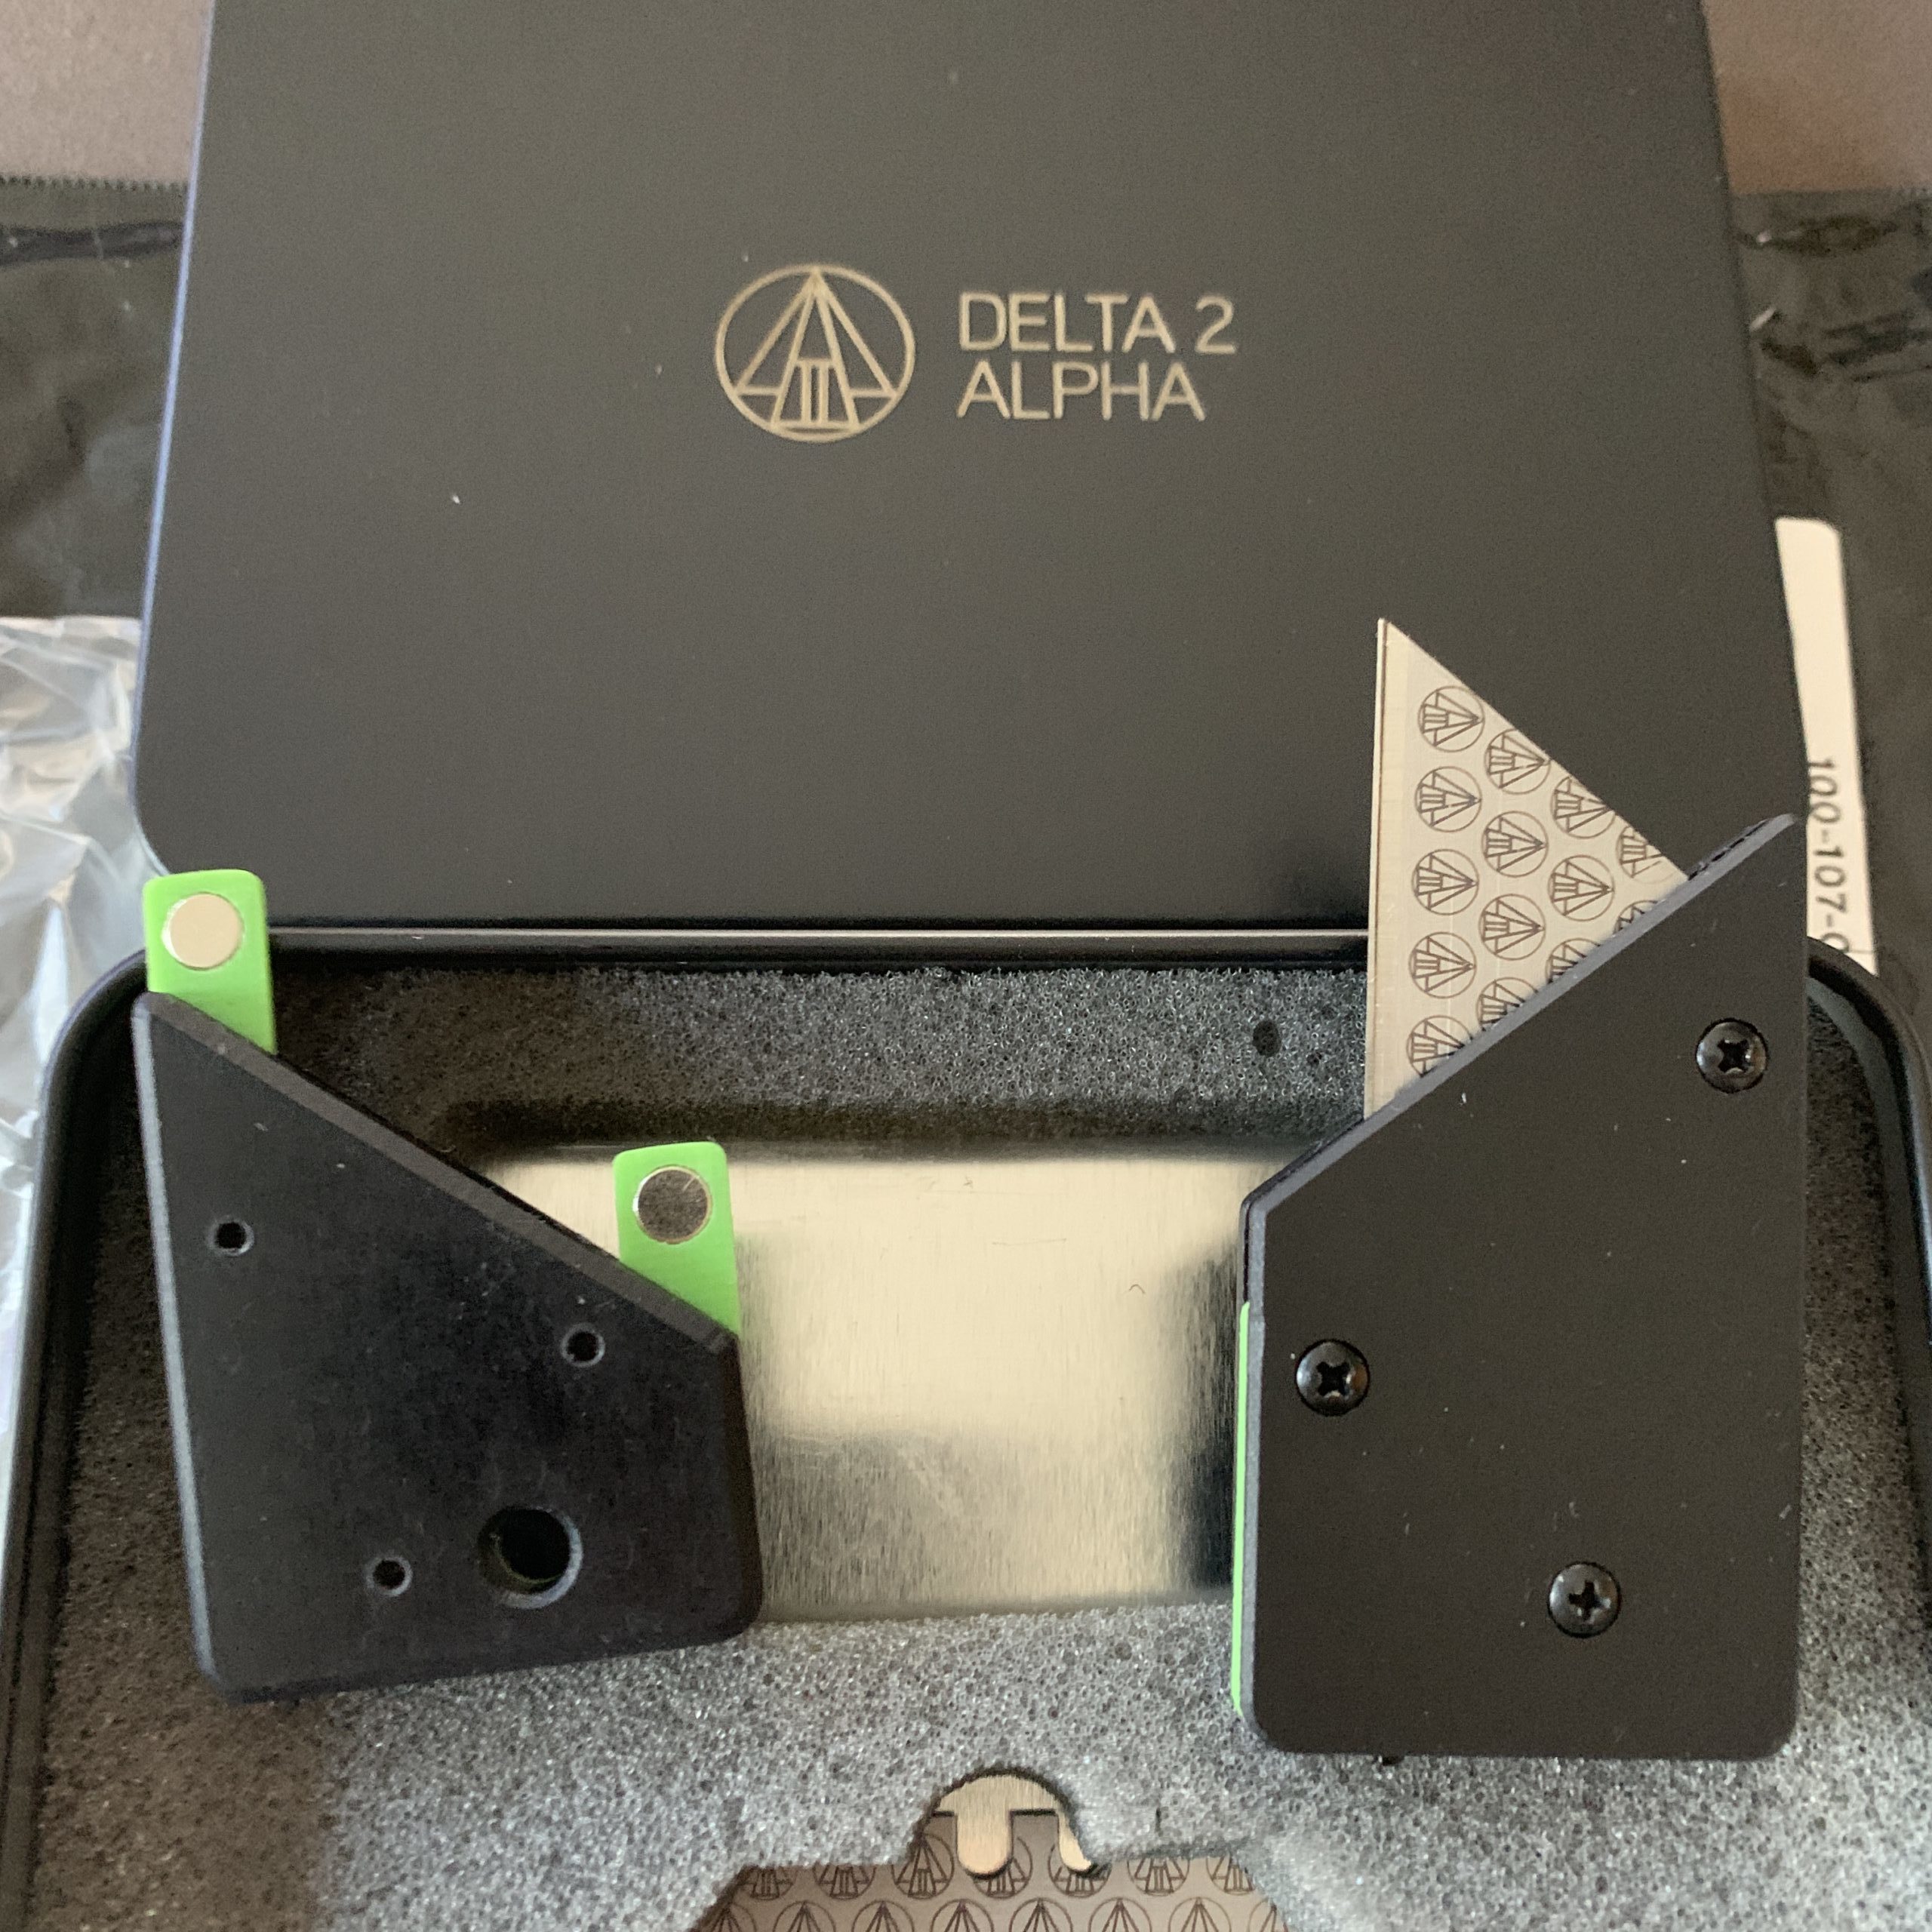
I like the Domino as an addition to my Every-Day-Carry (EDC) when travelling in particular because the blades it uses are ubiquitous and available in shops, gas stations, hardware stores and pharmacies all around the world. Without the blade, it can be taken anywhere and easily loaded when on-ground. The blades are disposable, inexpensive and easily acquired (and each one can be turned over when dull to expose the other side for a fresh, new blade!).
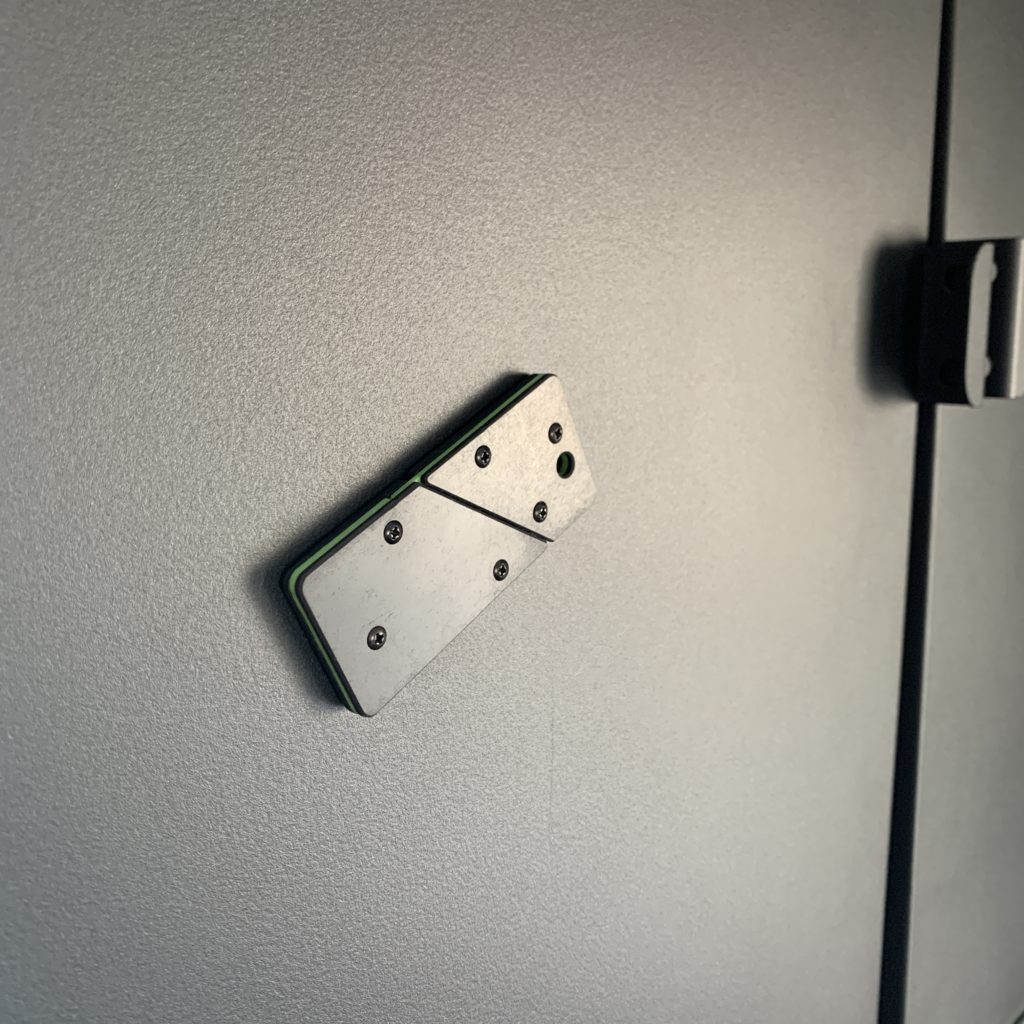
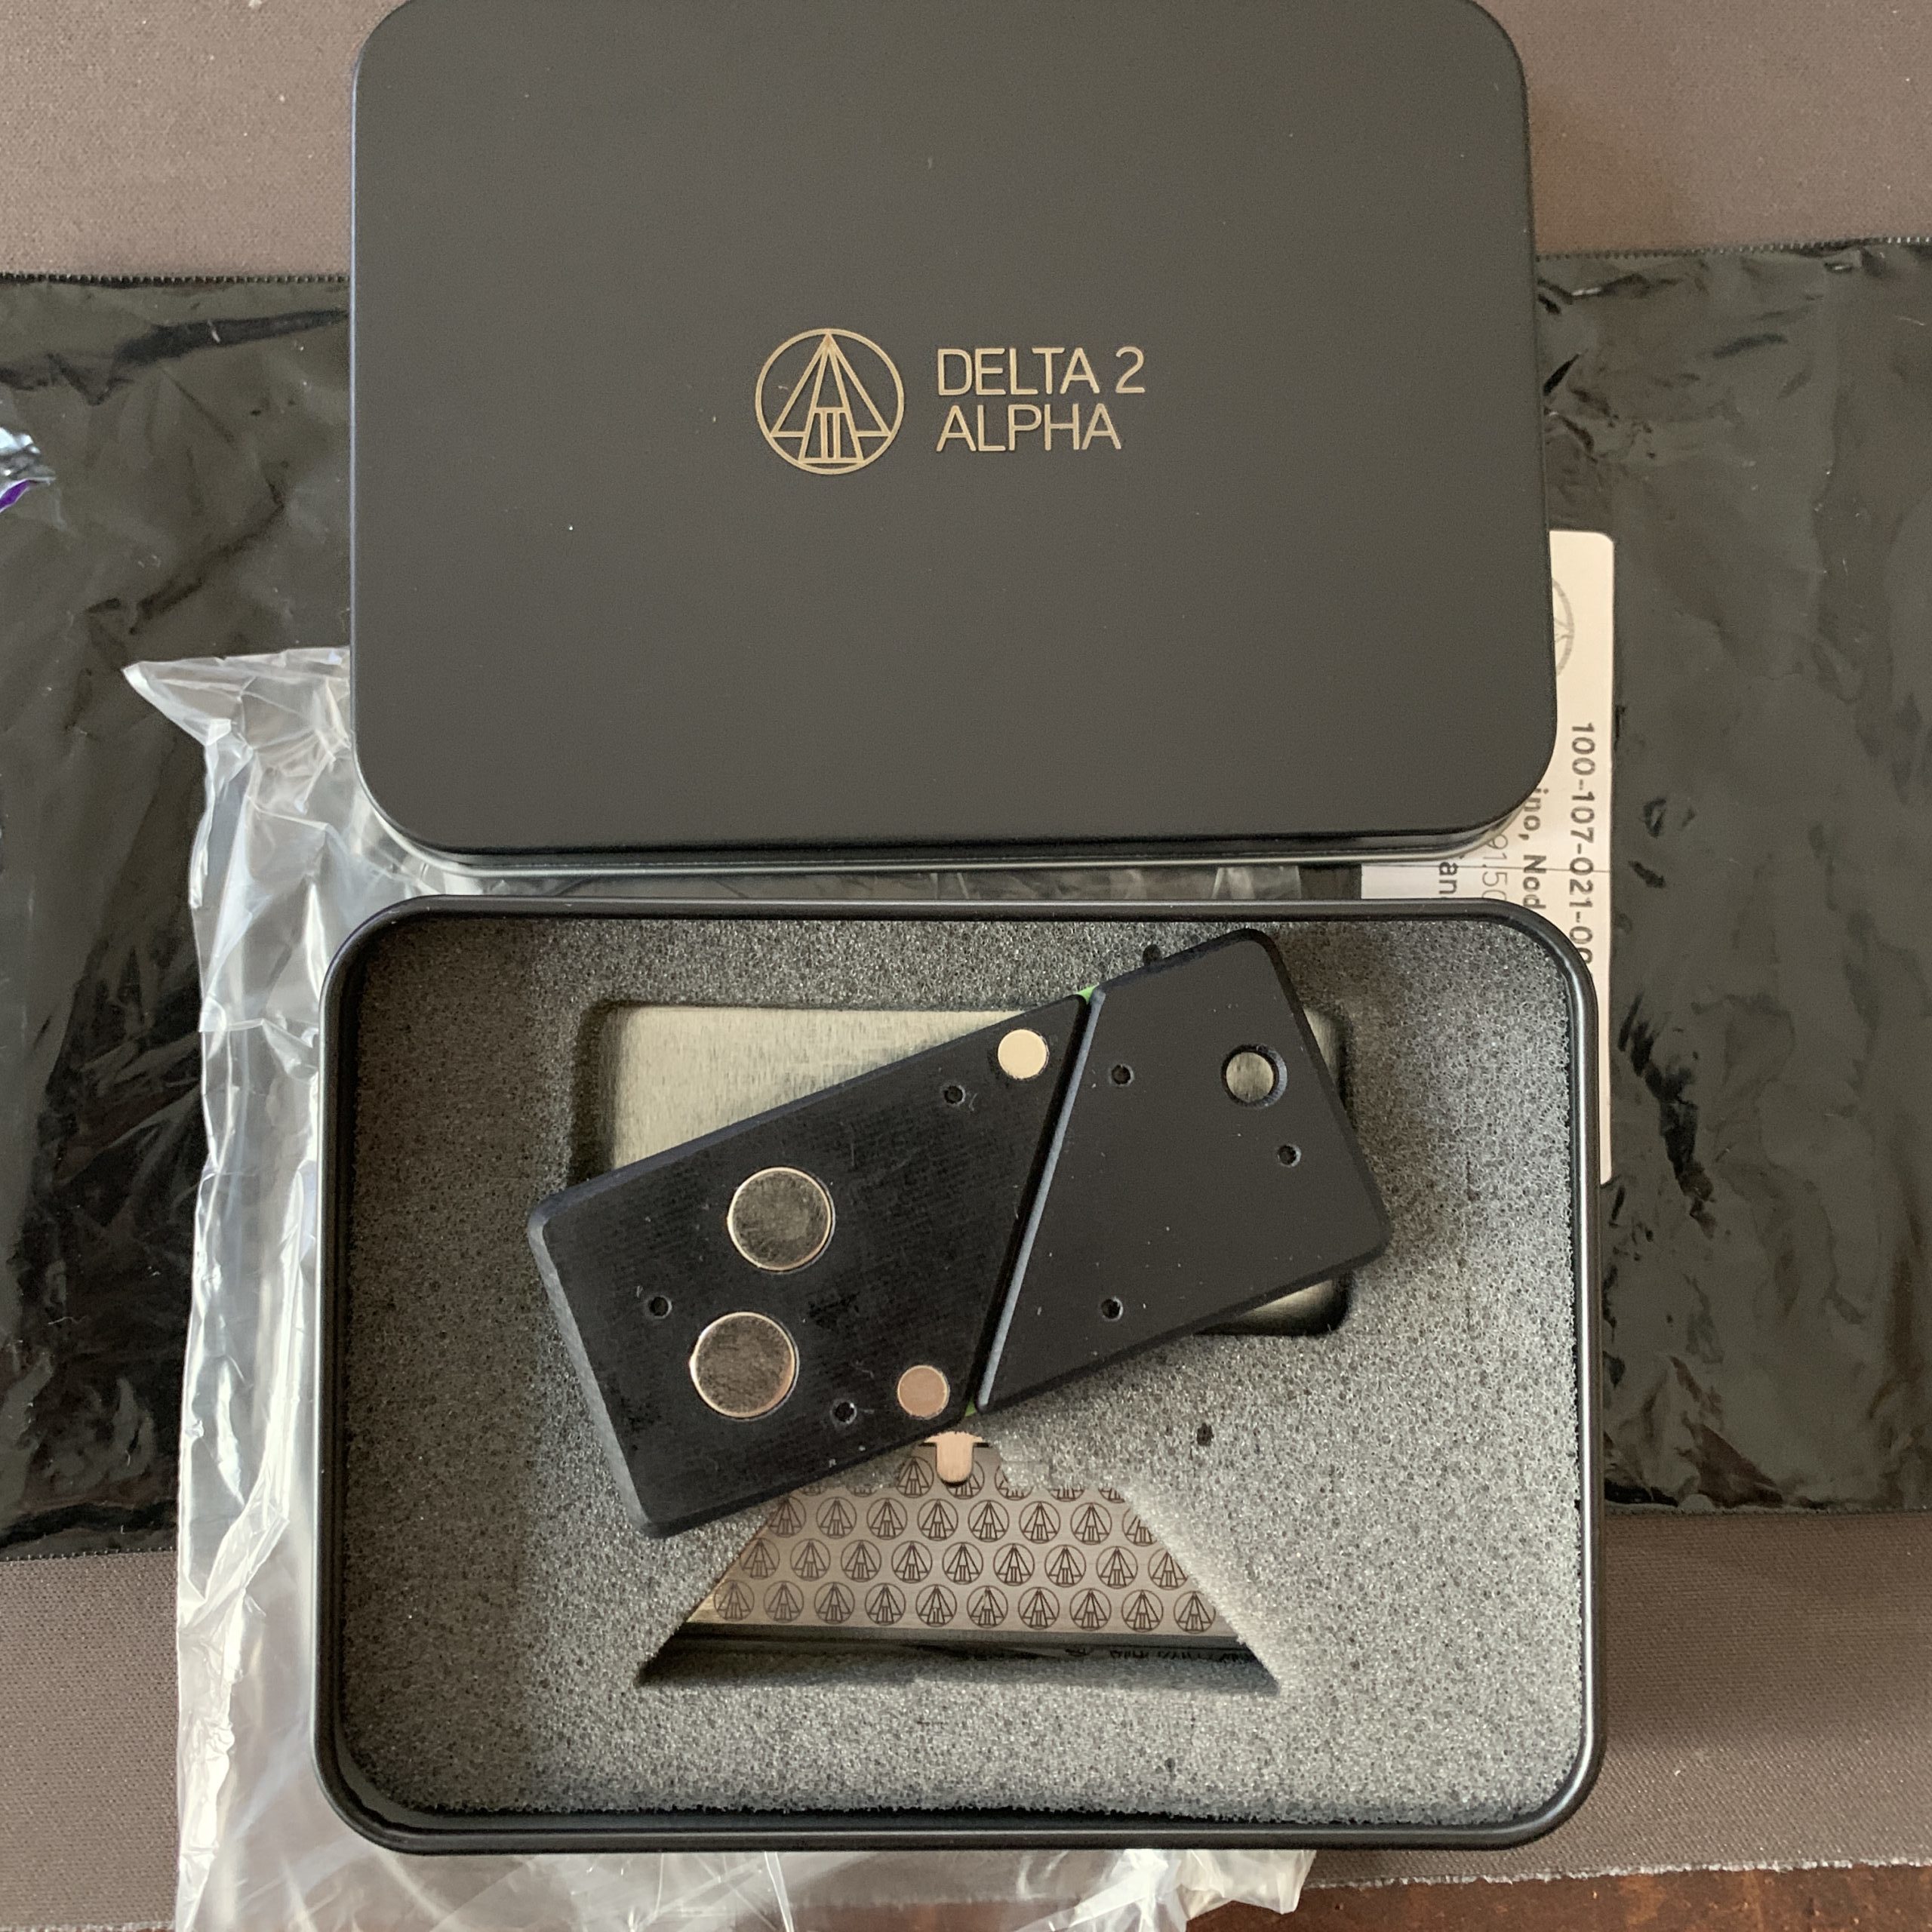
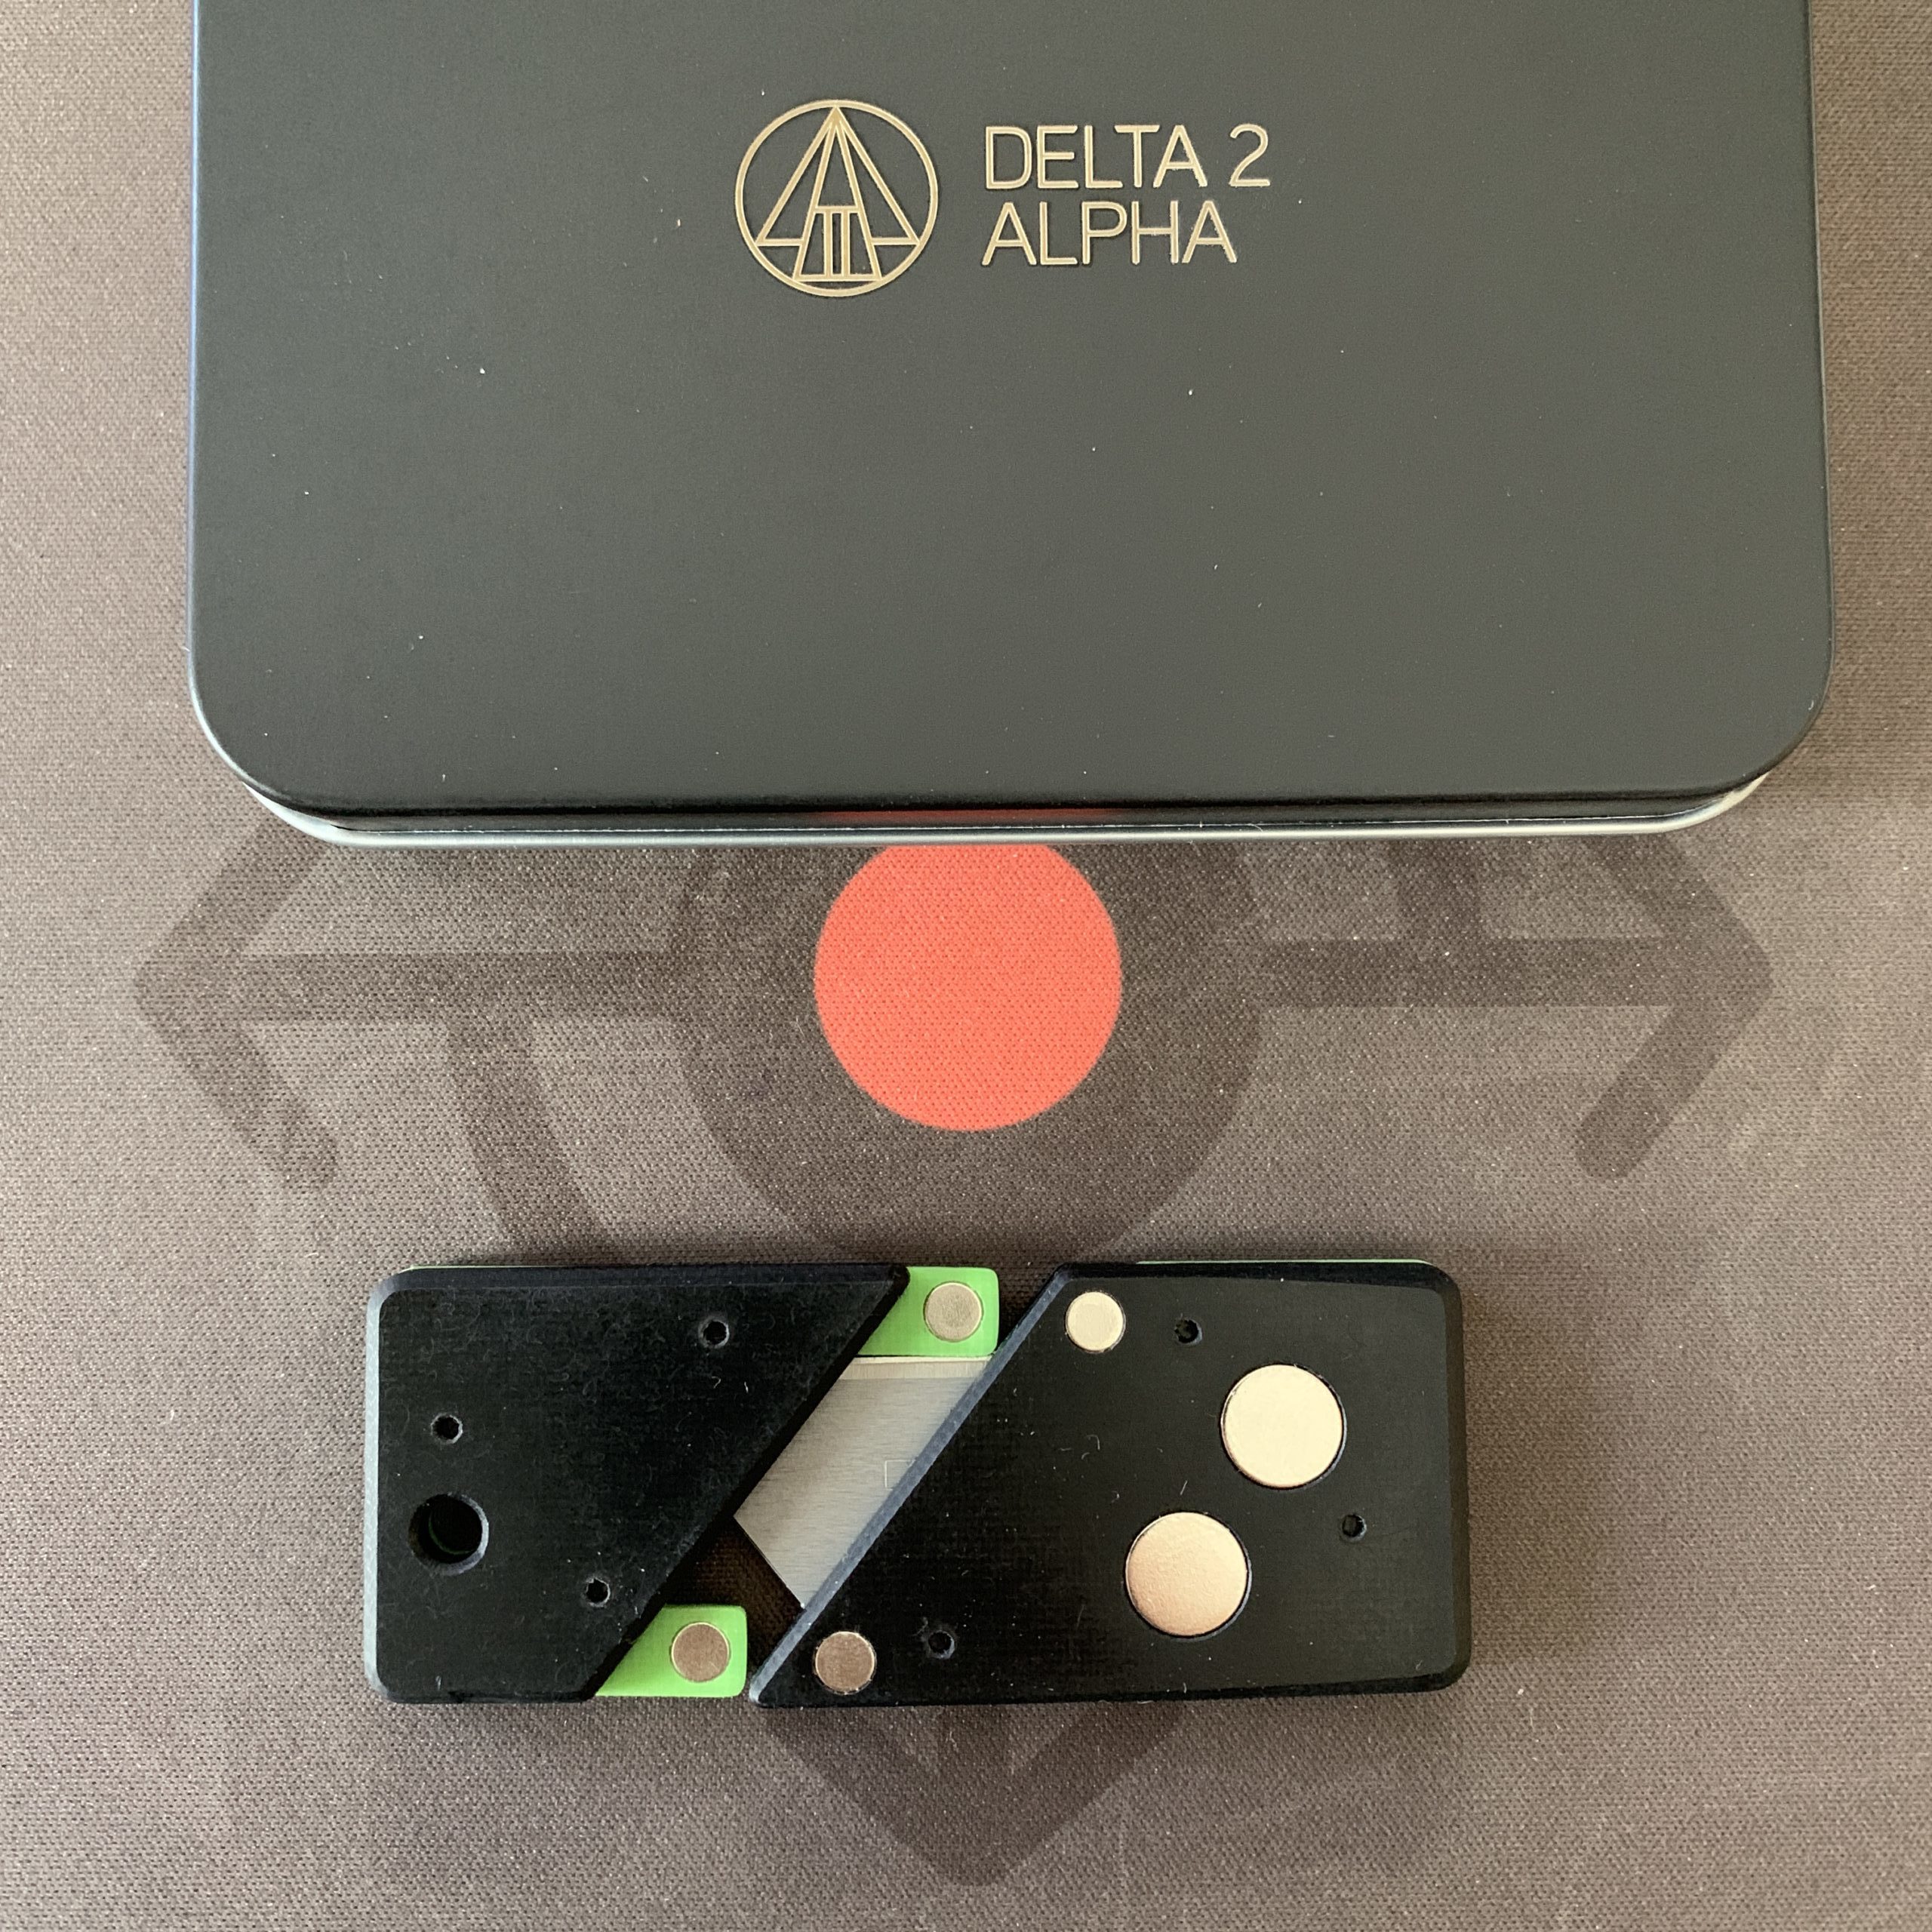
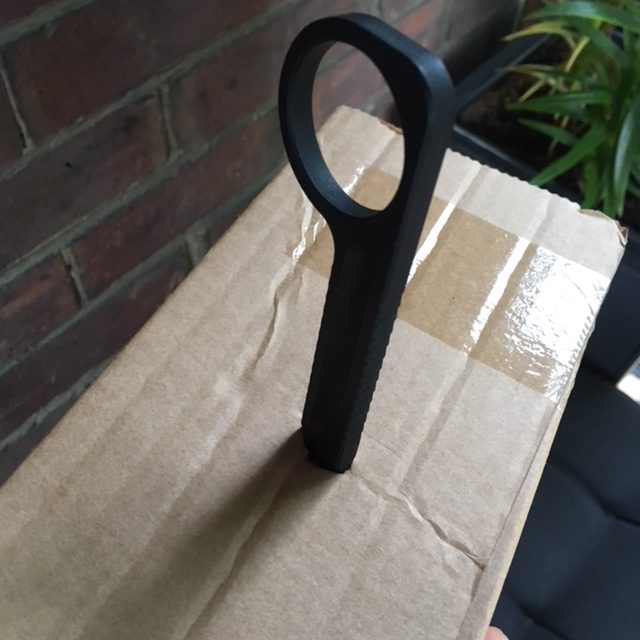
Another interesting feature of the Domino is the magnets. They are positioned in such a way as to create a positive lock on the blade, as well as give you the option to stick it to something metal (see photo of the Domino stuck on one of my metal storage cabinets). It also has a nicely sized lanyard hole to attach via whatever shock cords or other cordage you choose.
TheDOMINO was developed with the “One Bag Traveler” in mind:
*Compact and Concealable *Stylish and Sturdy *Tactical yet Tasteful and Travel Friendly
After having spent seemingly thousands of dollars on “Throw-Aways” while traveling (many of which found their way into the garbage can outside of an airport); we set out to find something better… TheDOMINO was born.
TheDOMINO is a sleek, stylish, and Minimalist pocket knife.
It uses commonly available utility blades, paired with an innovative tool-less, quick change mechanism, that allows the blade to be removed or replaced in mere seconds.
The sophisticated styling of TheDOMINO and small size makes it much less likely to draw the wrong kind of attention when you are around those of a more delicate nature.
From the Manic Mind of the Nomadic Nerd For Hire himself, we are pleased to introduce you to:The DOMINO.
Note: dimensions are 7cm x 3cm x 0.5cm and weight is 106 grams
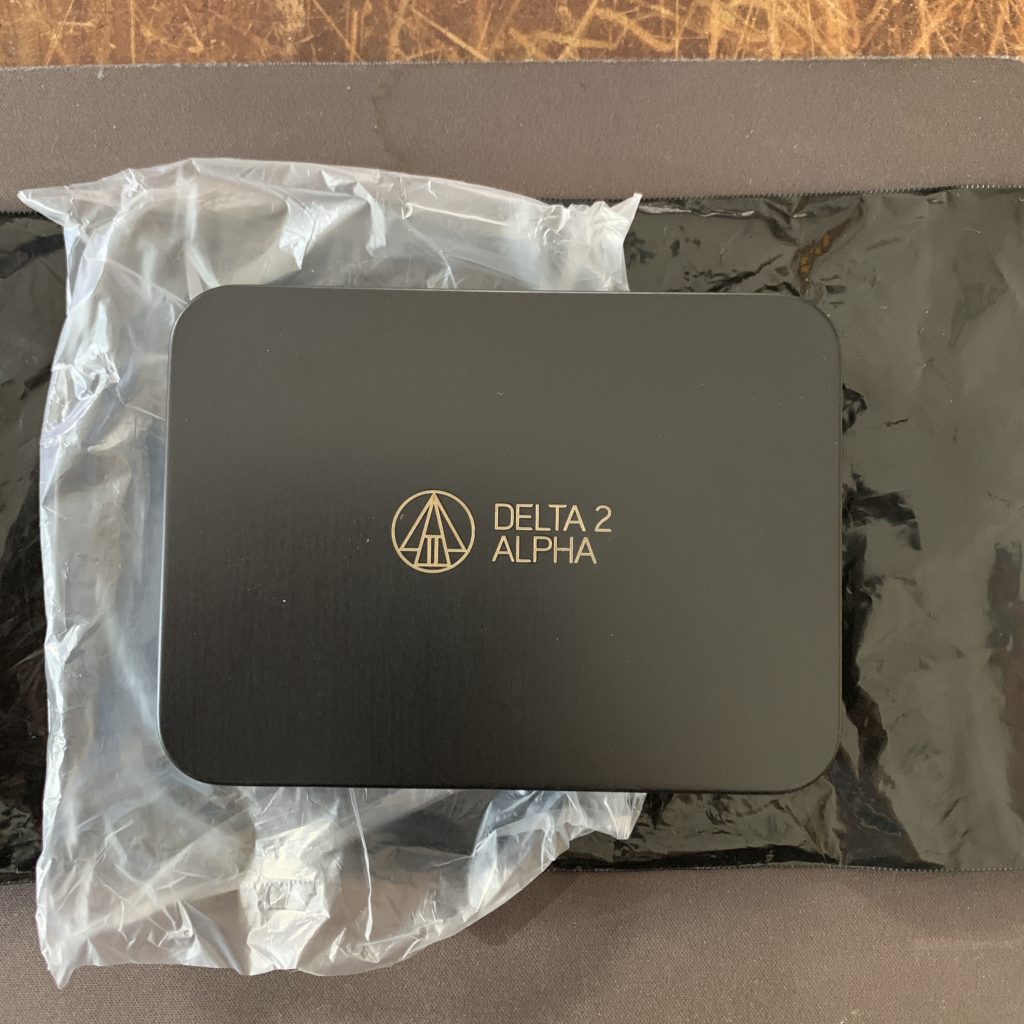
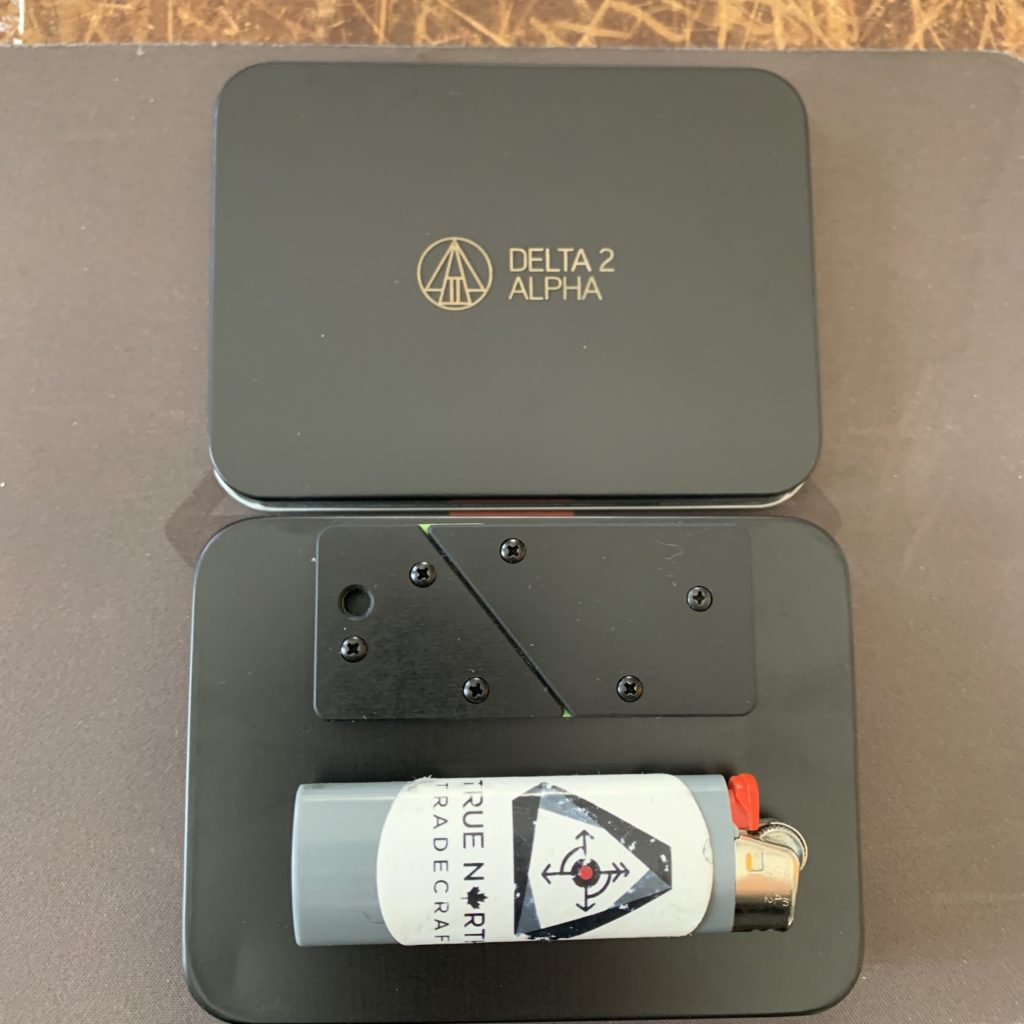
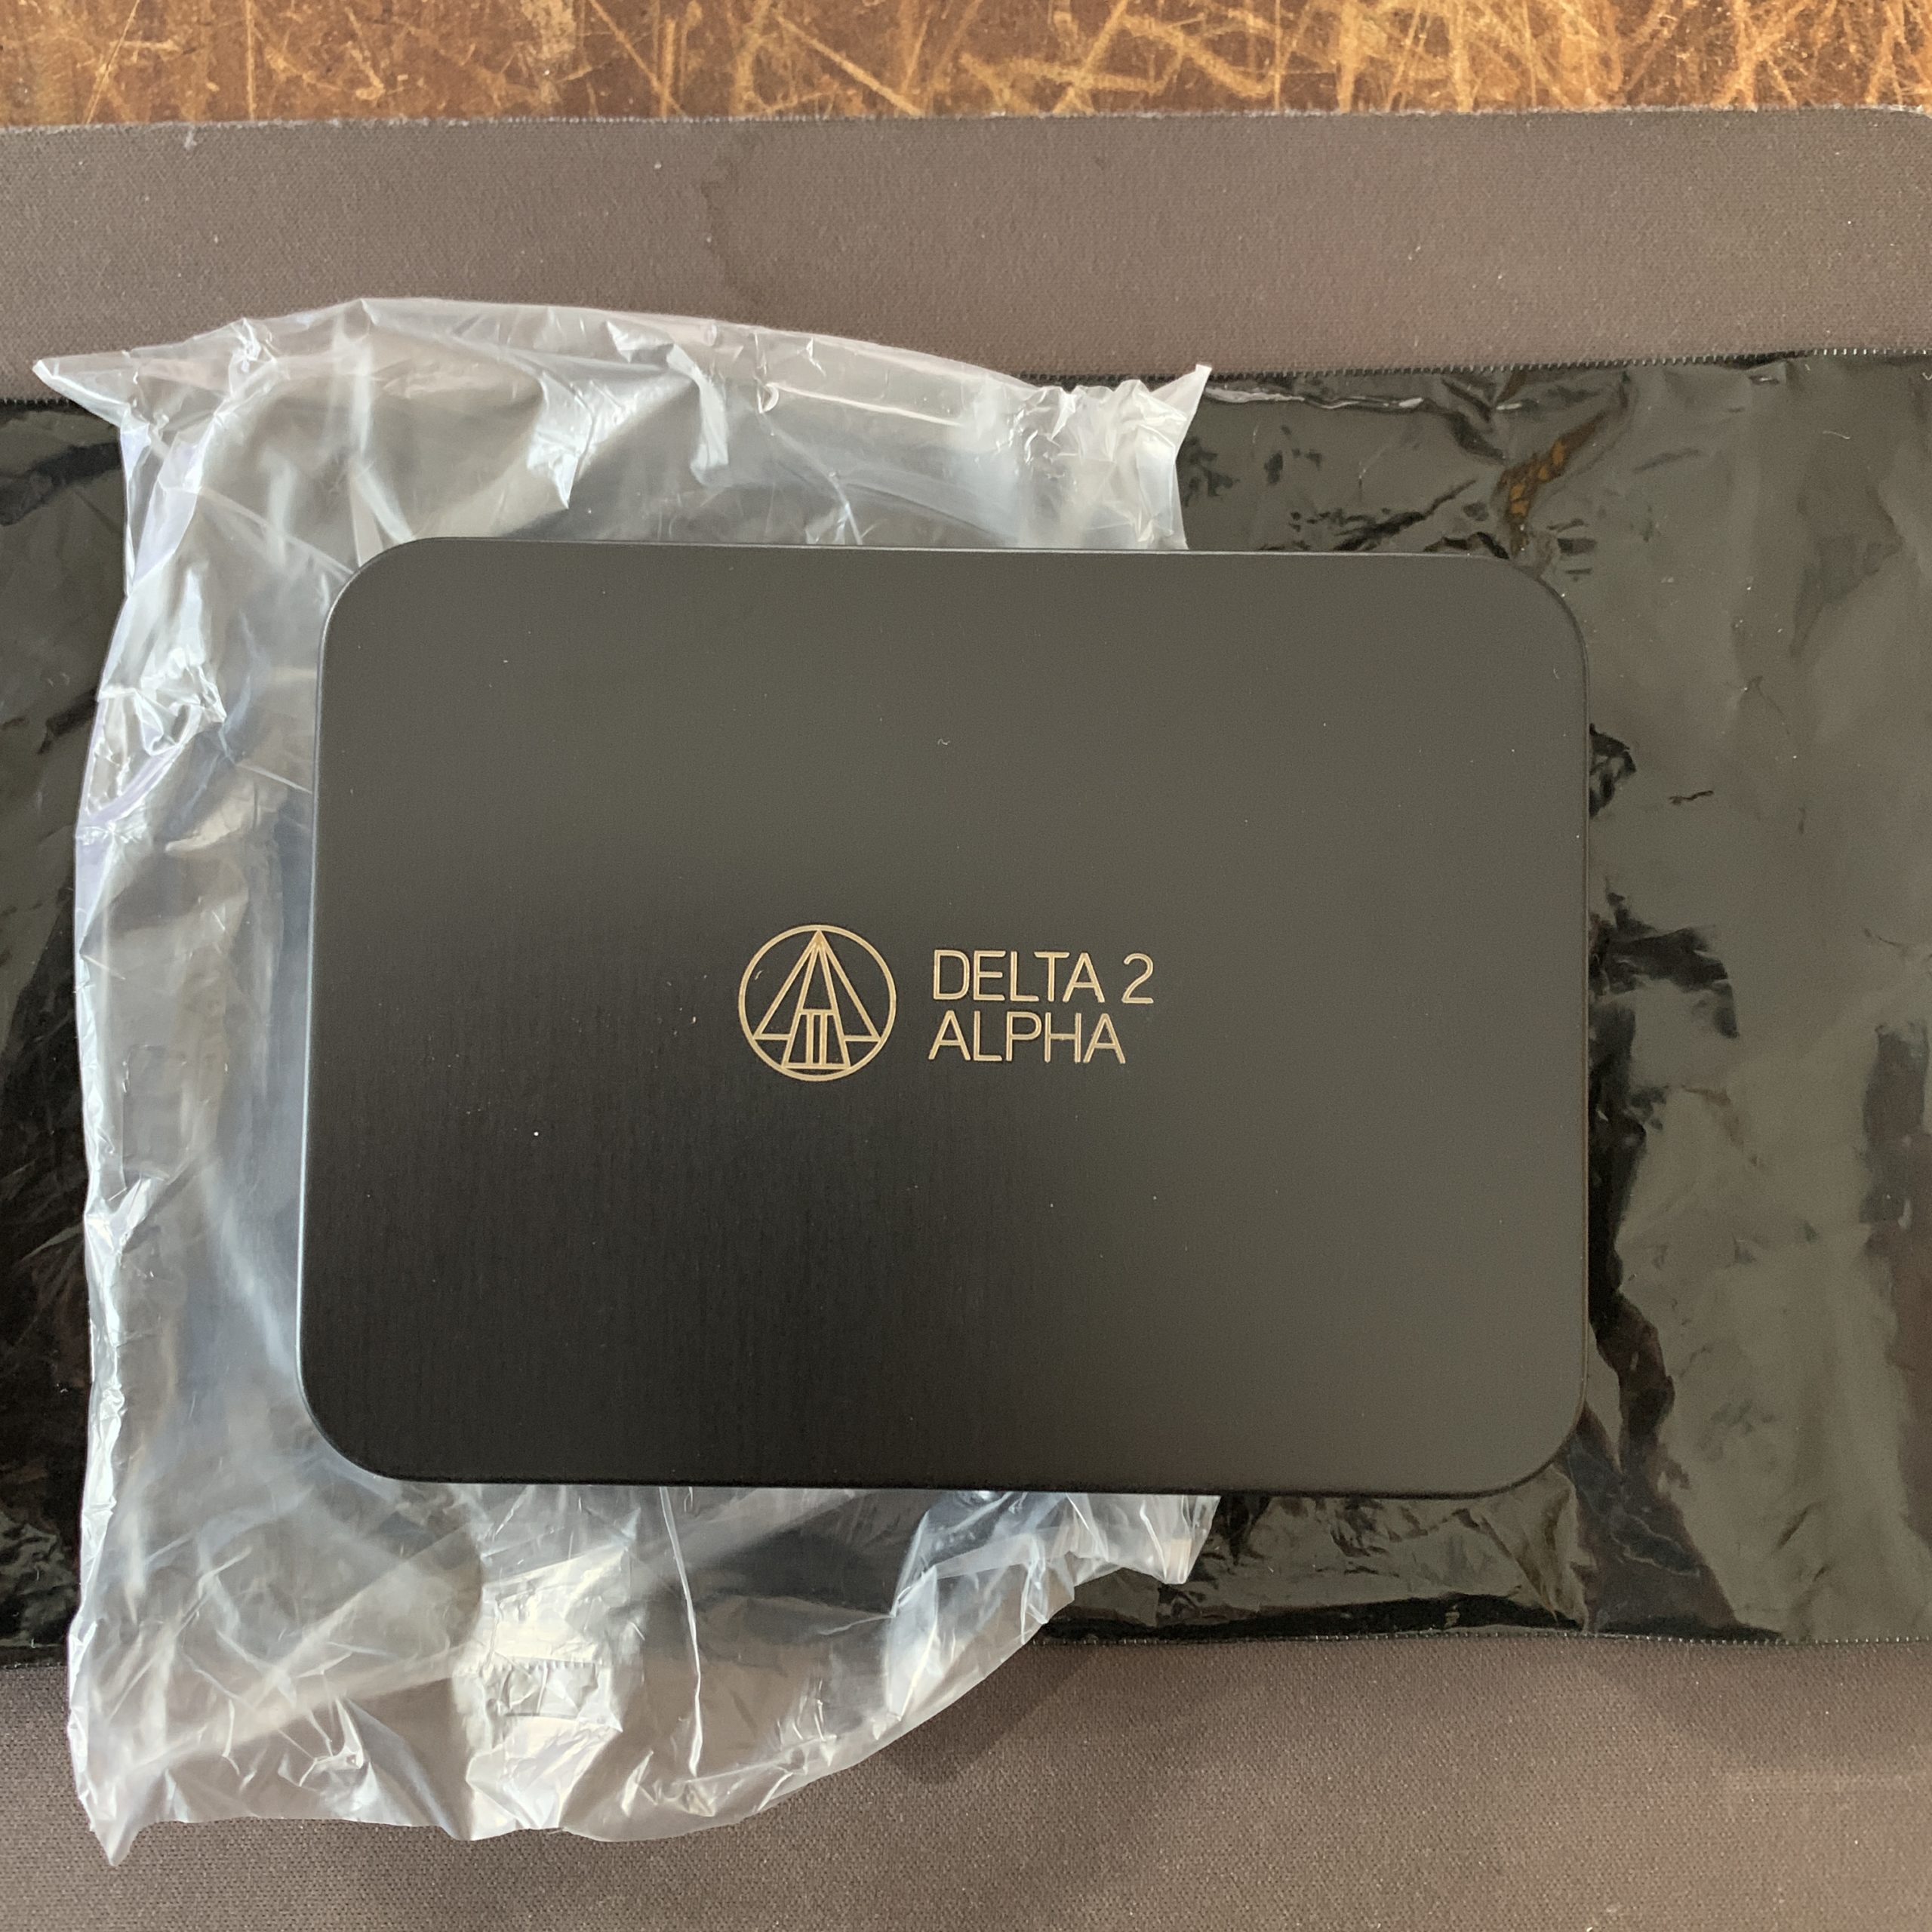
Delta2Alpha have really done a great job with this one – like they do with all their tools and offerings – and the presentation is slick. The Domino comes in a really nice tin (which you can repurpose for countless other things) and is shipped discreetly.
I haven’t, to this point, dipped my toes into the waters of G10 implements. After doing some training down south of the border, I was introduced to G10 tools. Strong, non-metallic, non-magnetic, very light-weight and can be fashioned into almost any shape, I was properly intrigued. I reached out to Dave at Fat Lazy Cat Knives , just outside of Toronto, and read up on his materials, production processes and available models.
For those who don’t know what G10 is (like I didn’t) here is the explanation from Wikipedia:
G10 is a high-pressure fiberglass laminate, a kind of composite material.[1] It is created by stacking multiple layers of glass cloth, soaking in epoxy resin, and compressing the resulting material under heat until the epoxy cures.[2][3] It is manufactured in flat sheets, most often a few millimeters thick.G10 is very similar to Micarta and carbon fiber laminates, because they are all resin-based laminates, except that the base material used is glass cloth. G10 is the toughest of the glass fiber resin laminates and therefore the most commonly used.
Dave and I chatted for a while and I arranged a small batch purchase to test and play around with. That was a few months ago. I have now had an opportunity to poke things with these sharps and I am very impressed with their durability, sharpness and craftsmanship.
As I can only speak to the models I have tried I will say that I received prompt, courteous service, fast shipping and nicely packaged products.
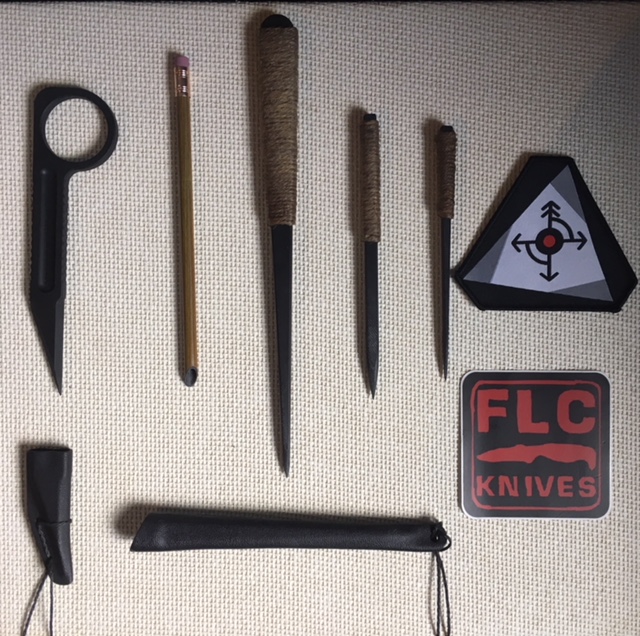
I received as follows:
Get Off Me Tool (GOMT) No. 6 in G10, stubby, offset, with Kydex sheath
GOMT No. 4 (ventilator)
GOMT No. 1 (Synthetic, Slim) with Kydex carrier
“Hatchlings” (both thick and thin profiles)
Cool stickers. (Thanks Dave!)
Immediately out of the box I noticed a few things:
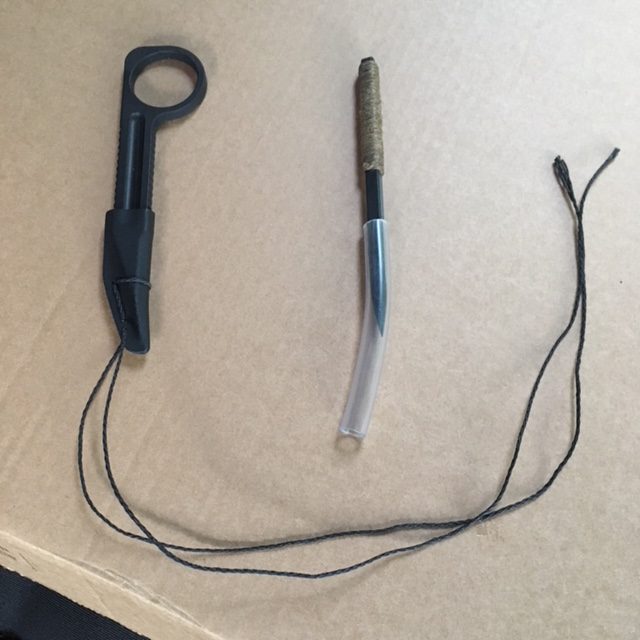
SHARP points on all (good thing they come in protective tubing)
Very lightweight. I’d equate them to a pen.
Sturdy, durable and smooth.
The jute twine which furnishes the handles is comfortable and epoxied to hold the cordage in place. It works well.
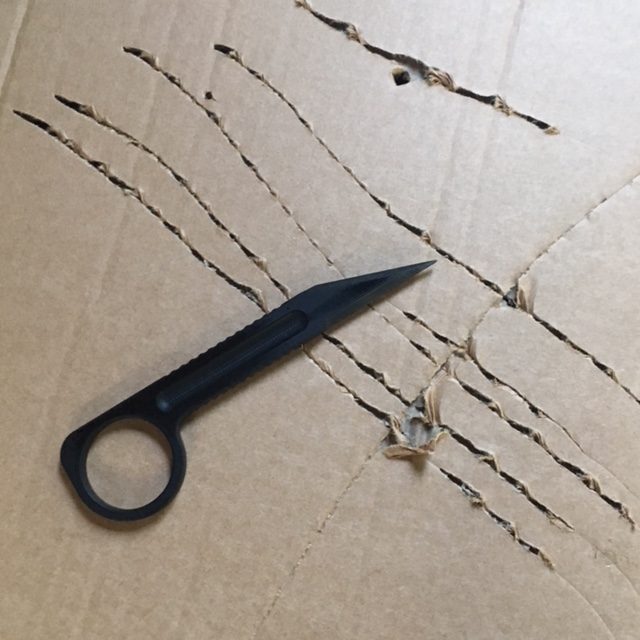
Though I have yet to test them in an organic medium, they easily penetrate several layers of cardboard and towels. The points seem sturdy (none have broken yet, but again, no organic medium testing yet) and maintain their sharp points even after several uses.
The box testing I did (the photos in this entry are not all-inclusive) showed no damage to the points, an easy grip and to-the-grip penetration. The GOMT No. 6 even managed to cut the box (with the point) several times without noticeable resistance and maintain its integrity.
Get Off Me Tool (GOMT) No. 6 (left) and a Hatchling.
Small size. Comfortable grip.
No resistance or deformation of the point.
No problem.
Cuts just like a metal knife through cardboard.
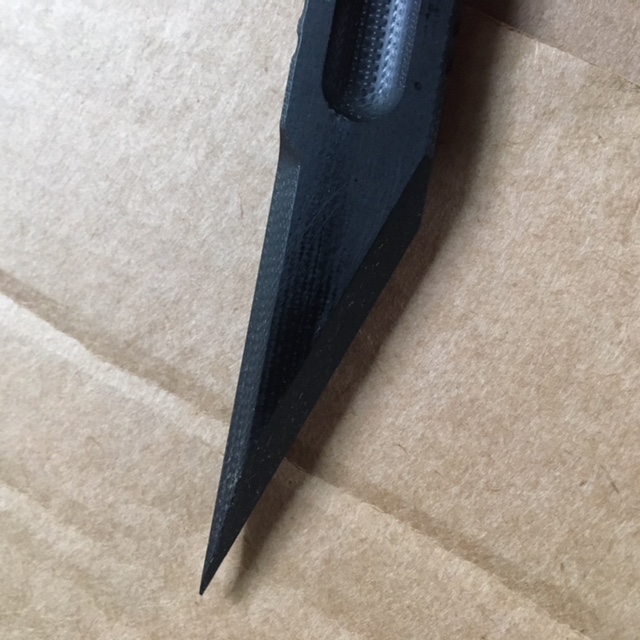
Strong point. Very sharp. Easily field sharpened on concrete.
VERY sharp point.
As you can see, the G10 penetrated with ease and there was no damage to any of the points. The ergonomics worked quite well and felt comfortable in the hand – easy to hold and manipulate. They can even be re-sharpened on concrete in a pinch!
To see some more, check out some YouTube videos of other testing of FLC Knives:
All told, the implements made by FLC Knives are top-notch quality. I am very happy with my purchase and do not hesitate to recommend them to others. Just be careful, they’re pointy.
If you plan well, you have better chances of travelling well. It’s that simple.
Every time I travel, whether it’s for an overnight or for a sustained travel period, I got through several pre-travel stages of planning. I have found that this both allows for maximum comfort and enjoyment while travelling and mitigates any fuck-ups while away and on one’s own (or with your family without the security net of home).
Travel light. It enables you to move fast and remain flexible.
Once it’s been determined what the circumstances of travel will be (destination, duration, dates of travel, airline, time of travel and reasons for travel) I begin systematic long-distance reconnaissance of my trip in an attempt to learn everything I can about my time away from my home base.
Destination: I first identify where I am flying in to (on a map) and where I will be staying and/or working. I ensure I have a solid understanding of the geography and routes in and out of those specific points, and mark them on a map. I will also identify my lodgings, airports, homeland allied embassies or consulates, nearby hospitals/clinics, police stations and possible hazards (like power plants, military bases, volcanos, etc). When I’ve oriented myself according to prominent features, I’ll have a general understanding of where important points are.
Dates of Travel: What I bring and how I will travel is dependent not only on the purpose of travel, but also the climate and weather of my home base and destination. If it’s winter at home but warmer at my destination, may need to pack a different spread of clothes (winter and warmer) and have to wear while travelling and while away. If both areas are similar, then a single and consistent set of clothes works.
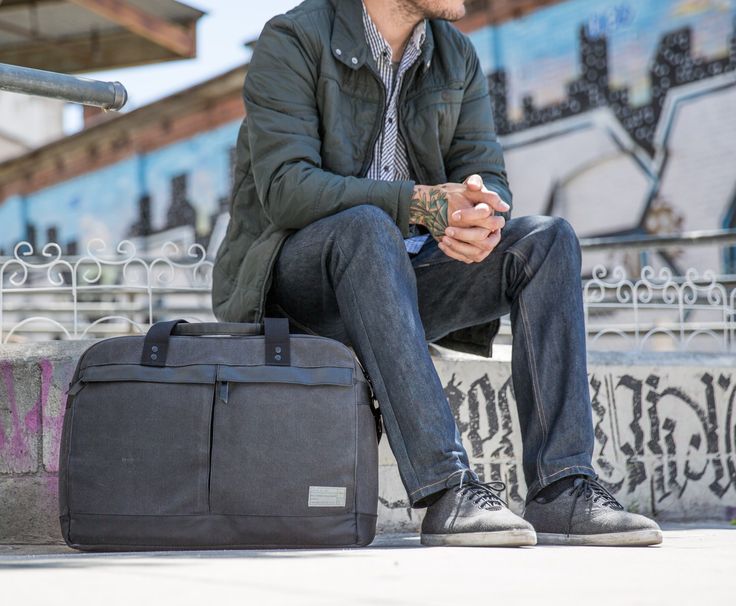
Duration: I usually do everything I can to travel with carry-on only. Checked luggage slows you down (having to wait for your bags to be off-loaded) as well as making it more cumbersome to move about. Pack light, in a 2-3 tiered system while travelling, like an EDC (Every Day Carry) set-up (more on this in a bit). If you are travelling for an extended period of time, pack accordingly, but consider ditching most toiletries and possible consumables at home and buying what you need for your stay once you arrive in-country. That way you will be better prepared with locally acquired supplies and you won’t over pack.
Packing: Like I mentioned in the previous point, I try to travel light and buy consumables (like regular toiletries, additional supplies, maybe even tools) locally when I arrive. I also believe in packing light and smart, the latter allowing you to maximize a few wardrobe pieces across many days and environments. I prefer clothes I can wash by hand in a hotel sink and have it ready the following morning to go. This includes socks and underwear. Buying some quality pieces of versatile clothing is key in your planning cycle. Also, packing light allows you to augment your clothing with locally procured clothes to better blend in with the local populace. This is especially important if you are trying to keep a lower profile while in a foreign land. As an additional to my packing, I try and pack in the following way to support a level of preparedness should some unforeseen issue arise so that I can have a better chance of dealing with it.
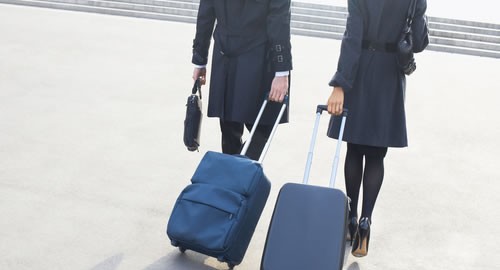
If you travel with someone, you can double each other’s circle of protection and have someone else to rely on. Make sure you’re on the on the same page.
This list includes a tiered approach to carriage of what I am taking with me.
(NOTE: This is a recommended list and is not definitive. Pack according to your own requirements, but aim to pack light and with room to spare for souvenirs or other goodies you acquire on your travels.)
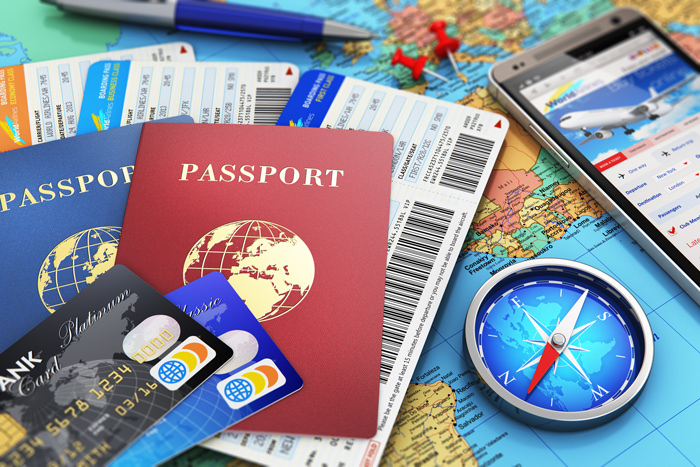
On my person ( and in my pockets and otherwise on me AT ALL TIMES include (but aren’t limited to):
Passport
Credit cards and CASH (cash is KING – be sure to have US dollars and try to get local currency you’ll be travelling in as soon as possible.)
Charged cell phone with charging cable and adapter plug.
Small EDC flashlight
Small Bic lighter
Small key ring with house key, Tactikey, 1-2 key tools and small lock pick keychain, encrypted USB key (with .
Wallet & decoy wallet (with minimal cash, used for visible purchases at shops for snacks, taxis, etc.
Watch
Hat (type dependent on weather)
Small, TSA-approved multi-tool (no knife).
Other items of use (depending on climate & other circumstances).
Bottle of water (empty while going through security, refilled in sterile area)
Photocopies of all my documents and credit cards, emergency contact info for friends and family back home and consular resources while in-country, general map of the area I’ll be staying in (detailing safe zones and escape routes) and copy of my plane tickets.
Sunglasses (and back-up pair of glasses or contacts if you wear them)
Several pens (both Bic and Zebra brands – none of that Tactical pen stuff) and a notepad
True North Tradecraft stickers, patches and business cards (to spread the Good Word).
Pack of gum
Button compass
Sweater with waterproof shell jacket (either worn by me or in my backpack (next tier).
Comfortable shoes
Pants and appropriate belt
The above items will support me if forced to deplane ANYWHERE and should be able to affect a return to safety. Of course, everything depends on the situation, but having those as a minimum greatly increases my odds of making it to a better place.
As a second tier, that which should go in my “personal item” (i.e. my small backpack), I load the following. (Note, this tier is what I will grab if I have the opportunity and will have to live out of it. It has next-level important stuff. With these items, I can travel for a long time.
Laptop (plus charger, cables, adapter, USB drives, etc)
Change of socks, underwear and extra t-shirt or long-sleeved shirt (or both, if needed).
Copies of all documents and information (just like the set I have on me.
Back-up tools including everything I already have on my person.
Some snacks for the trip
Pens, notebook (double-up as on my person)
Local map, guidebook/phrasebook (if needed).
Books to read (1-2)
First-aid kit (including medications and tourniquet if possible)
Minimalist toiletries (toothbrush, mini toothpaste, mini deodorant, mini hand sanitizer, package of wet wipes, etc.)
A couple of carabiners (climbing quality), a length of paracord, a padlock
With the backpack, and what I have on me, I have moved myself into the zone of “minimalist backpacker” and should be able, with augmented goods procured locally, to sustain myself until I either depart or until I can get help.
Lastly, my carry-on luggage. Stored in the over-head bin, this should round out whatever I need for a comfortable vacation or trip just about anywhere. As it stands now, the list below is what I will likely pack for my next trip.
A rubber door wedge (for securing a hotel room)
Glow sticks
Mouse trap (seek out Ed Calderon for more info on this)
Shorts
Sandals (Teva-type)
2 x underwear
1x socks
long-sleeved travel shirt & t-shirt
swim trunks
Toiletry kit (expanding on what I have in backpack – Polysporin, sun block, aloe gel, pain meds, Immodium, Gravol, wet wipes, etc)
Extra First Aid Kit supplies
Hank of paracord
2 more carabiners (climbing quality)
Mask, snorkel, fins
GoPro camera and accessories (cables, charger, SD cards, wall adapter, small power bar).
Additional book to read
Tradecraft tools (dependent on circumstances)
Folding & reusable shopping bag (fits in pocket when out walking).
Another copy of documents and emergency contact info, plane tickets, maps and local information
Additional cash, hidden away somewhere.
Air travel-friendly multi-tool
Any other item I think is specifically needed for the trip (clothing, supply, tool, etc).
With the above list of items, and pre-planning taken care of, I feel pretty secure with myself. Adding to this all, maintaining vigilance and situational awareness wherever you go if of paramount importance.
Maintaining Situational Awareness is vital when travelling. This guy is just asking to get pushed on the tracks. Put your phone down and pay attention.
It’s important to ensure that you maintain situational awareness at all times. To read a bit more about this check out the Primer blog post here.
Pre-Trip Recon:
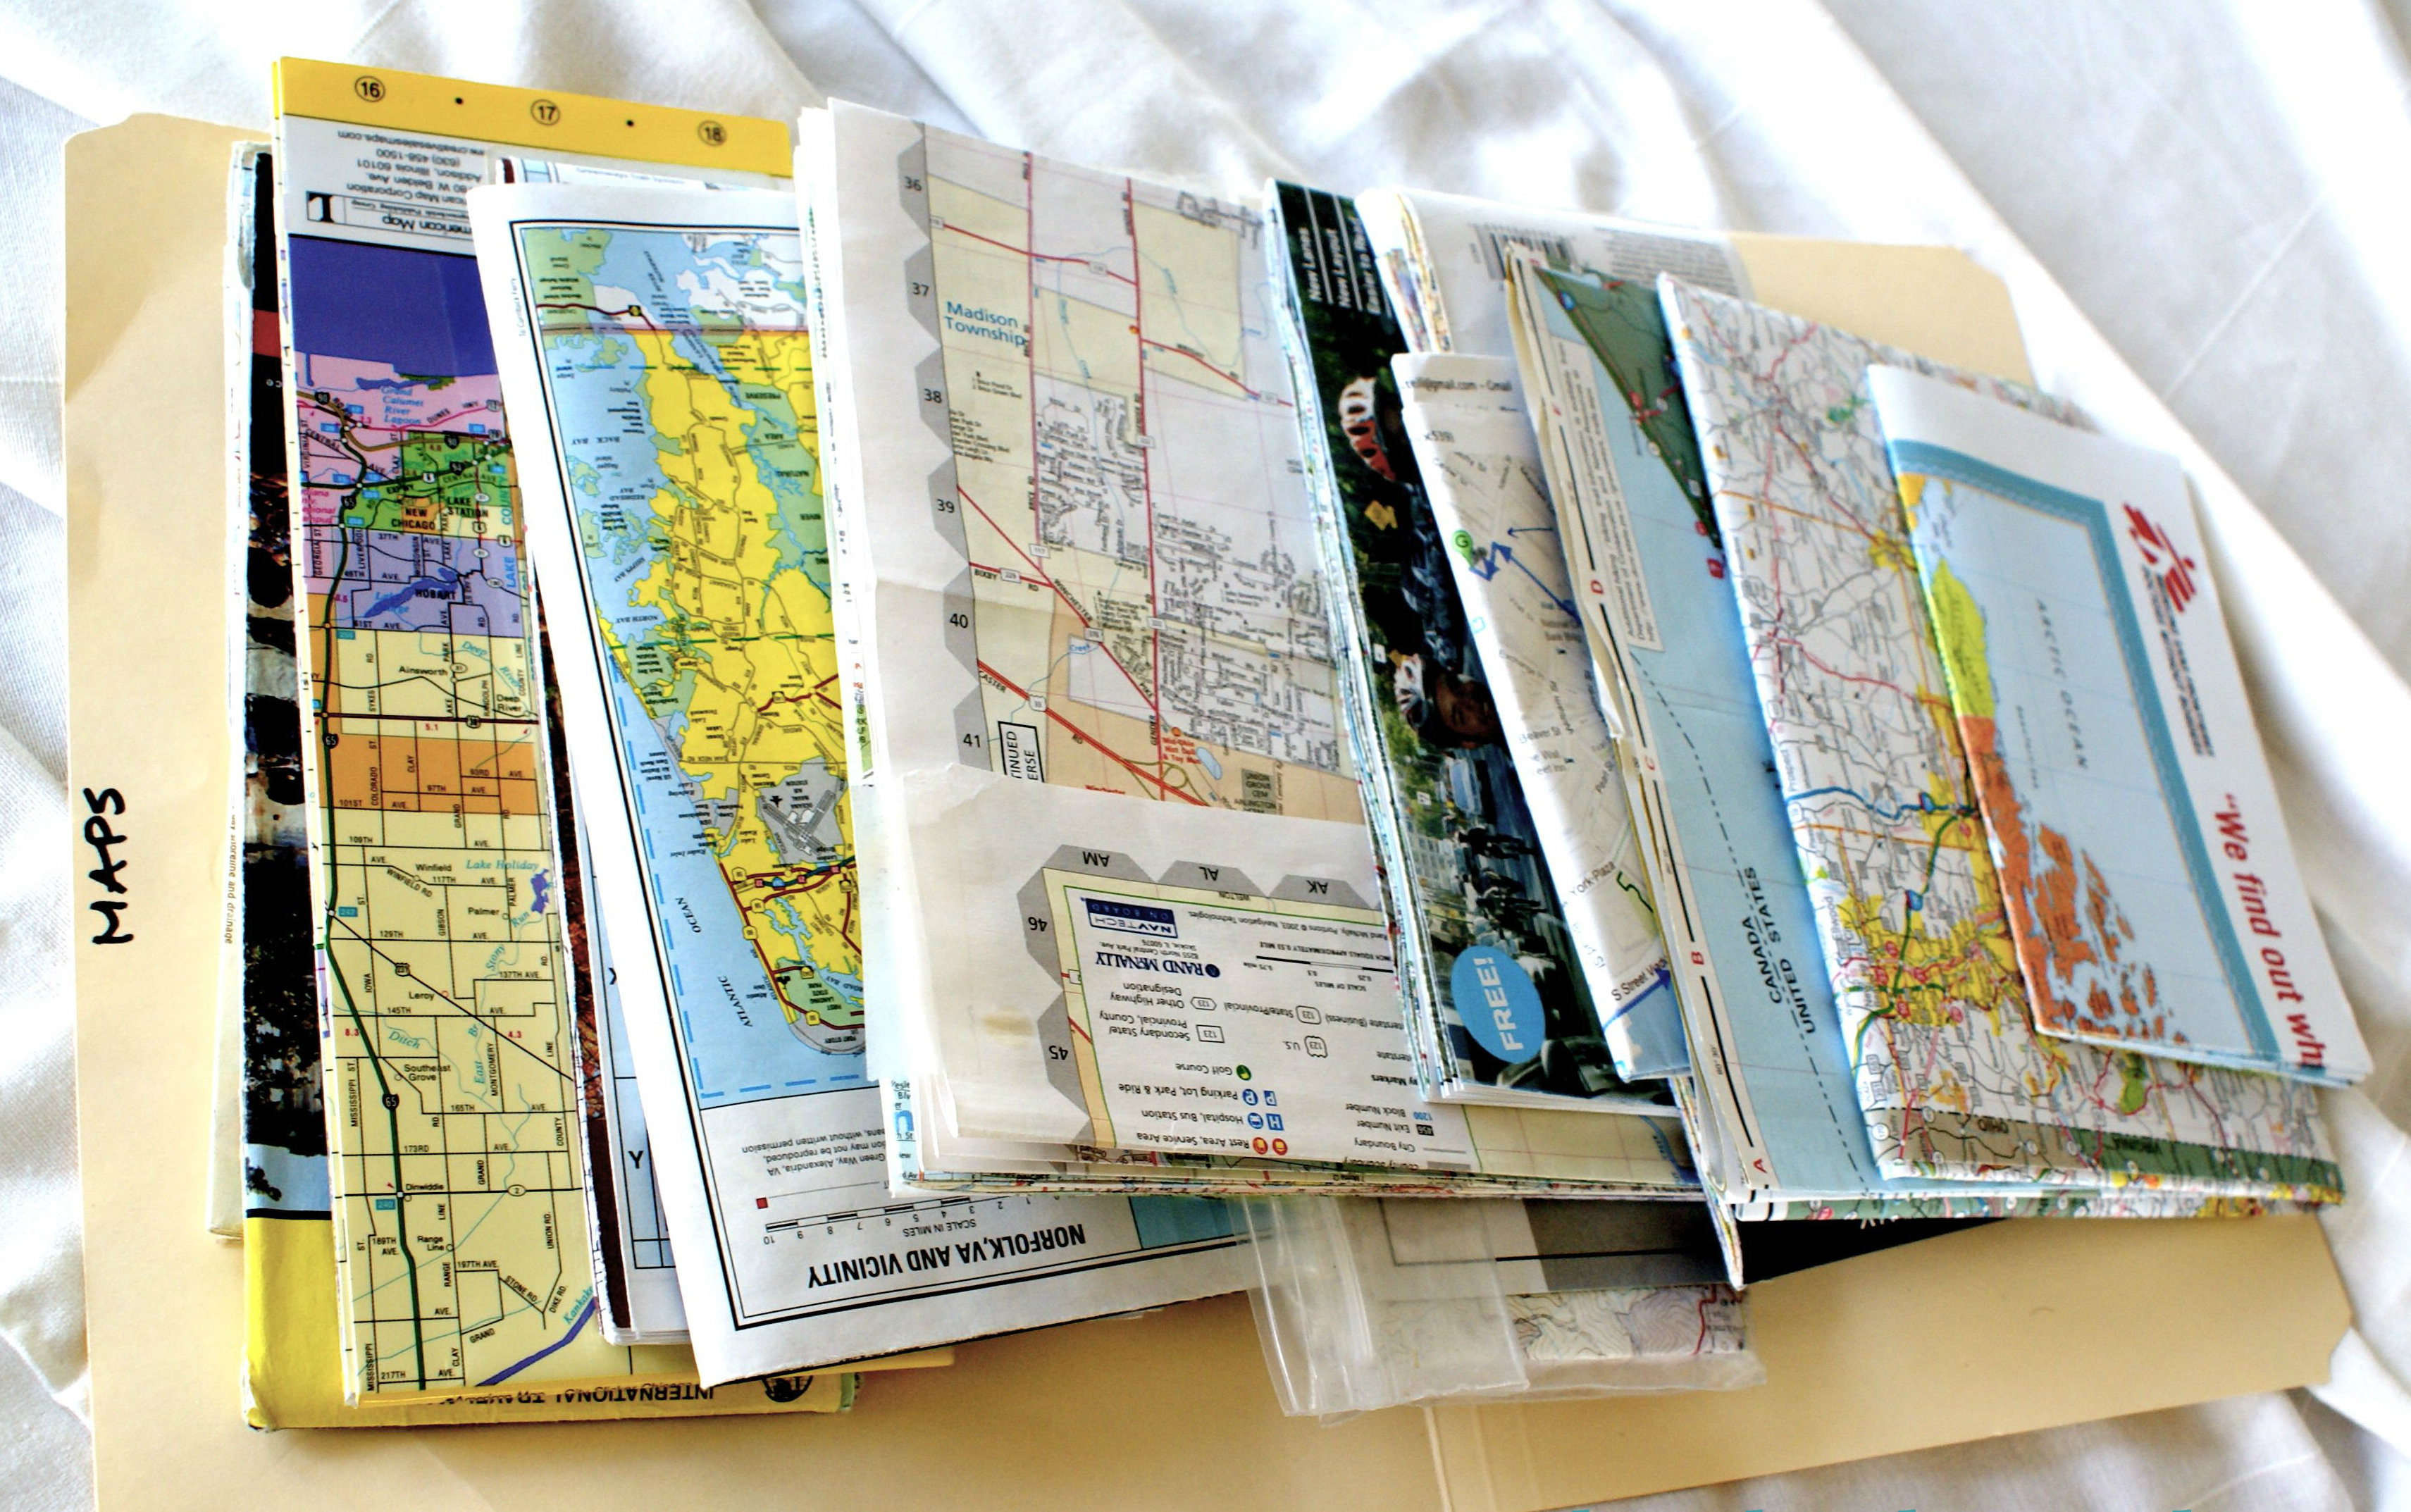
Maps contain a wealth of information if you take the time to absorb them.
Before I travel, I try to learn all that I can about the area where I will be. I study things like currency, demographics, history, local customs, geography, political and social issues to be aware of, crime and attitudes towards tourists & foreigners. I also try to read up on things like transportation (what’s legit versus scam), local news stories and how to identify legitimate authorities. If I am able, I Google Maps/Earth my accommodations and nearby areas so I can landmark in my mind what it looks like where I should be.
Customs & Immigration agency website for Canada ( CBSA – Canada Border Services Agency ) and for the country (or countries) you’ll be visiting. This will inform you on border-related laws, requirements, processes and exemptions.
Trip Advisor (Access reviews, tips and local information for destinations around the world.)
If flying, be sure to have access to both the website of your airline and the airport you are travelling to & from to ensure accurate scheduling information.
Wikipedia – If you want to know something about your destination, read about it here.
Google is your friend. Use it to learn as much as you can.
Before you go, ensure you leave copies of all your important documents, passports, travel itineraries, destination addresses and contact info with someone you trust and whom can support you in a return home should something happen.
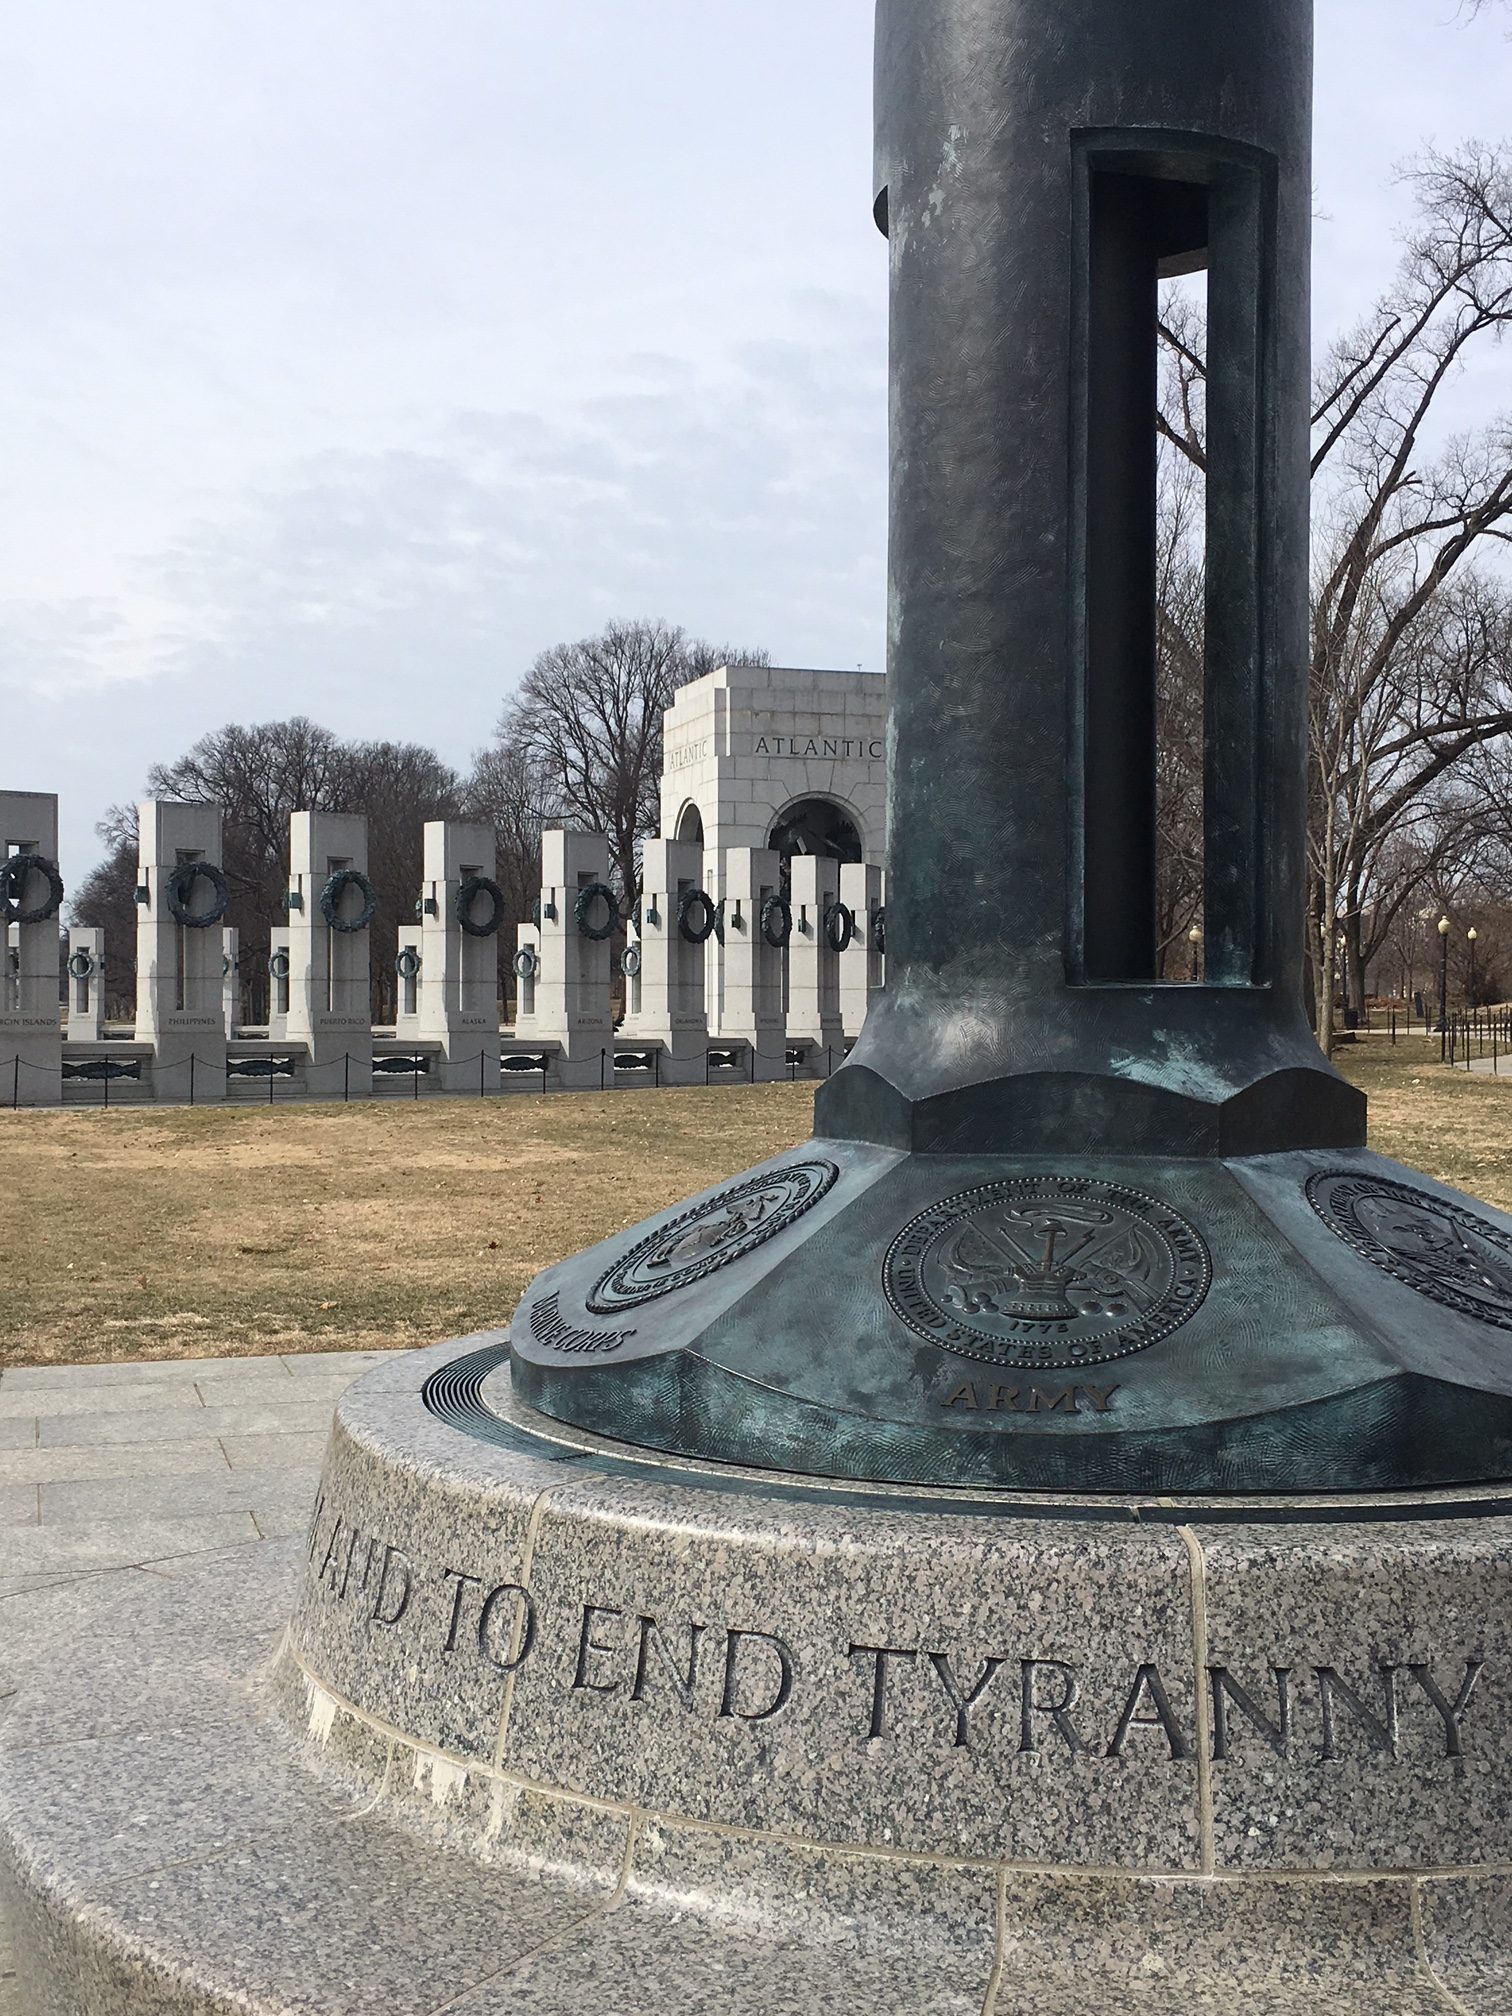
Over the weekend of 9-12 February, 2018, I travelled to Washington, DC & Alexandria, VA to train at District Combatives’ hosting of Ed Calderon (of Ed’s Manifesto), who was conducting a Mixed Skills module of training.
The trip down to DC from Toronto was relatively uneventful. I got in early on Friday and spent the day sightseeing and getting the lay of the land in and around the area where we would be training. I wasn’t sure as to what the training would entail, so with a map from the hotel front desk and my trusty feet, I learned the area around the training location and did some touristy things.
White House. One of the Secret Service guys gave me a great recommendation for breakfast 2 blocks away. He wasn’t wrong. Thanks Jerry!
The Spy Museum. You can’t not visit if you’re in DC.
J. Edgar Hoover Building. Home of the FBI and X-Files.
WW2 Memorial.
Vietnam Veteran’s Memorial.
The Mall.
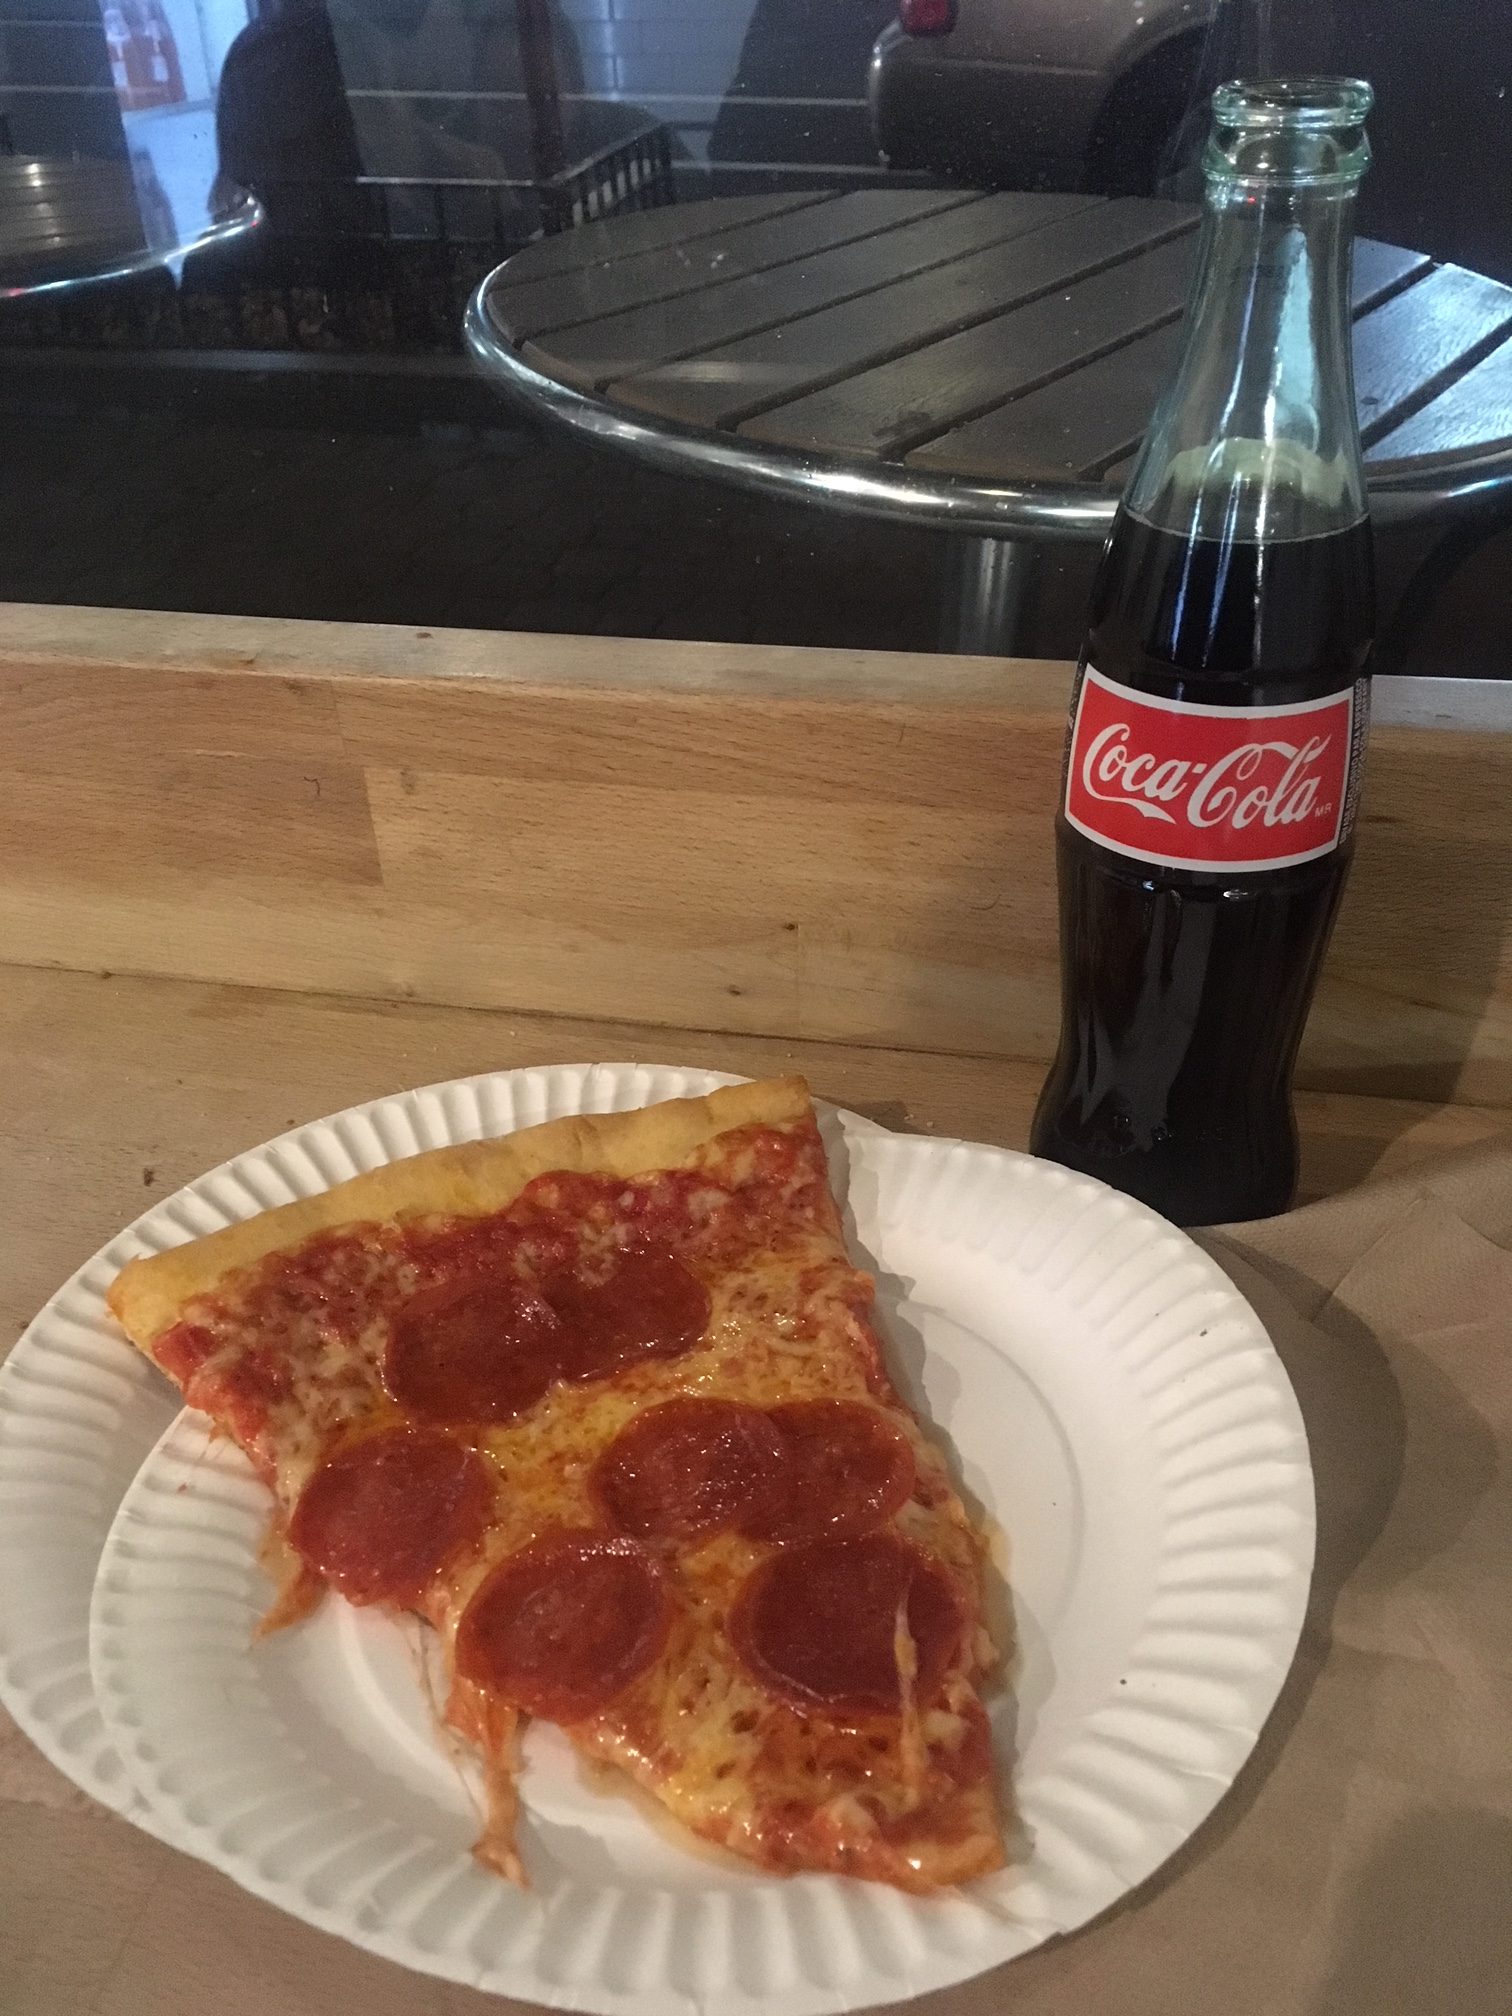
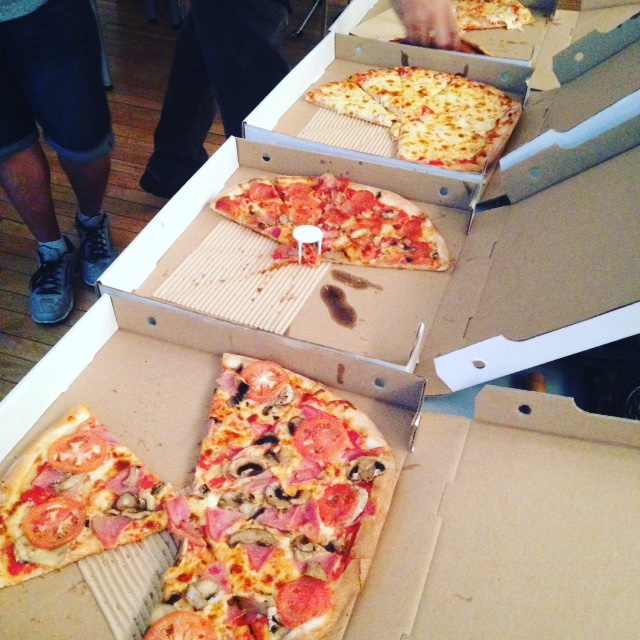
I ended Friday night at a small pizza place which made amazing slices and helped myself to three and a “Mexican Coke” (produced in Mexico, in glass bottles, using sugar, not corn syrup) to top it off.
REALLY good pizza.
Day 1
Saturday morning was smooth. I found my way easily to the training venue in the drizzle. When I arrived, I was warmly greeted by Ben from District Combatives and handed a pile of liability waivers. I was delighted to see a couple of familiar faces from previous training I had attended in the US and immediately took to catching up. I even met a few others whom I’d only known as Instagram followers but quickly bridged to friends. As the only Canadian in the room of almost 30, I felt humbled by the warmth and hospitality with which I was welcomed. At the front, Ed held quiet court with a few people I didn’t recognize. I took a seat and continued catching up with old friends and new.
When the room was packed and the time was right, Ben made introductions and we were immediately passed over to Ed who jumped right in. Throughout the first day ,we covered:
restraints,
irregular custody,
weapons,
awareness and movement principles,
custody work, and;
a homework assignment to make improvised weapons.
I’m being deliberately vague with the above as if I get into greater detail, I’ll be writing all night and also because it’s better to experience it first-hand for yourself.
There were several takeaways from the day, not the least of which were that I need to do more yoga, focus on Endemics and “always have an escape plan”. Sound advice for anyone.
The evening went well with food and drink around the corner and making new friends and sharing stories. I especially felt humbled that I spent a fair amount of time speaking with Ed himself about the various Mexican mythologies and esoteric symbologies used by criminal groups. Combining the entire evening’s discussions made for an educational, eye-opening and, at times, hilarious time. Let’s just not rehash the saga of Jaramillo…
Some of us now know of Jaramillo. We shall not speak of his fate.
Day 2
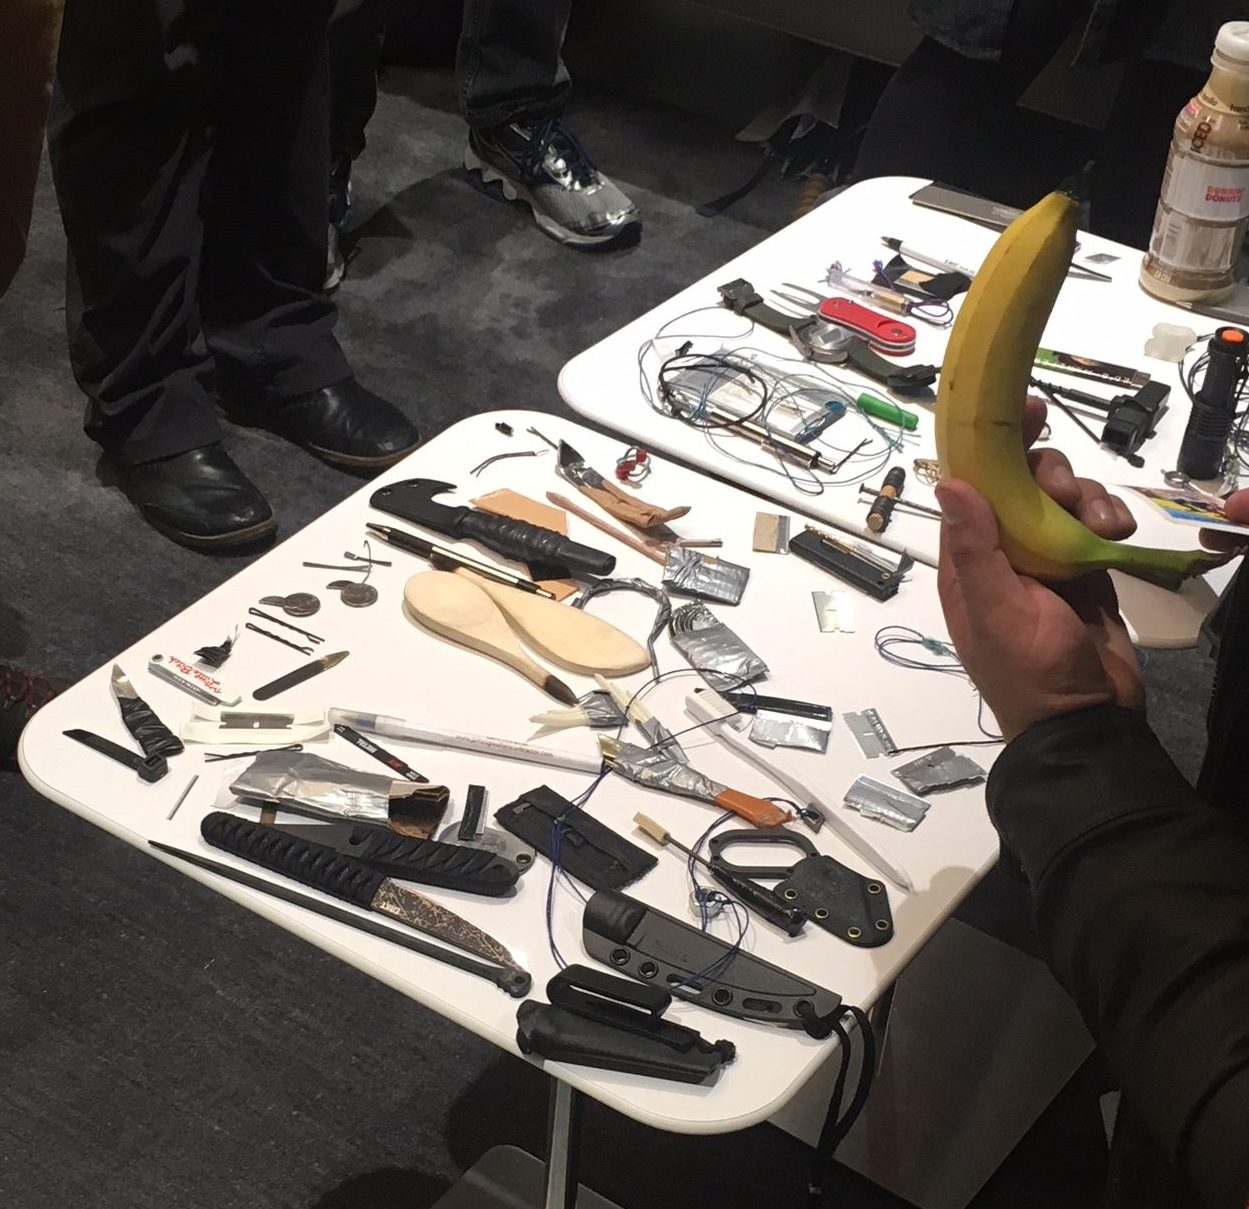
Entering the training location on Day 2 we were greeted at the door by metal detector and pat-down to see if we had absorbed and followed the previous days lessons and completed our homework. The resulting “found” and “not found” tables displaying weapons of various varieties was quite interesting.
Top , found. Bottom, not found.
Banana…
We debriefed and had a chuckle over some stuff (the legendary banana shank and, we even had Tactikey represented!) and then moved right into improvised weapons & Shankology. We covered:
Improvised weapons,
targeting,
knife work (inside and outside),
urban movement fundamentals and;
various hood rat shit.
By the time we ended on Sunday afternoon, I felt overloaded with new information and lessons learned. So much had been fed to us that it would take me weeks to digest it all.
On a side note, I had come from Toronto (snowy and -10C) to Washington (drizzle and +10C) and was contacted by Air Canada that my flight was cancelled and I had been re-booked to the following morning. This threw off my plans back home, but I made the most of it and spent the evening out for dinner again with Ed, Ben and several others from the course. Many chicken wings and drinks later, we broke off and headed out.
My time over the weekend both training with Ed and Ben as well as socializing with them made me happy to have attended and to get to know them.
Ben (of DC Combatives) and I. What a great guy.
Ben was very welcoming and Ed was a wealth of information and selfless in his sharing of knowledge. So much so that I invited him to come to Toronto this year and to put on a similar seminar. It would be an honour if he can make it work with his schedule.
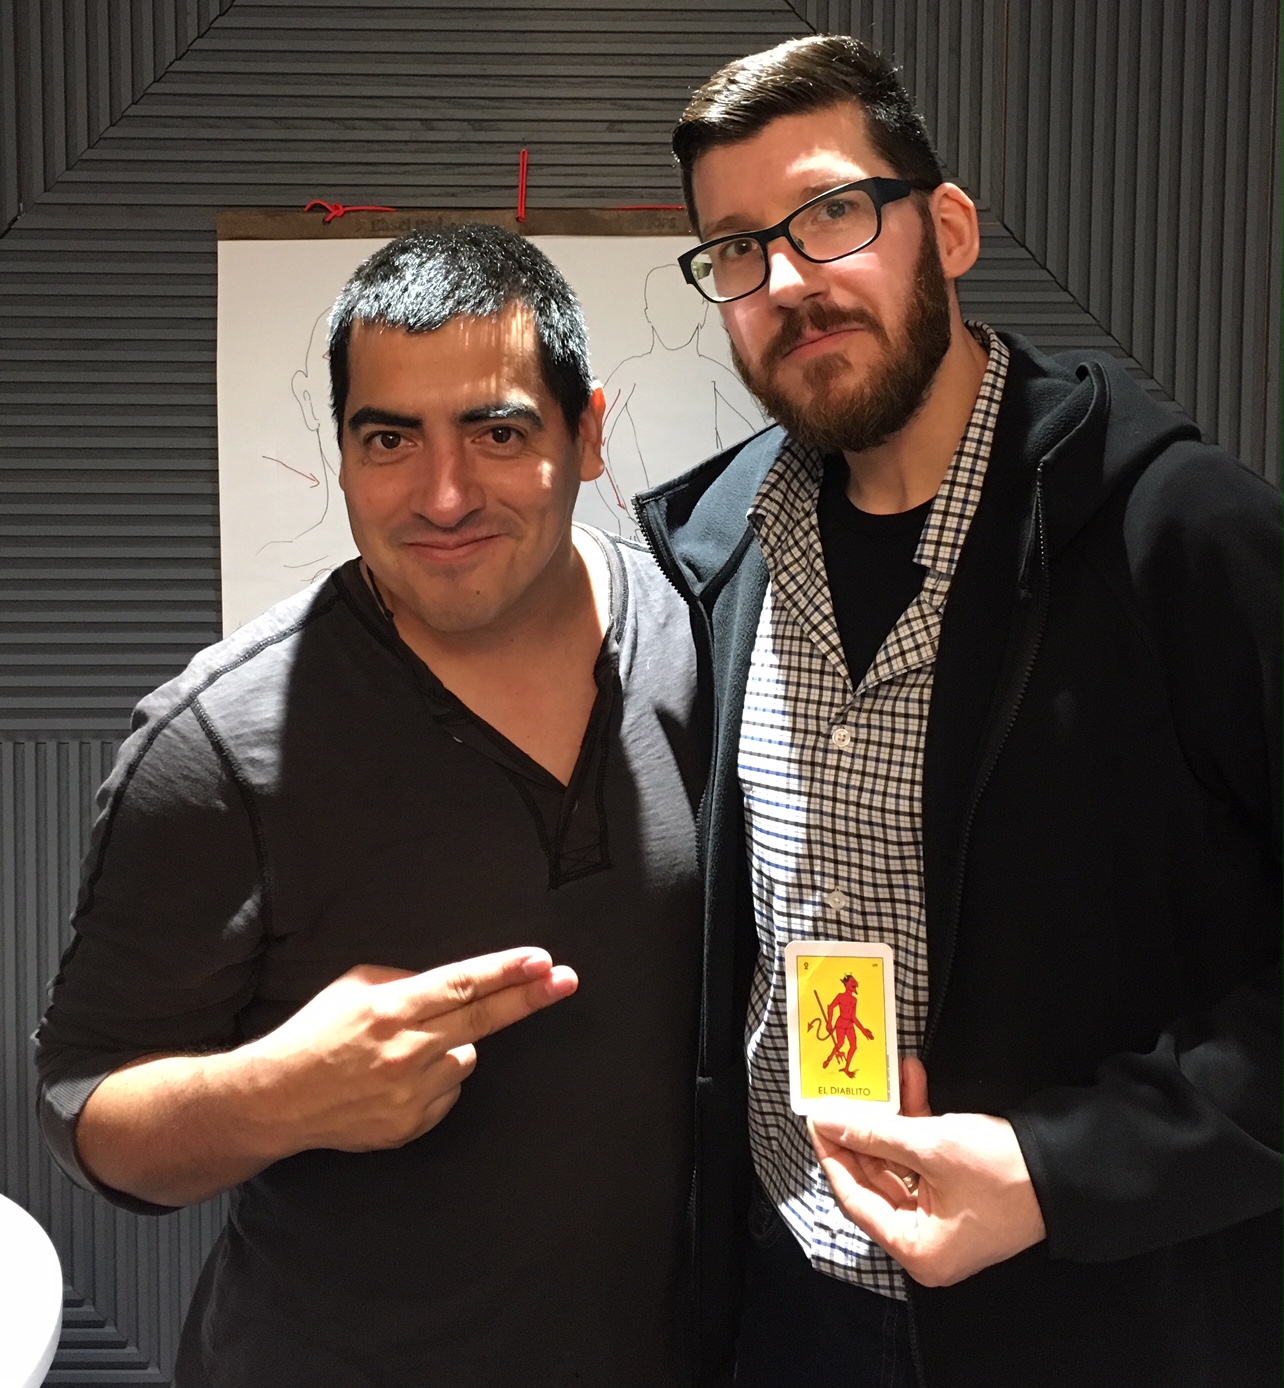
Ed and I. At the end of the weekend we were given the opportunity to choose a card. I asked for Ed to choose. This is what I got. “El Diablito”. Very humbled. Thank you.
***IF/WHEN WE HAVE A DATE, WE WILL POST IT IMMEDIATELY HERE ON THE BLOG AND ON OUR SOCIAL MEDIA*** (Give us a follow so you don’t miss out!)
I am very happy to have gone and would recommend attending a seminar from Ed if you are able. The training was excellent and the information covered was wide and relevant. If you live in the Washington, DC area, do check out Ben and DC Combatives as the types of violence mitigation methodologies he teaches are grounded in reality and effective. If he was in Toronto, I’d certainly train there.
Thank you to both Ed Calderon and Ben Drader for having me as the lone Canadian at the training seminar.
For further information about the topics and training seminars covered here, see the links below:
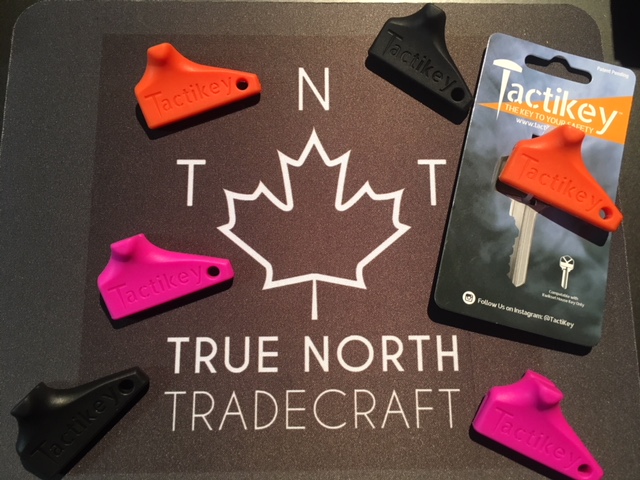
I recently discovered a new self-defence product – Tactikey.
Tactikey is an upgrade on an old-school, low-tech means of self-defence. The old “punch them with your keys” technique, except with some modern upgrades.
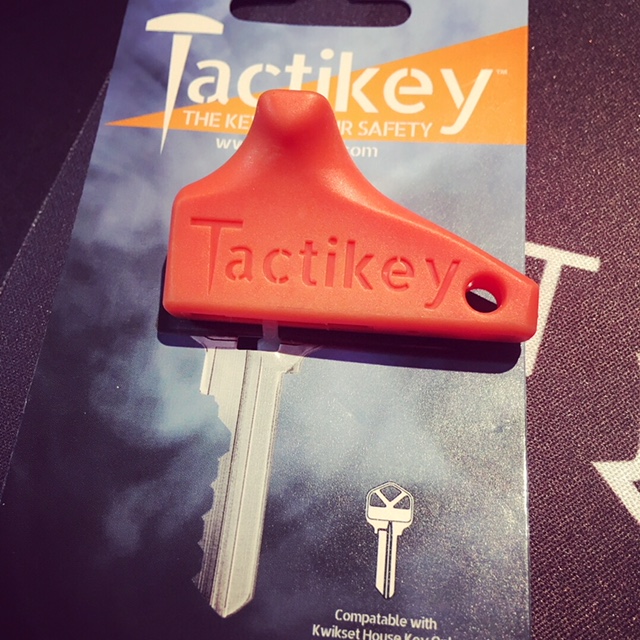
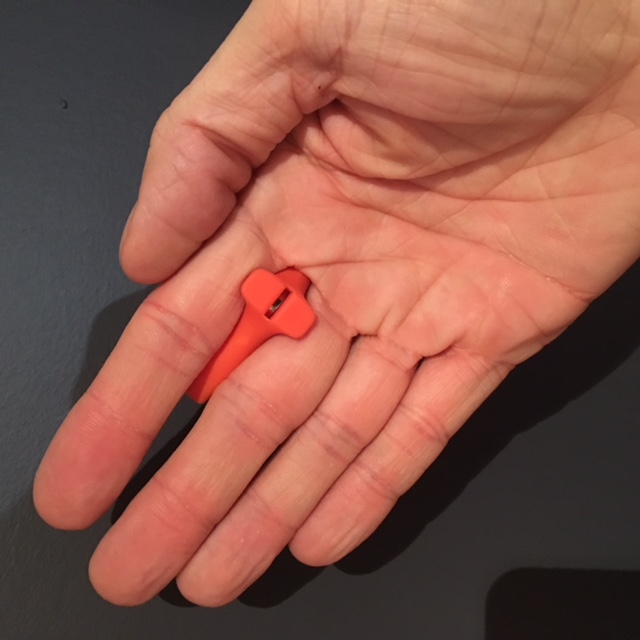
The product itself is a small (1 x 1.75 x 0.5 in), lightweight (6.5 g) and strong (TPE 110 Composite material) designed to ergonomically accept a standard Kwikset house key and give it a platform to use as an impact weapon. This design is helpful in reducing injury to the defender’s hand while allowing the transference of force through the key point to the assailant’s soft tissues.
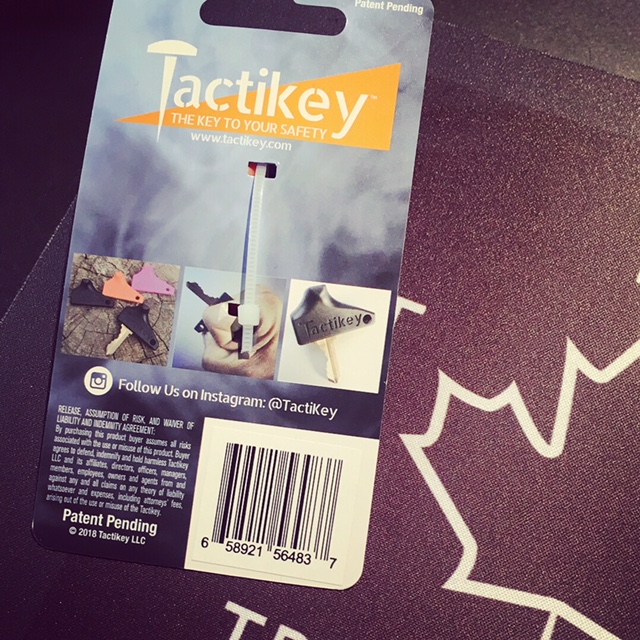
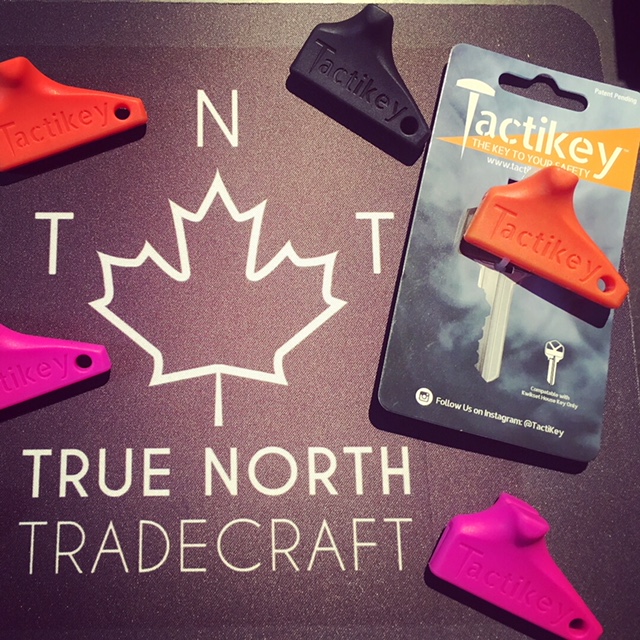
Tactikey in it’s packaging (front).
Tactikey packaging (back).
The combination of supporting grip and solid metal point is surprisingly effective and protects the user from injury well, unlike an un-shrouded key being used for the same thing.
Low-pro force multiplier.
When I received my package of a few Tactikeys and was caught by several positive things:
VERY light
VERY small
VERY easy to add to your key ring
Usable in non-permissive environments and will likely not raise any red flags if inspected by authorities
Allow the key to be used for it’s intended function AND as a self-defence implement and;
Comes in your choice of Blaze Orange, Hot Pink or Carbon Black.
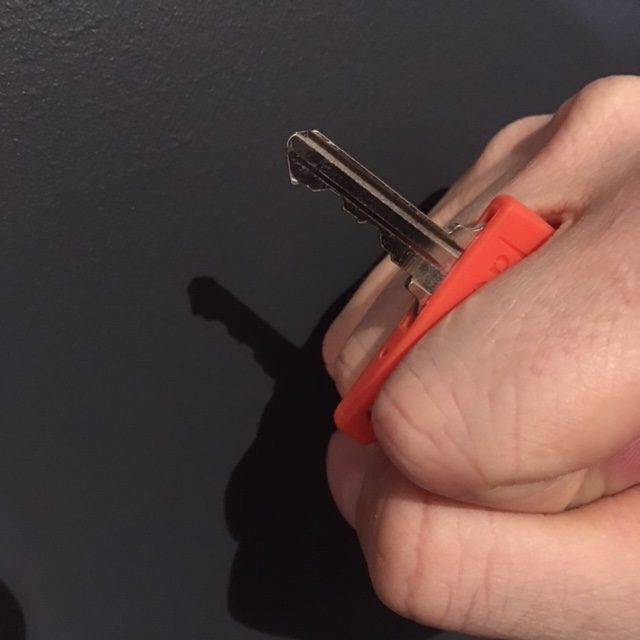
Along with the personalized note from them, I immediately equipped my Tactikey and went to work playing around with it.
I found that holding it was comfortable. The finish on the grip was soft and smooth but didn’t slip.
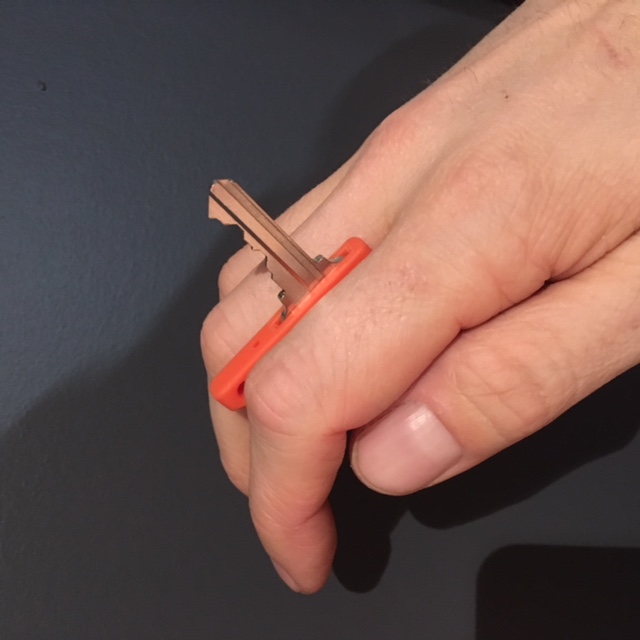
Ergonomic and secure grip.
Fits well into the hand.
It intuitively holds well between the fingers and stays solid when striking.
Pointy, ouchy and very solidly held.
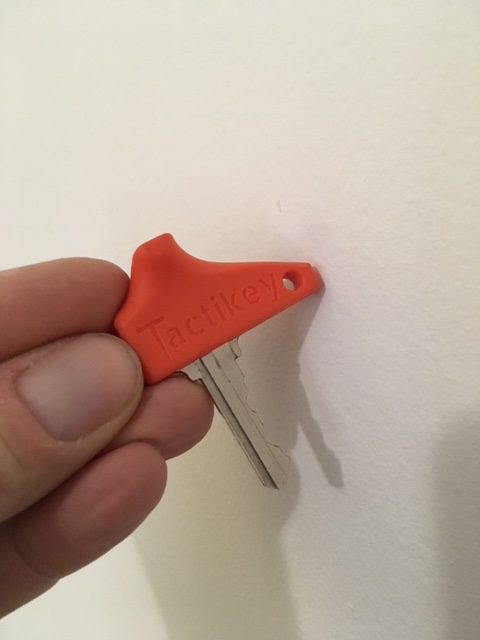
I had access to a building site where walls were being replaced and took a few jabs at drywall and lathe & plaster. The results were good (see below).
Drywall – before.
I was able to make holes in both mediums without pain or injury to my hand. The regular (un-sharpened key) penetrated both types of walls with relative ease making me feel confident that it could cause trauma to soft tissue on a hostile human target.
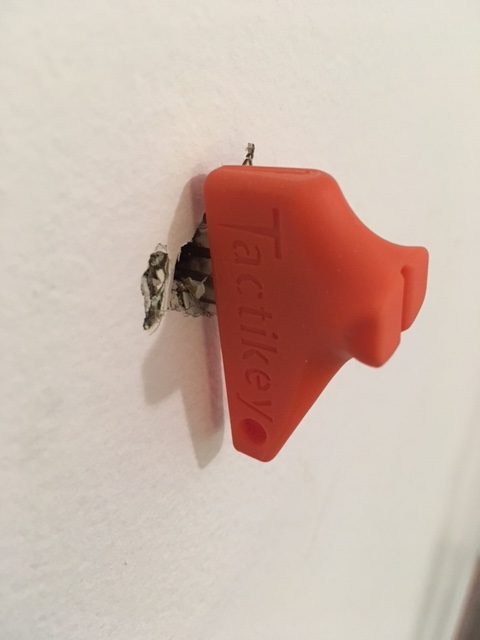
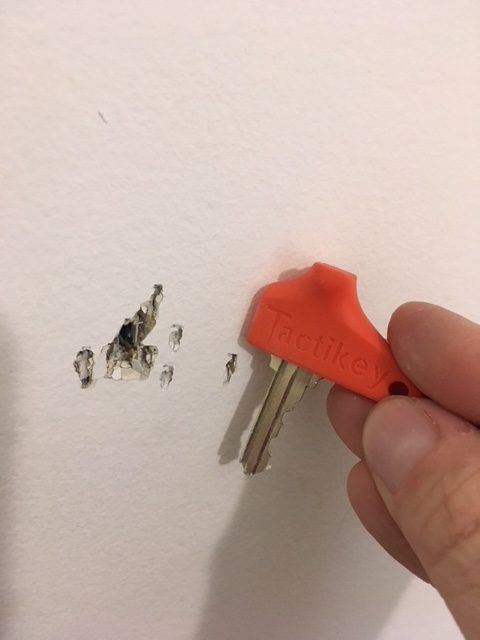
Through drywall with first strike.
Repeated strikes had no issue with penetration.
As it is a simple piece of plastic, Tactikey can go anywhere a set of keys can go and will always be ready as an added force multiplier if you should need it. I have added this to my Every Day Carry (EDC) as it is useful, lightweight, practical and effective. Along with the other items I carry, I feel it is a wise investment and doesn’t add bulk of weight to your setup.
Although I haven’t had the opportunity to hit a person with it at this point, I’ll be sure to update this post with those results, should they occur. That said, punching holes in drywall happened very easily and I wouldn’t want to be on the receiving end of a hit with one of these.
Tactikey also has a fantastic return policy on it’s product (from their website):
“30 Day 110% Return Policy – Purchase with Confidence. We at Tactikey work tirelessly to develop the world’s most unique and efficient EDC products that will help you achieve well-being and safety. We believe in our products so much that we stand behind them with a no hassle, no questions asked, satisfaction guarantee 110% return policy. If you purchase any Tactikey product on our website Tactikey.com and you are not satisfied, return it within 30 days for a 110% refund. The guarantee is applicable to all purchases made from Tacktikey.com only and does not cover Tacktikey retailers. Retail purchases will be handled by the particular retail store’s return policy. That is our commitment at Tactikey to you our customers.”
Instructions on the use of Tactikey can also be found on their website here.
The one and only downside with Tactikey is that it is only compatible with Kwikset key blanks at the moment. If your house key or other keys on your ring are not of this kind, they may not fit properly. That said, Tactikey is working on different formats for several other major key manufacturers (like Schlage and Yale) and customers will be able to choose which works for them. In the grand scheme, this isn’t a big deal. They will come out with others soon and, really, I’d sooner have a dedicated defensive key (a blank, sharpened) than my primary house key. If you do hit something or someone and bend it, you may have issues using your key after. Not to mention if you lose it in a fight, buddy will have your house key. I’d sooner have a non-key. I used an old, out of commission Kwikset key I had laying around for my test & carry key to ensure that doesn’t happen. I will pick up a Kwikset blank and sharpen it with a file for primary EDC use in the coming days to ensure I have it the way I want it. You can pick up a Kwikset blank from anywhere that cuts keys (Home Depot, local hardware stores, shoe repair places, etc) and just ask them for one. Again, not a big deal right now as you’re best off to go with a dedicated key or key blank for this particular use.
Have a look at their website, check them out on social media and feel free to pick one up for yourself and maybe some family members. For the money, I thinks it’s a great deal and you get something solid and useful. I really like it and I bet you will too.
A little while ago I received a mail call containing a sample of the Accent Series from Delta2Alpha Design. To read my review of the previous generation of tools, go here.
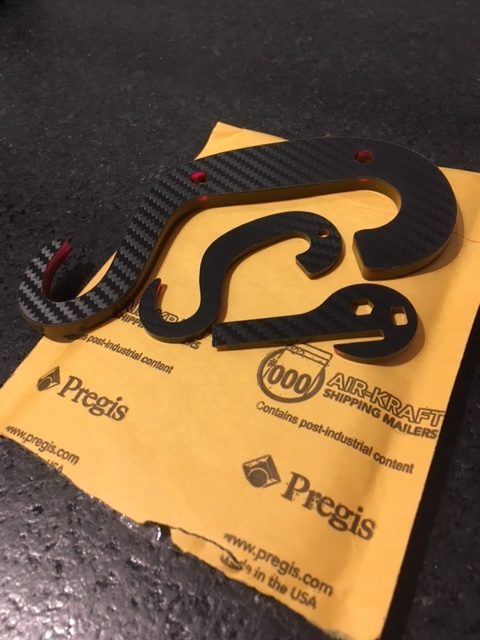
Happiness in a parcel!
The Accent Series is their newest offering of upgraded versions of The MARK, The LOLLY and The MiK.
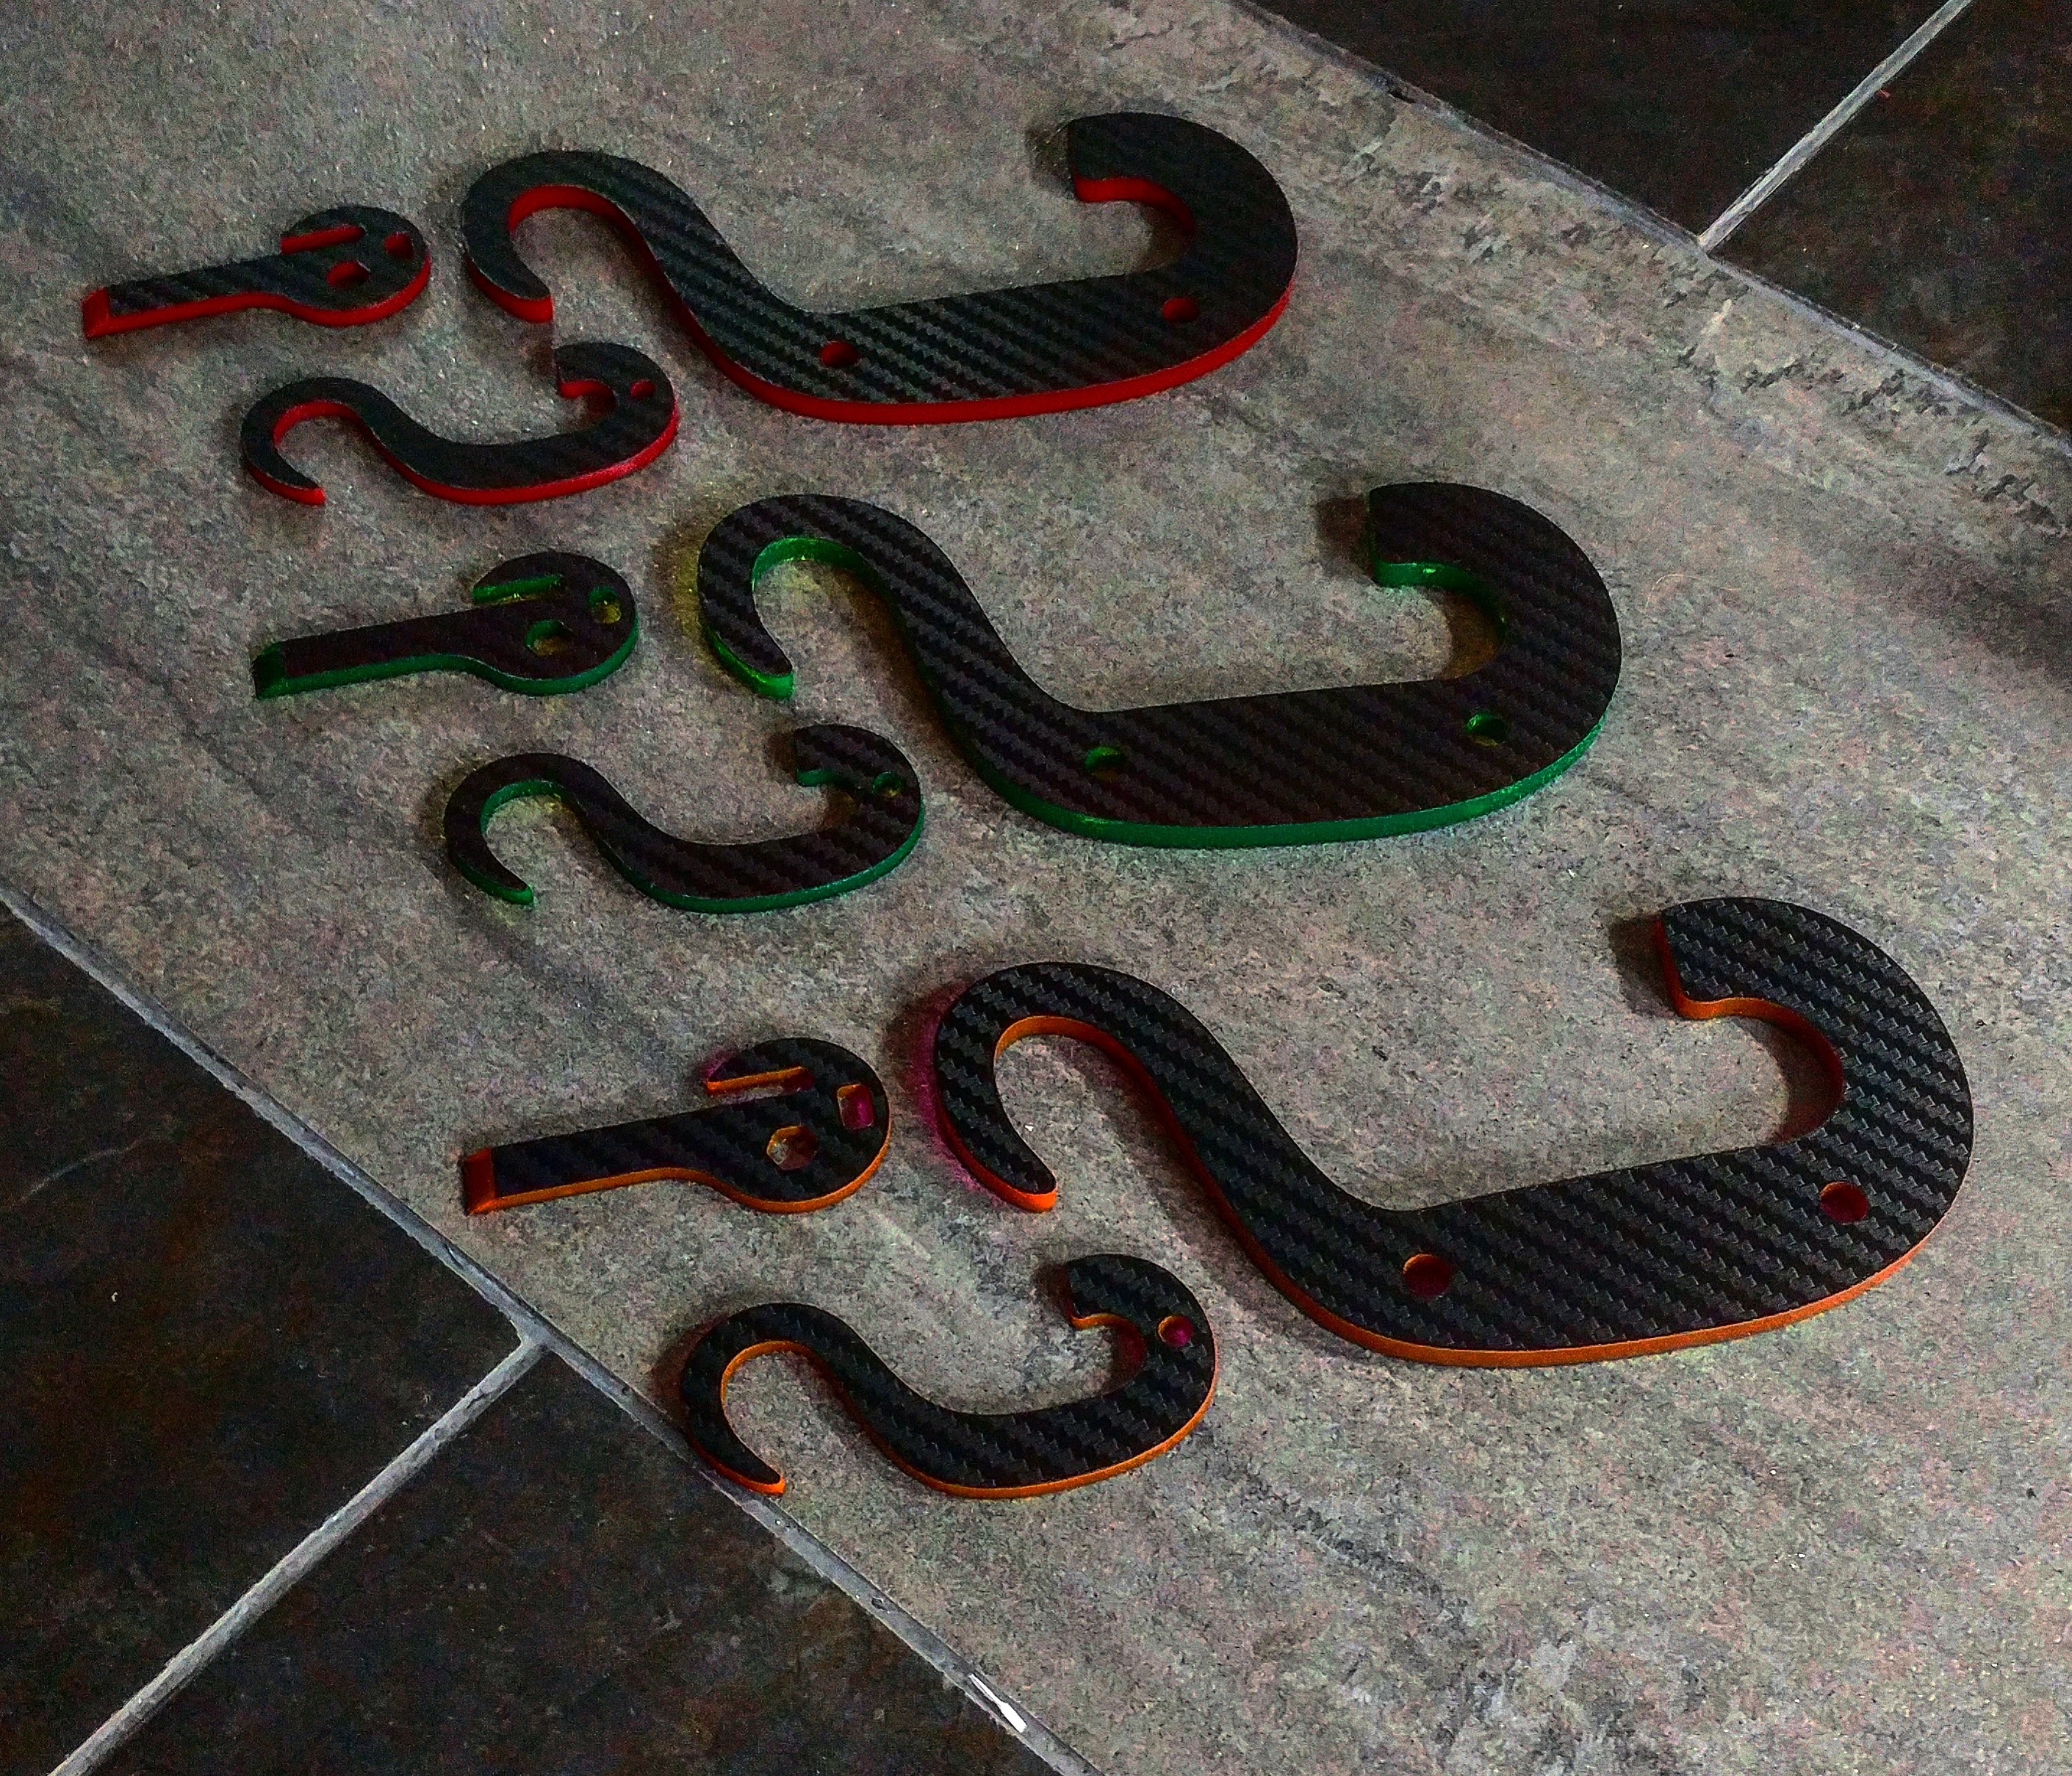
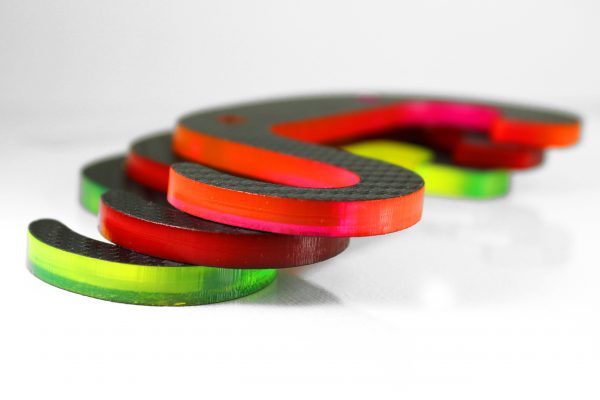
The MARK, in colours…
The new tools are delivered in three colours (crimson, blaze orange or day-glow green), clad in a robust carbon fibre skin.
Durable polymer clad in carbon fibre.
They are all incredibly versatile and even more durable than their previous versions. I found the carbon fibre skin to be more resistant to scratches and abrasions than the earlier version of polymer tools.
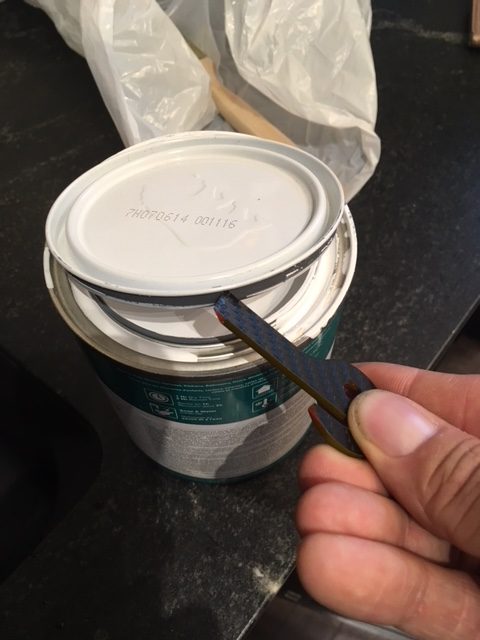
The Lolly – polymer last-ditch tool. Earlier version.
Accent version of the Lolly.
I have used the Lolly for opening paint cans when I find myself without a screwdriver. It’s handy to carry in my 5th jeans pocket.
On a recent visit to Ottawa, I found myself in a Tim Hortons for a morning coffee. The floor was covered in melt and slushy runoff from the recent snow. Thankfully, I had my Accent Series MARK in my bag (perfect for non-permissive environments like government buildings) and ensured my bag and its contents were well out of he muck.
No dirty, wet Tim Hortons floor for me and my stuff!
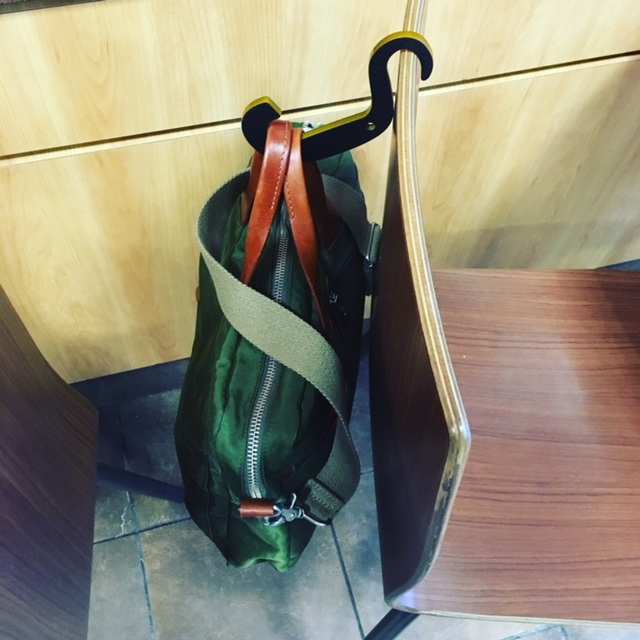
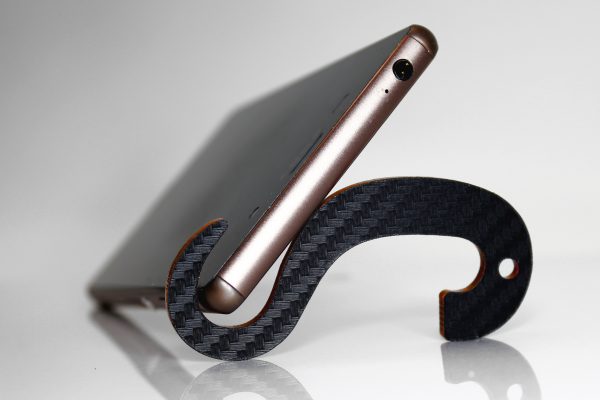
The MiK can be used as the MARK can, but with smaller applications. I do like how it can hold up your phone, hang your bag (or purse) or coat – perfect for bathrooms. It can also easily fit into the fifth pocket of your jeans for concealment and easy access.
TheMARK: Offers a convenient way to keep your jacket or bag off of the floor bathrooms when traveling (or everyday life) when there isn’t a hook. It can also be used as a tablet stand.TheMiK: Fits conveniently on your keys, and is used a hands free way to prop up your phone. This comes in handy whether you are trying to do a video chat, or just kill sometime watching cat videos (No Judgement).TheLolly: Can go right next to TheMiK on your keychain. TheLolly is a light duty pocket scraper, and prybar. It has be referred to as a “Fingernail Saver”. It also offers a ¼” bit driver and the key ring slot can be used to drive the Leatherman multi-tool brand bits.*Each package includes one (1) of TheMARK, TheMiK, and TheLolly; They are sold as matched sets*
All things considered, I feel that Delta 2 Alpha scored a big win with improving an already-sturdy and reliable design with their Accent Series of polymer tools. I’m very happy with them and equip myself with at least one on a daily basis as they are lightweight, practical and come in handy in a variety of ways.
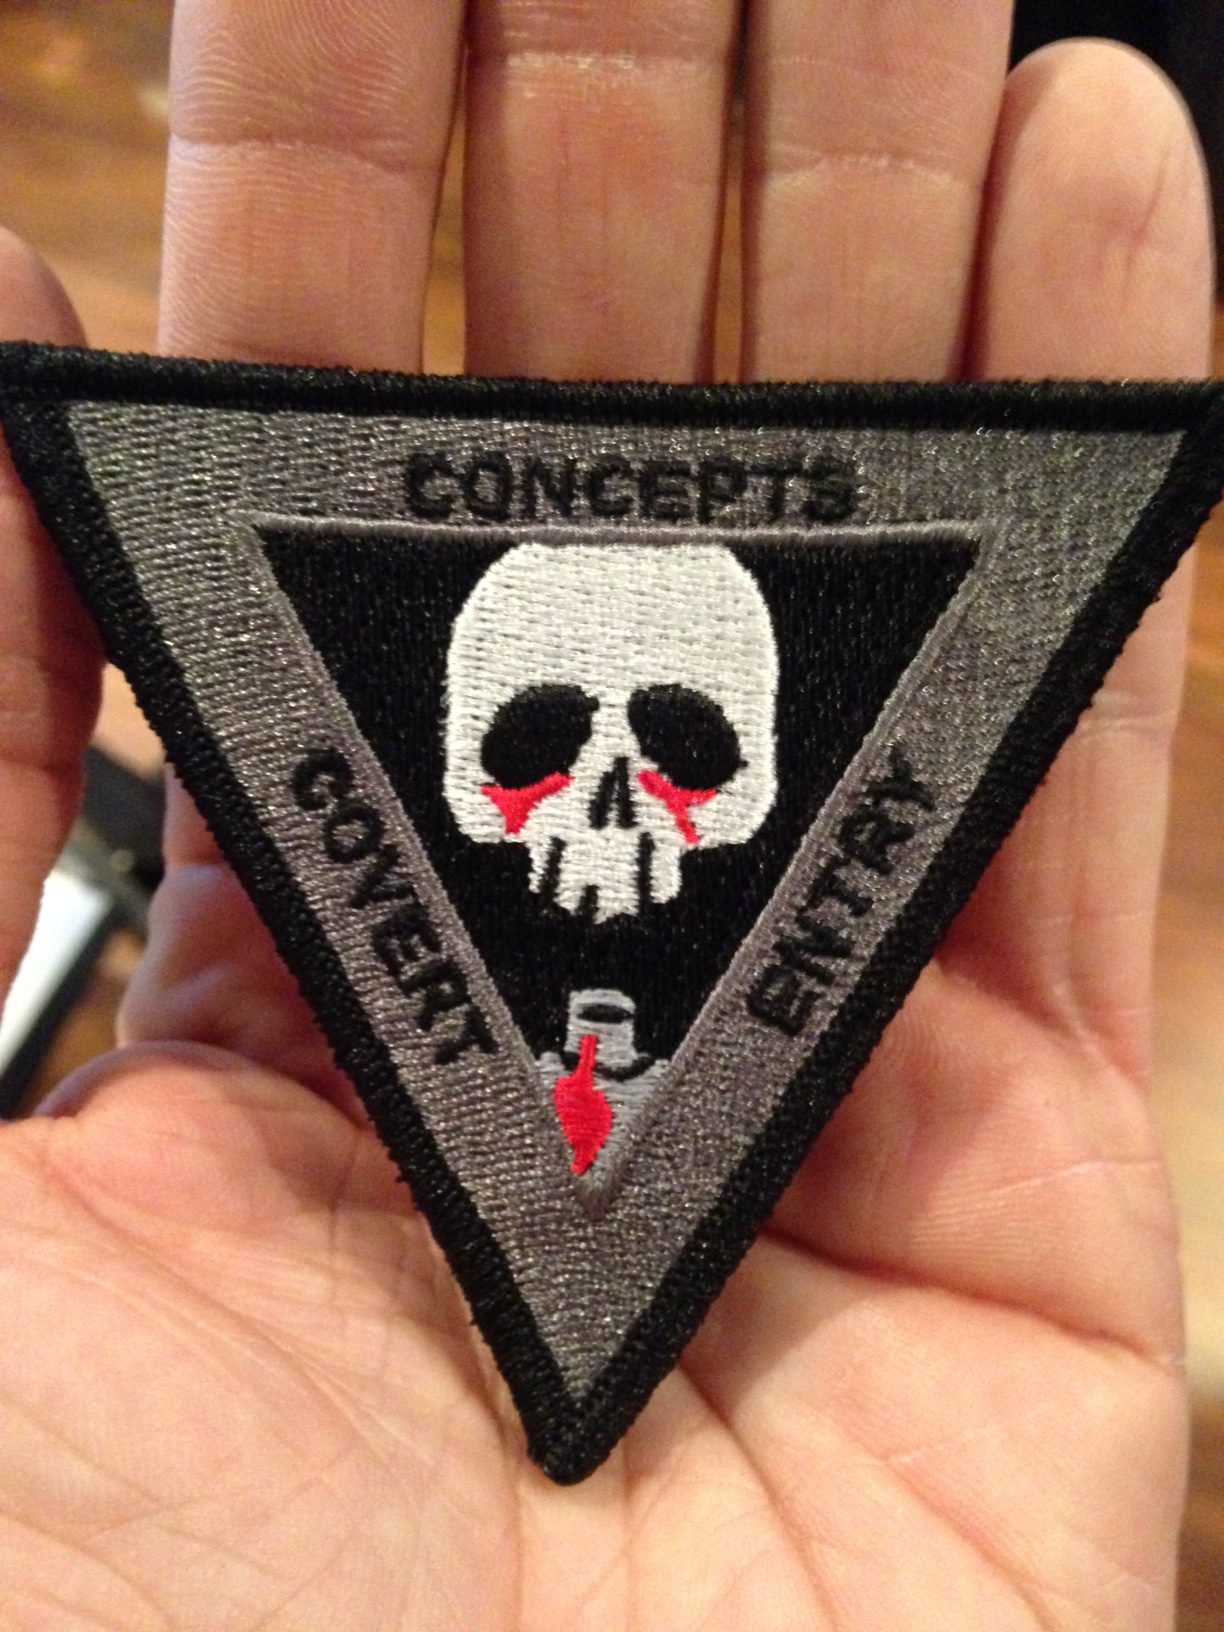
On the weekend of 28-29-30 July, 2017, True North Tradecraft hosted the first-ever offering of The CORE Group’s Covert Entry Concepts course in Toronto. We had 9 students, an excellent venue, great food and of course, fantastic training. (To read my review of the course I attended in Maryland, click here.)
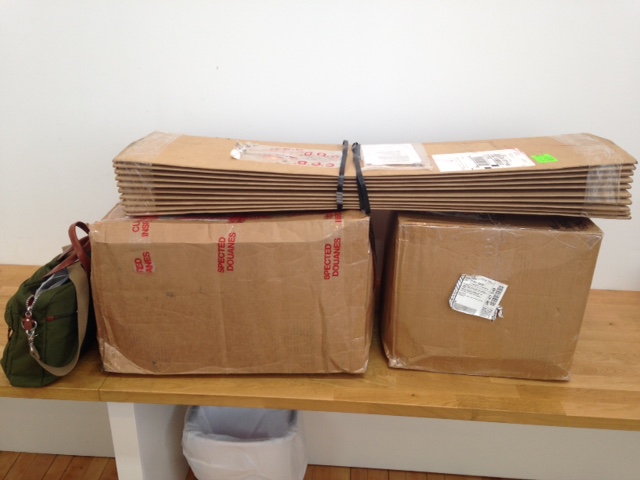
Training materials before.
Training materials, after.
Friday evening saw the group meet up, make introductions and immerse themselves in Street Thief, a mockumentary based on a thief. Though not “real”, it did accurately illustrate how an actual thief does what they do, ideas for protecting against such things and using the same methodologies in conducting security assessments and Red Team-type attacks. That, coupled with some yummy pizza (no Hawaiian, you’re welcome Rob) made for a good evening.
Mmmm..pizza.
Starting bright and early on Saturday morning, we hit the ground running getting into the principles of physical security, locking mechanisms and the basics of attacking them. This was framed within the construct of proper evaluation and approach vectors for attack and assessment.
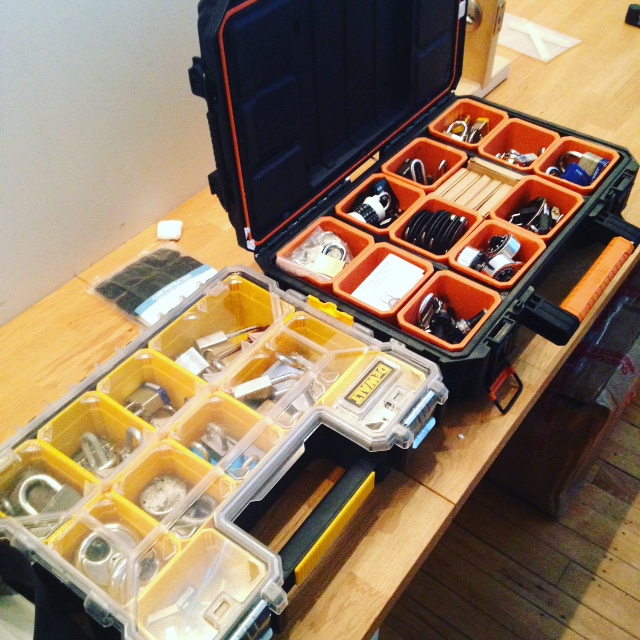
The tools.
Thanks to The Lucky Penny for providing scrumptious snacks and endless coffee to get us started and keep us going.
Freshly baked and delivered food and coffee made a huge positive impact on all of us.
The entire day was fast and furious. We hit on a vast breadth of topics and brought it all to practice very quickly. The students were introduced to various locks and their corresponding pick and bypass tools.
Checking out a tubular lock pick.
Wafer locks, pin & tumbler, dead bolts, combination locks, padlocks, warded locks, etc. The pace was fast but students picked-up the skills quickly and began to progress through to more difficult locks. After everyone felt they were getting the hang of it, we moved right into impressioning and key casting.
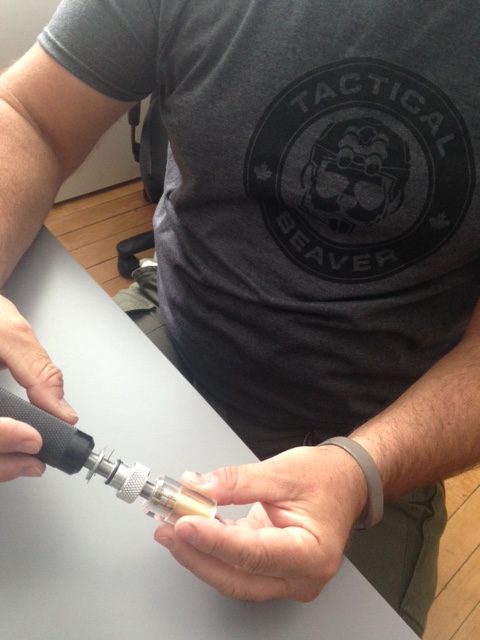
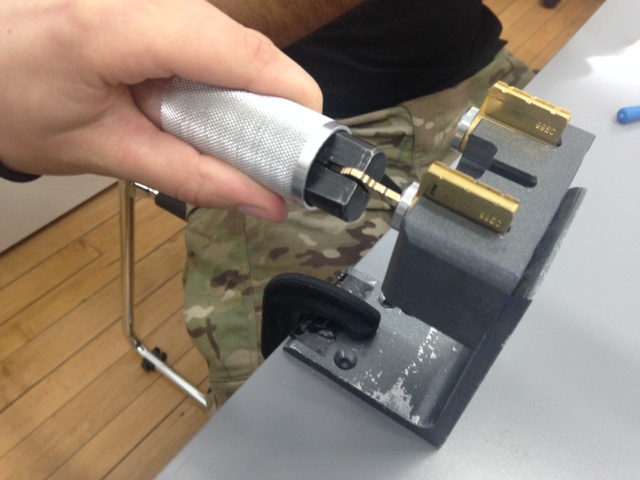
Key impressioning. Money for nothing and your checks for free.
Key casting. Delicate but really interesting if done correctly.
Saturday had some tasty lunch too…
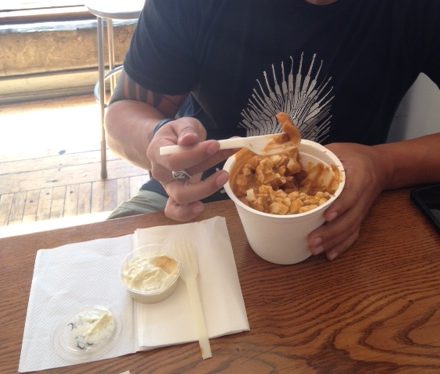
Rob enjoying a fine Canadian poutine. Now he has a standard to measure all others by.
The rest of the day was spent discussing elevators and their uses in Red Team operations and physical security, safes and other miscellaneous related content.
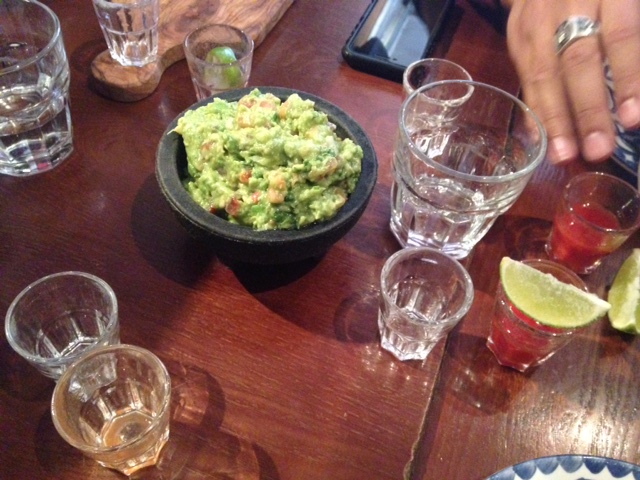
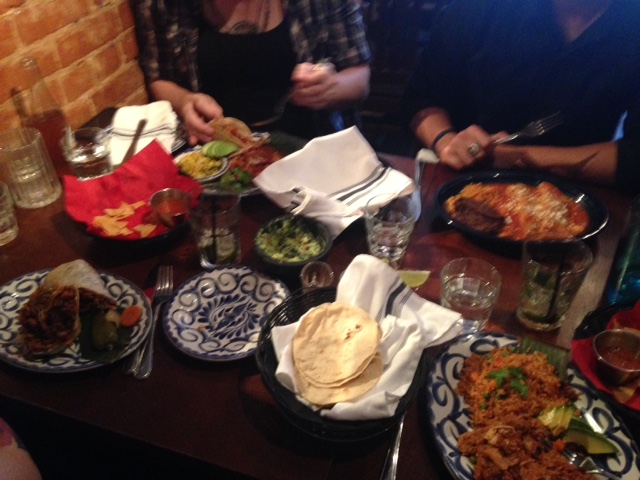
We finished off the evening as a group at a fantastic nearby Mexican restaurant where the food was excellent and the tequila and mojitos flowed.
Mmmm…guac and tequila.
So much food. So good. Cheers all!
Sunday, though rough for some more than others, continued the same high tempo. We dove right into more elevator stuff and more impressioning challenges.
One challenge was who could impression a key properly before anyone else.
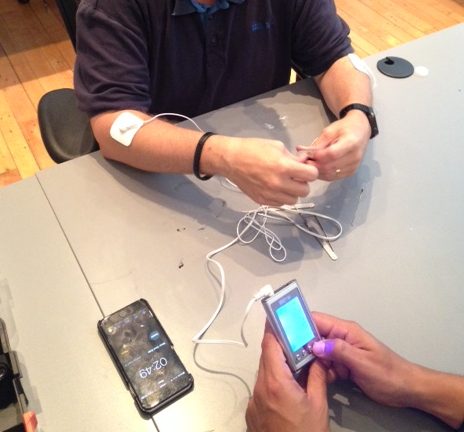
The second was the T-Rex Challenge. Picking a lock while a electronic muscle stimulator is hooked-up to one’s forearms. It’s a laugh for all.
Those arms are shaking. Doesn’t matter how tough you are, it was crazy.
That winners of each challenge got some stuff from our friends at Delta 2 Alpha Design (The Lolly and The Mark, and stickers, each.)
After we all stopped laughing and got feeling back in our arms, we carried on to lock bypassing, familiarization with various tools and techniques associated with it and giving them a trial run.
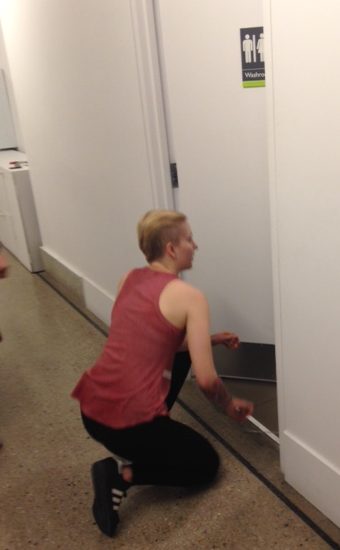
One of the students using an Under Door Tool to rescue someone (Rob and another student) from the bathroom.
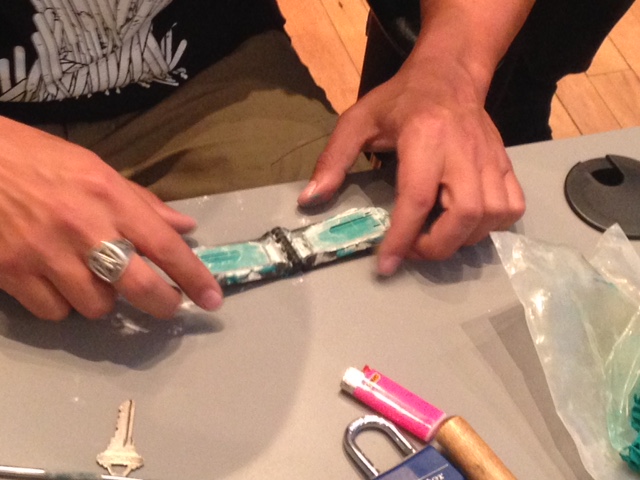
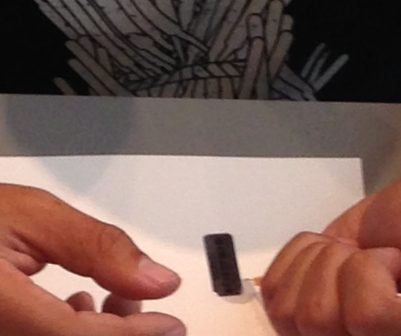
We then transitioned to removing/replacing tamper-evident seals. A very delicate operation to say the least, this portion of the day was slow-going and painstakingly irritating when impatience wrecked it all. That said, it was very interesting in its method and application. We also discussed security posturing, use, strength and limitations of seals and tamper-evident devices along with best practices.
Making tamper-evident not-so-evident. Steady hands.
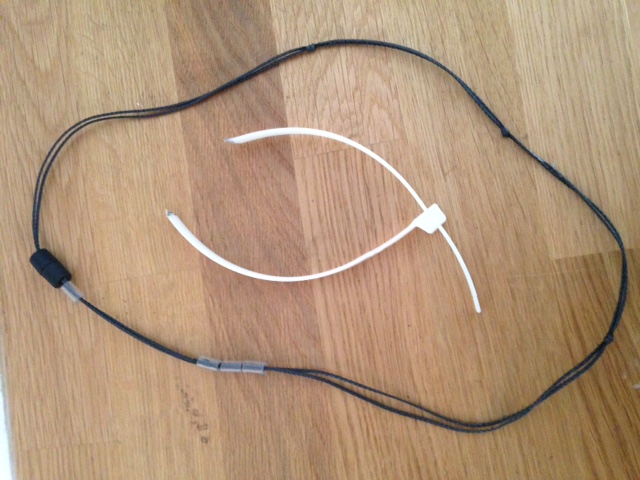
To round out the weekend, we finished on a high note with restraint escapes. Dealing in escaping unlawful custody while restrained by handcuffs, nylon zip ties, duct tape and cord. The more you know, the better prepared you will be.
Aftermath of zip tie escape.
Tools of the trade.
One of the most important parts of the learning was the manner in which it was delivered. Rob’s easy-going and humorous nature, coupled with his expansive knowledge and professionalism made for a relaxed yet powerful learning environment. He is an exemplary instructor and trainer and is so giving of himself and his knowledge. That and he couldn’t get over how no one carried guns. Yay Canada. It all makes a huge positive difference.
As with all experiences of this kind, there was so much more we covered and were exposed to that it simply wouldn’t do it justice to speak to here. There is only so much you can read about or learn from on YouTube before you hit a wall. Well-delivered, quality, in-person training has no substitute. I recommend this training to anyone interested in these skills. In the end, an excellent group made an excellent class. Congratulations to all.
Certificate. It was all worth it.
We are excited about how everything went that we are already planning our next offering. Keep tuned to the Blog (and Instagram and Facebook) for more details.
Thank you to Rob and to all others who helped make this happen and make it great (See below) and thank you to all who attended.
I want to talk about a new option for Canadians in the Greater Toronto Area (and sometimes abroad).
Kennedy Tactical Concepts is a newly opened self-defence school operated in Toronto by TJ Kennedy. TJ has spent years honing his craft in real-world environments, training and working around the globe. Read more about him here. TJ is an invested and knowledgeable instructor who is not only humble and down-to-earth, but pays attention to his students’ learning needs.
I first met TJ during his first drop-in Masterclass at The Night Owl bar on College Street in Toronto. I figured that it was both local and very reasonably priced for a few hours of instruction. About five minutes in, I knew I’d made the right investment.
TJ showing us the moves. Very solid.
We immediately began working in the alley behind the bar. Very real-world with everything we were doing. After a while, we moved down to the basement of the bar and kept going. We worked on:
Clinch tactics from elbow & collar tie;
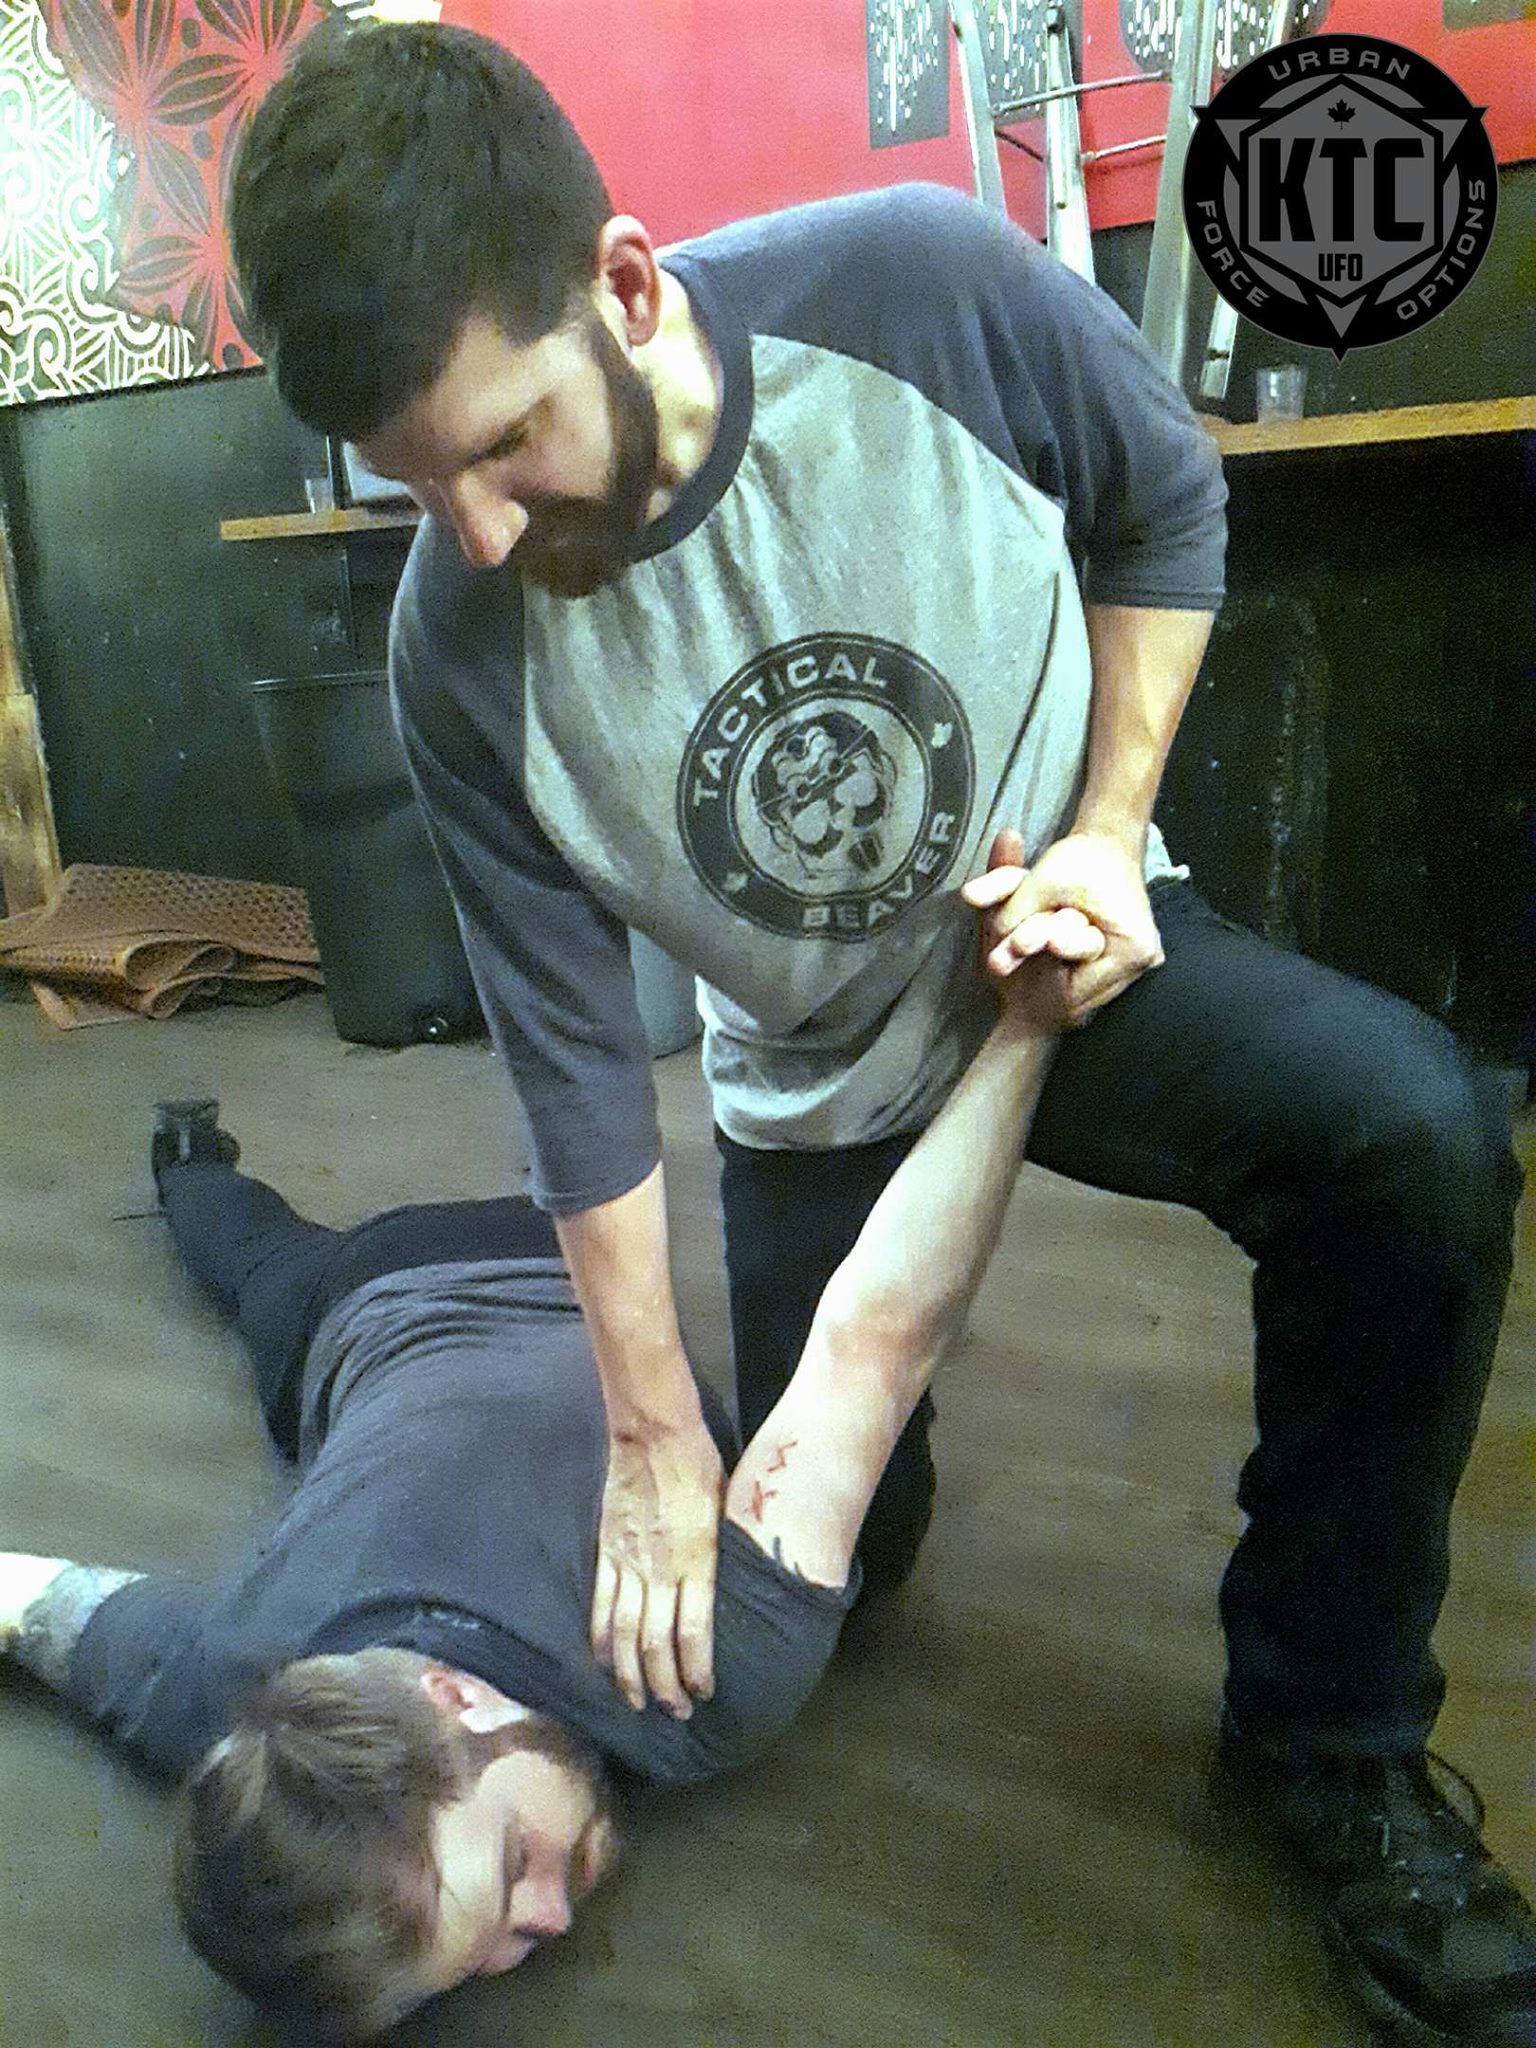
takedowns from a clinch…all from his Urban Defensive Tactics program;
some prone controls and rollovers from or Urban Force Options program.
Practicing.
This may seem like a short list, but for a few hours in an alley and bar basement, I was worked through. All solid techniques well-instructed and executed. No mats, just asphalt and barroom floor. Effective and reality-based. We also discussed the context of these techniques in self-defence in Canada and specifically in Ontario respecting self-defence and the use-of-force by security and bouncers. An important point of his philosophy to note is that they do not advocate violence or seeking conflict, but rather giving you the tools to identify, avoid and prepare for threats should you encounter them.
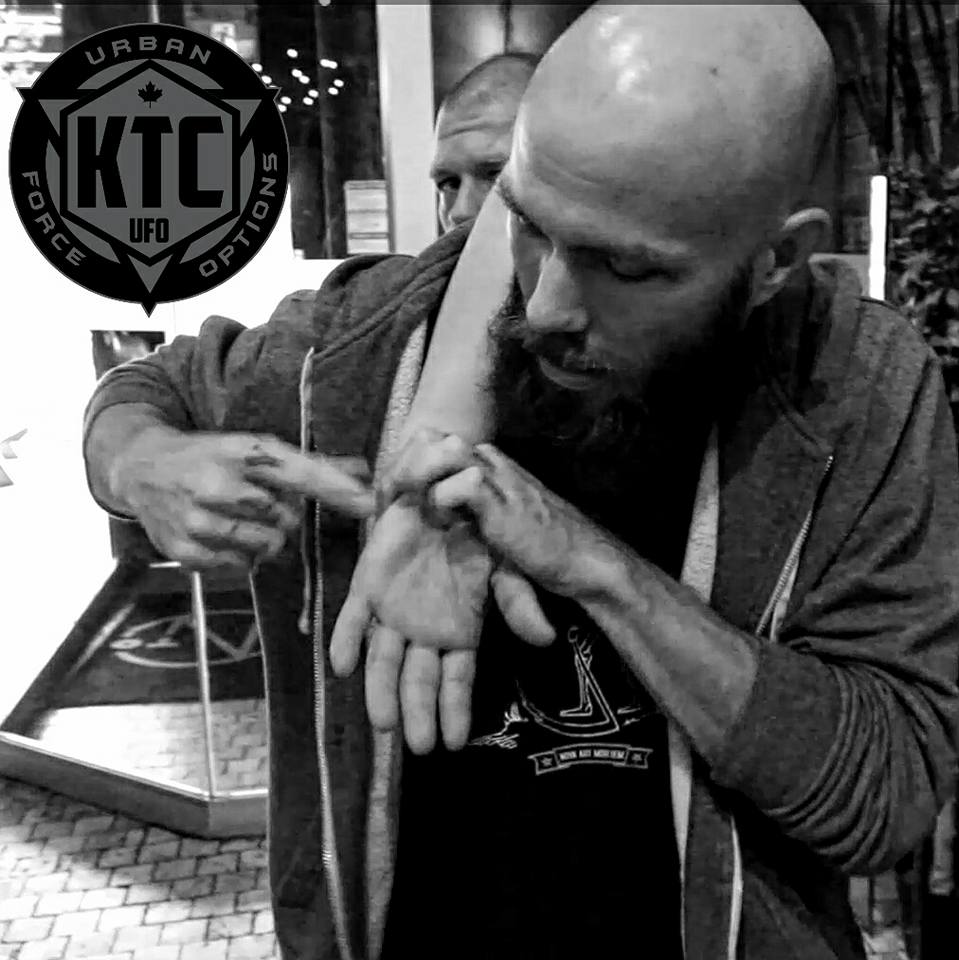
Me working the joints.
One thing I did catch as we discussed and practiced throwing each other around on a dirty floor was that this was NOT a traditional take on martial arts. This was simple, effective and hard-hitting self-defence based on real-world applications from such as Rory Miller and others.
Kennedy Tactical Concepts offers the Masterclass (once a month over several months) and a Instructor Certification Course as well. Both worthy investments of time and money.
As I left the evening sore and exhausted, I felt good about having met TJ and did some training. I felt good about his knowledge and skill, his high degree of professionalism and of course, he’s Canadian.
TJ, second from the right, and friends. Good times.
If you’re looking for something outside of a McDojo where you pay for your next belt and jump through hoops, check out Kennedy Tactical Concepts and add some real-world techniques to your arsenal. Be prepared.
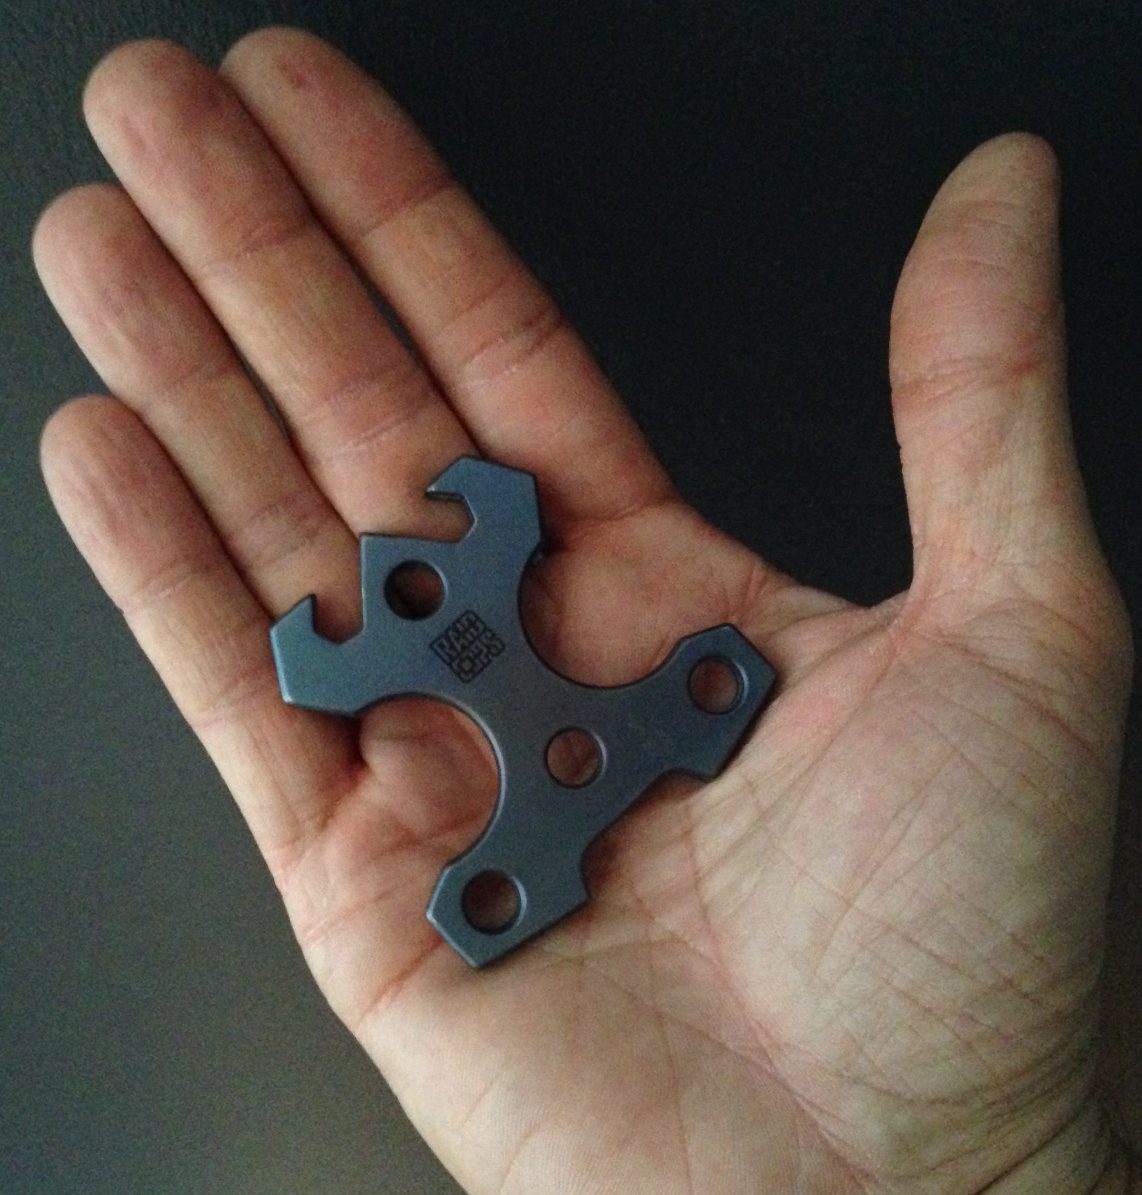
RAIDOPS is a South Korean company which designs and distributes a variety of personal defence gear, knives and accessories made to very high quality specifications. A high percentage of their products are made from titanium, enabling a solid product with a low magnetic footprint and low weight. Their designs are also very practical and low-profile, giving them a minimalistic appearance and also the ability to be carried through many non-permissive environments without undue attention.
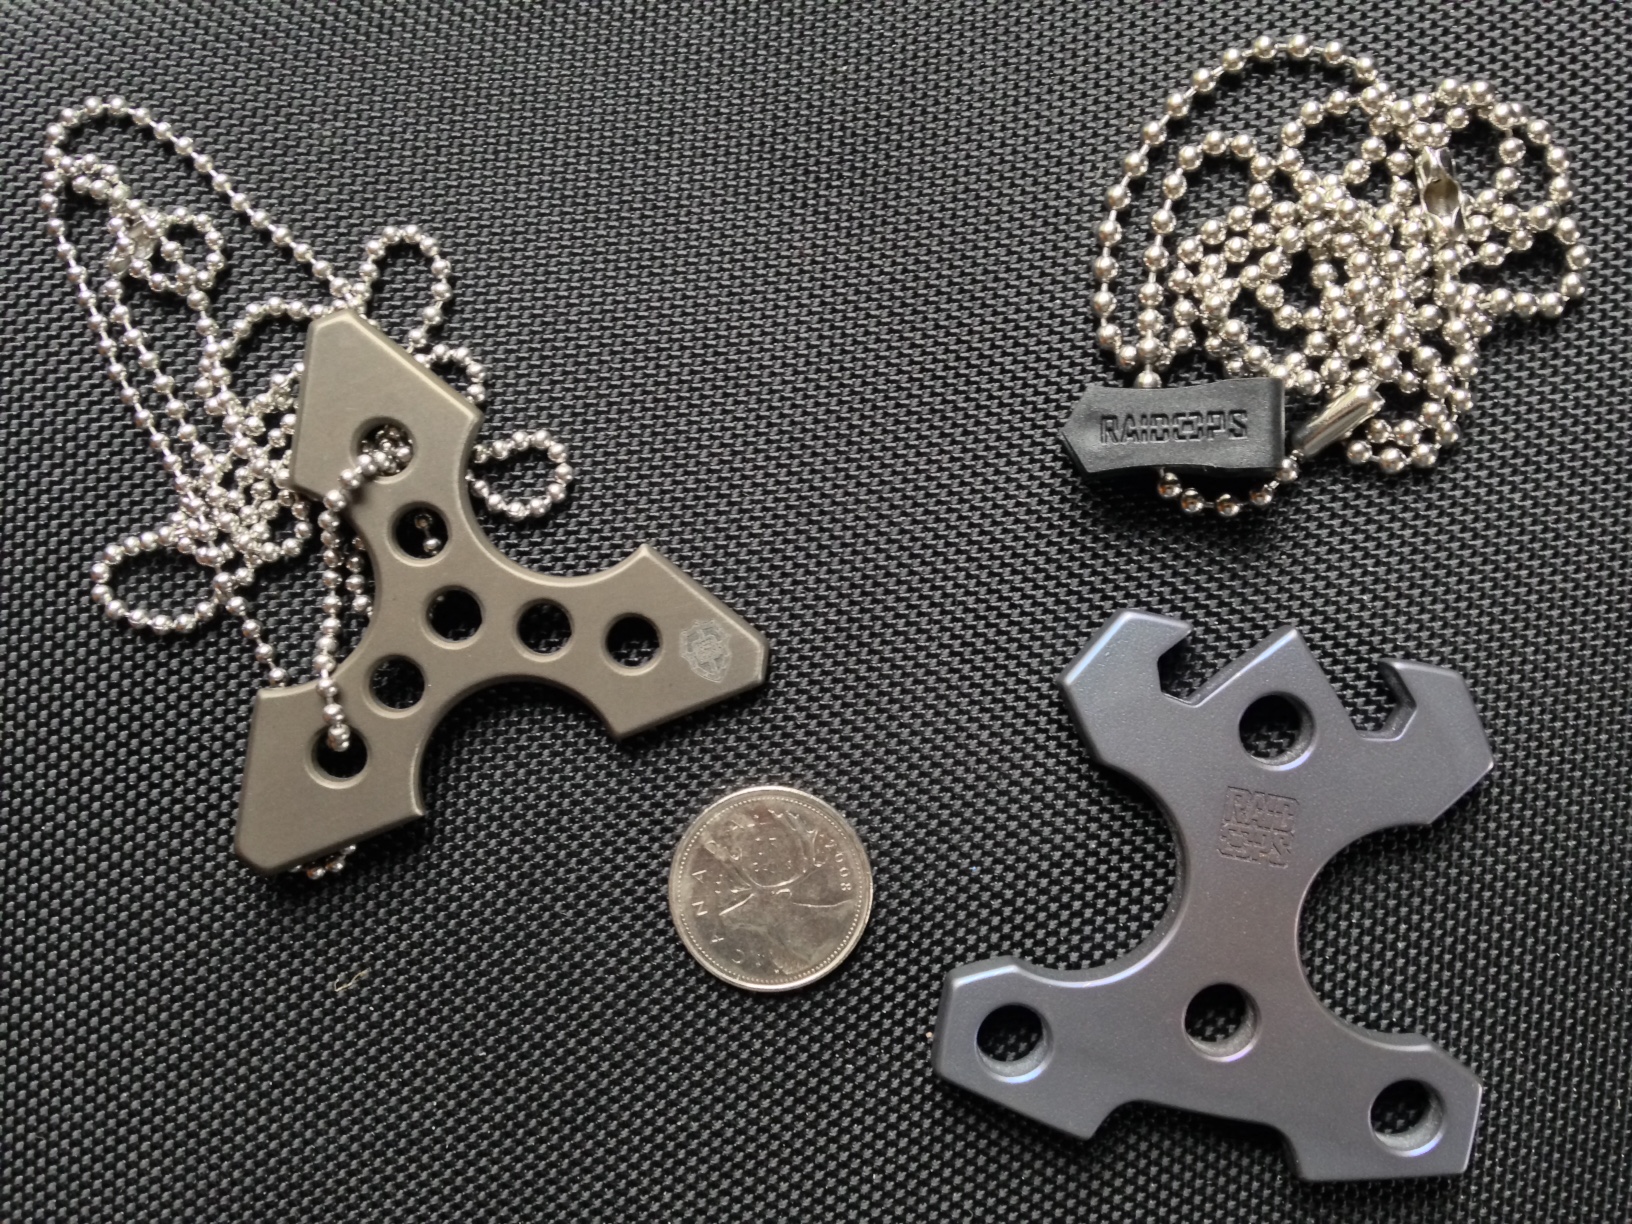
I purchased two personal defence products to try out a little while back – the Delta (one of several designs) and the Fighting Frog. They arrived very quickly direct from South Korea to Toronto and came as below.
(Quarter for scale)
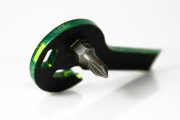
RAIDOPS Delta and Fighting Frog
Upon taking each one out of their small boxes, I was surprised at how light they were. The titanium was indeed very light and very strong. The small ball-chain they came with felt heavier than the items themselves.
After handling each one, I was also very happy with the ergonomics. Both were very comfortable to hold and use.
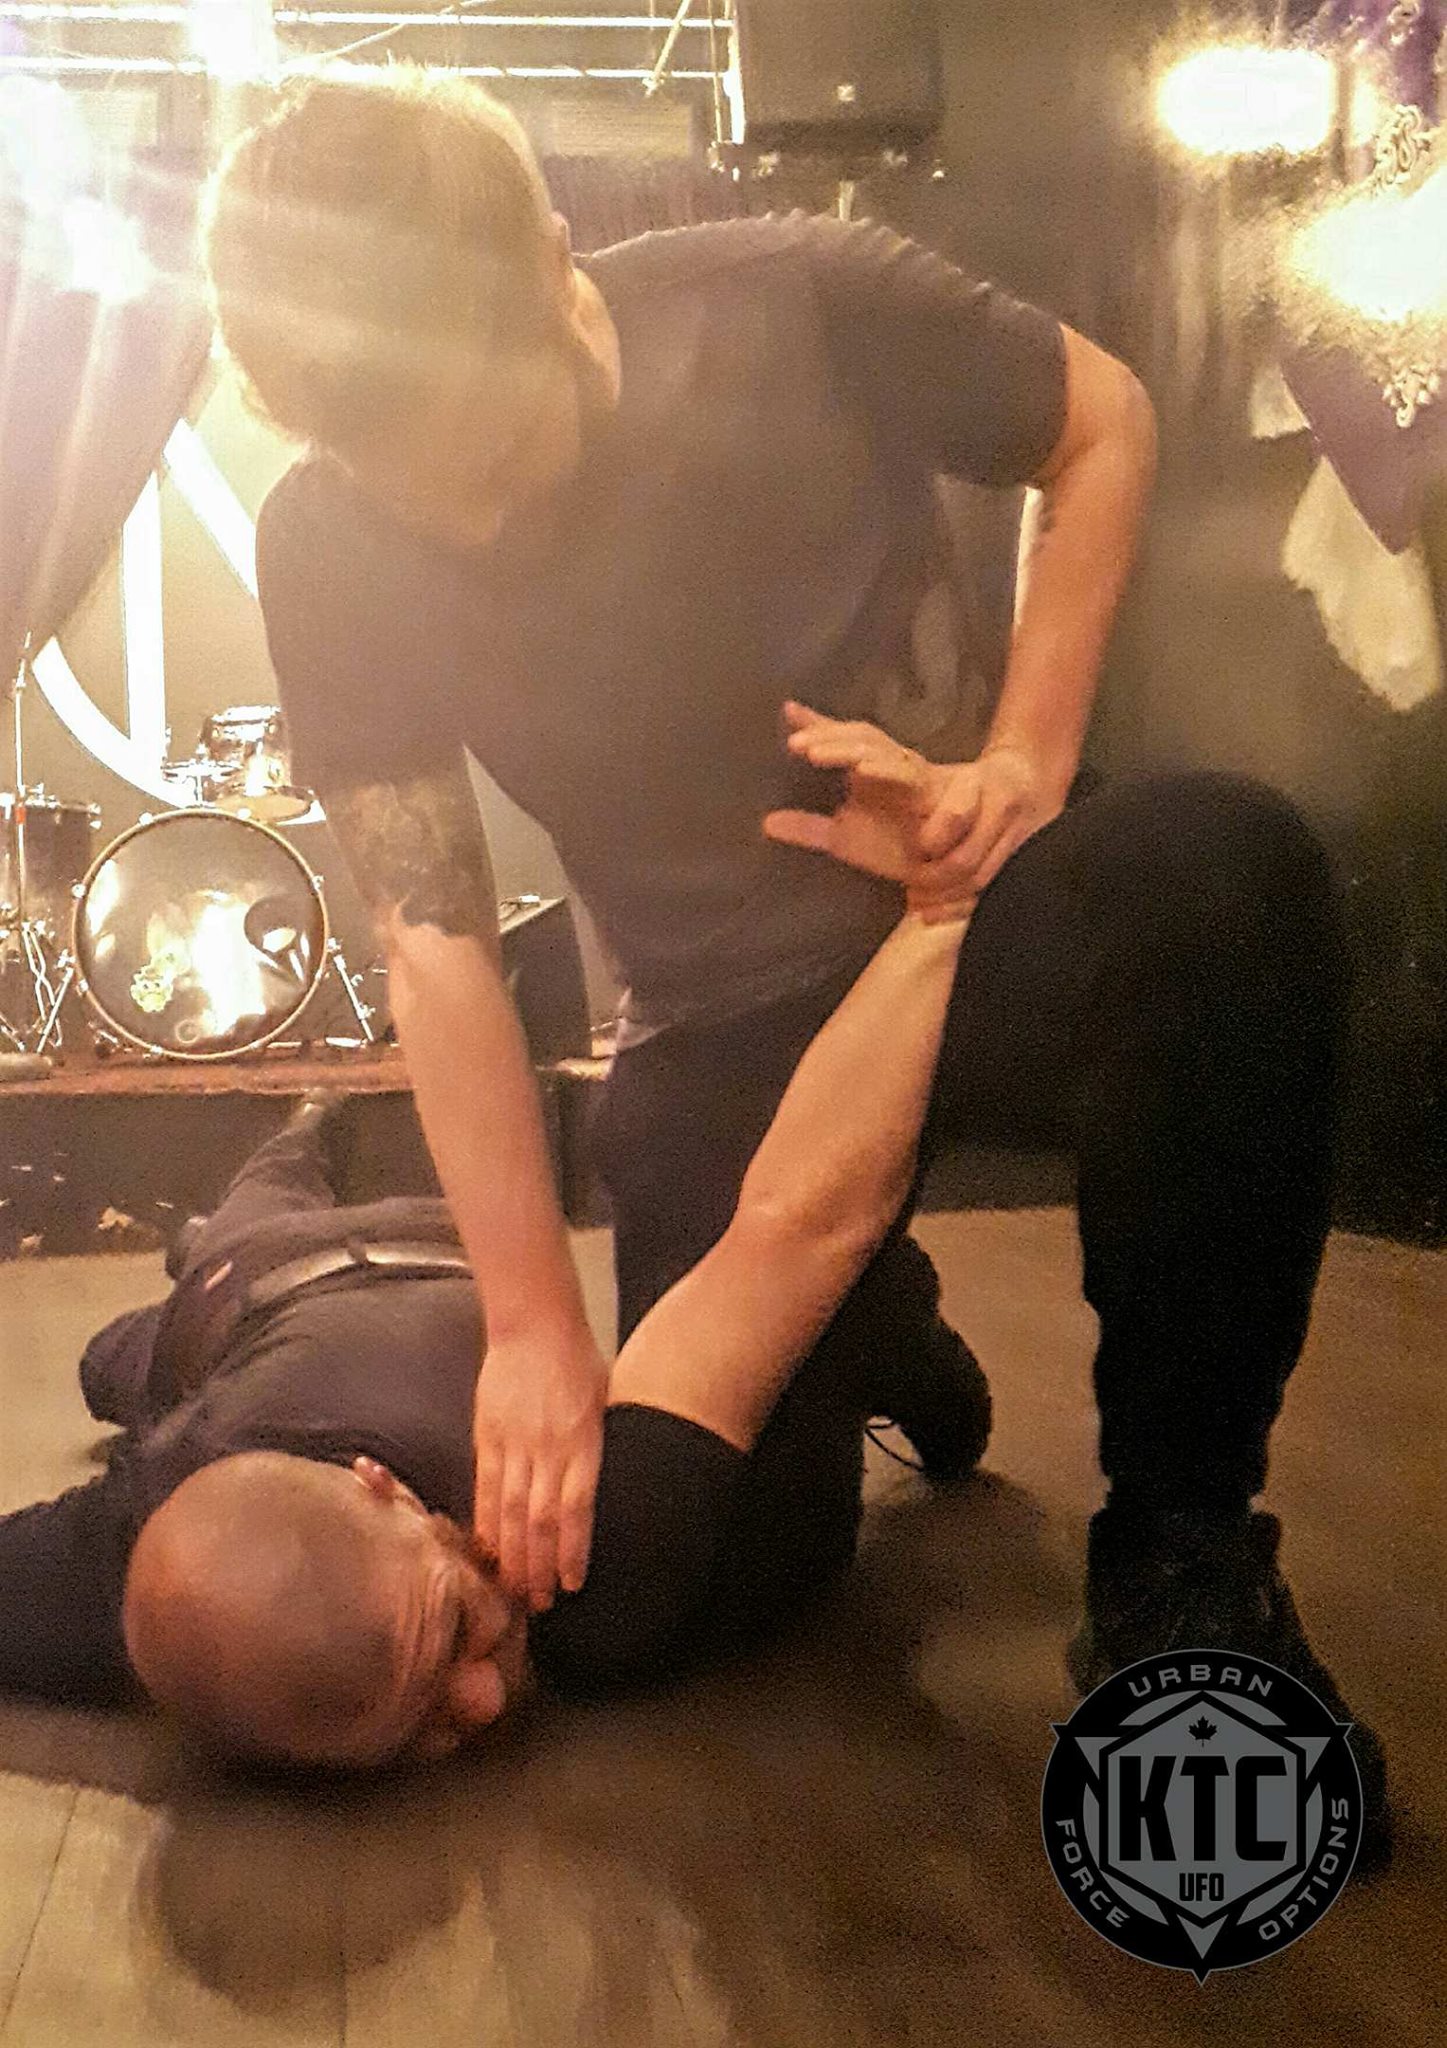
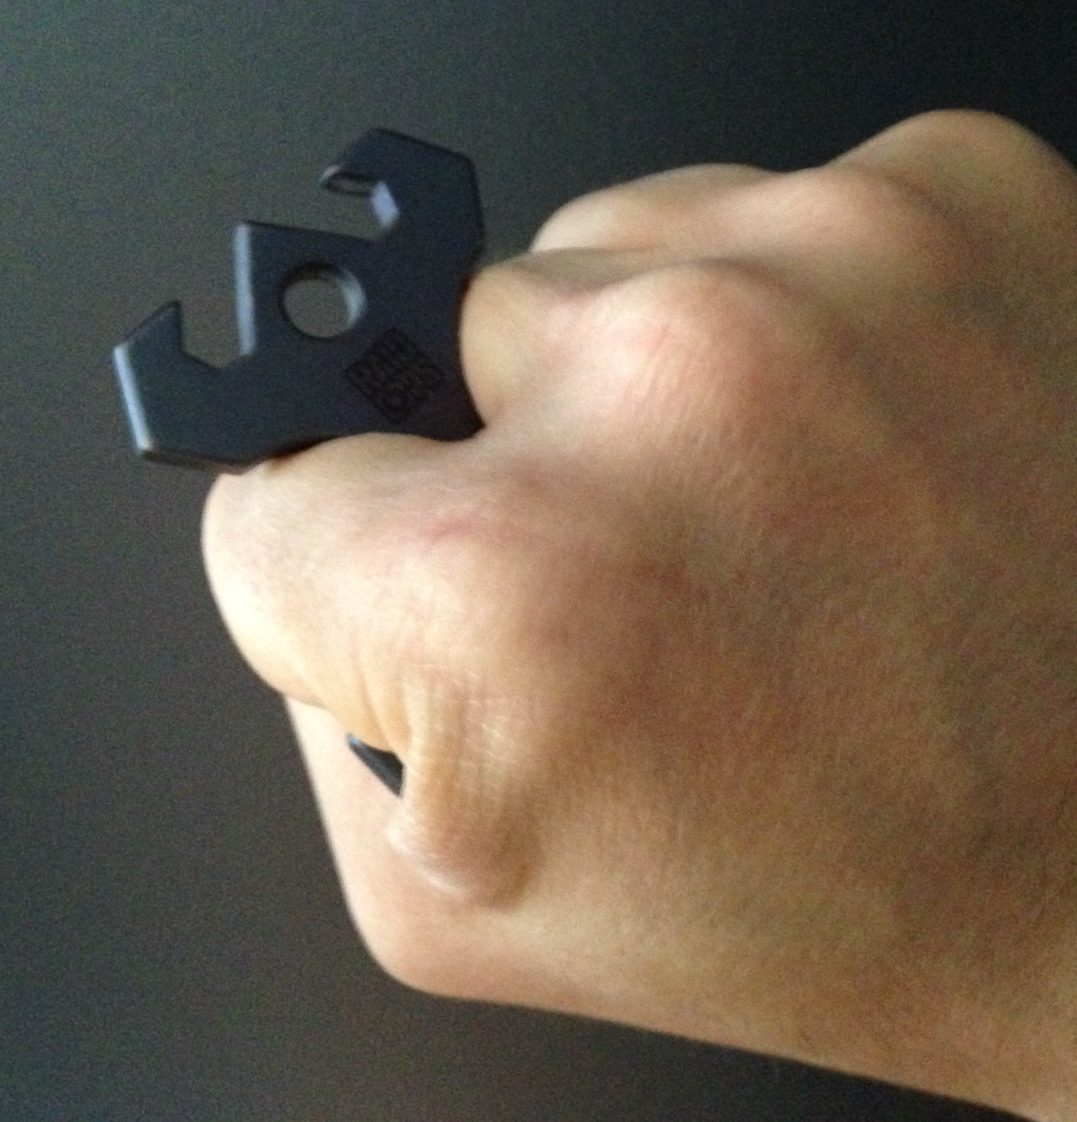
They are intended to be used as impact weapons. Held between the index and middle fingers of a closed fist to facilitate acute damage to an assailant (See below).
Fighting Frog impact weapon, in-grip.
Small, light, but VERY sturdy. And no pain when hitting a tree, so a person should be just fine. By the way, it took some chunks out of the tree (I didn’t have my phone for pics at the time – sorry!) so I can only imagine what it could do to a person.
Small yet strong.
Though their prices may be a bit steep ($48 USD for the Fighting Frog and $40 USD for the Delta) it isn’t too out of line with similar weight titanium products.
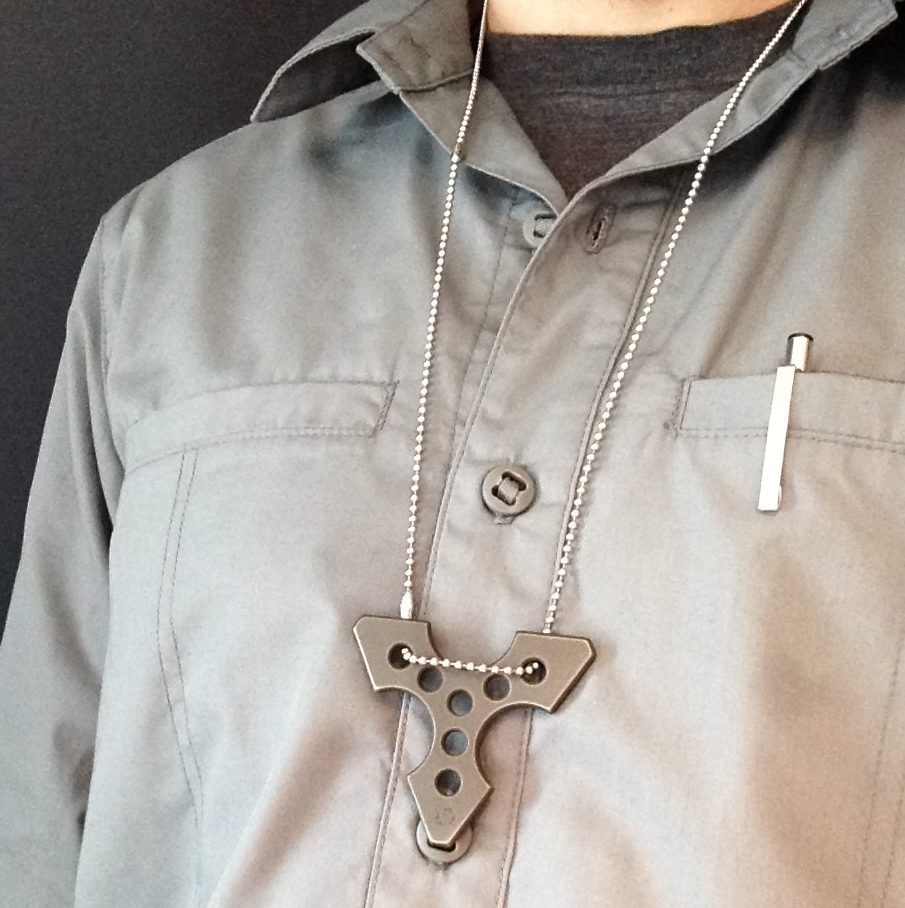
You can even double them and jewelry in non-permissive environments and you’ll still have an accessible impact weapon if needed. Here I am wearing it overtop my Triple Aught Design Tradecraft Shirt for a better view.
The Delta as jewelry.
Again, lightweight, low-profile and easily worn in more non-permissive environments. No issues to wear in a Canadian context, as at that point, it’s a fashion statement.
One thing I may look at, is the collection of RAIDOPS finger spinners. This is essentially a fidget toy that is made of titanium but doubles as an impact weapon. Here is an example. Though somewhat pricey ($110 USD) I may consider getting one.
At the end of the day, the strength, low weight, comfortable ergonomics and durability of the Delta and Fighting Frog make them effective and reliable. I recommend checking them out.