Posted on

Hiking the Bruce Trail – Notes from the Trail

In the beginning…at the Southern Terminus of the Trail. Let’s do this!


Every foray outside one’s home brings with it the possibility of adventure and danger.  This excursion was no different.

Our journey took us from the Southern end of the Bruce Trail (in Queenston Heights Park) to just north of Hamilton, Ontario.

*Note, due to personal circumstances beyond our control, we were forced to delay the completion of our trip and return home.  We are, however, going to complete the rest in shorter blocks to ensure that our responsibilities at home are maintained in our absences.*

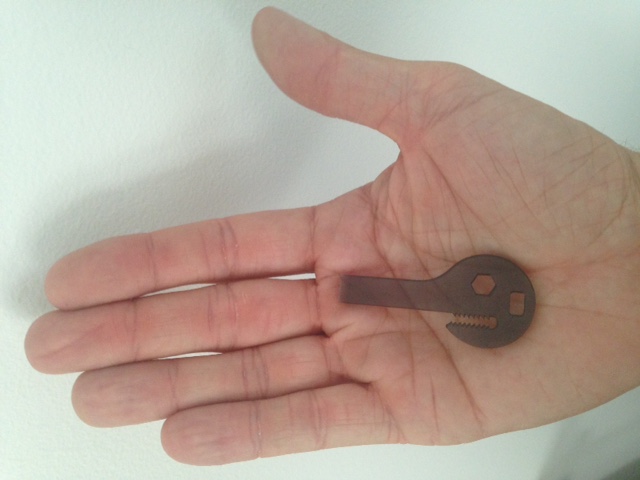
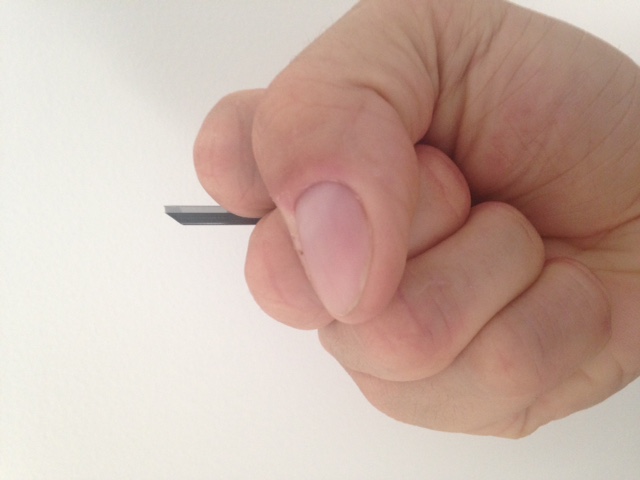
During our time on the trail, I managed to field test several items of kit (to be reviewed in separate posts) and streamline my hiking kit for better efficacy and efficiency.  I found that several things I had planned out, thought I might need, or were “essentials”, were not.

Depending on the context and profile of your outdoor adventure, your needs will change.

Here is a list of things that added weight, added bulk or were otherwise not needed given the profile of where we were going:

  • Teva sandals
  • shorts
  • second belt
  • short-bladed machete
  • small forest axe
  • expanded first-aid kit
  • water purification filter
  • extra sweater
  • fleece gloves
  • second dry bag

This stuff, though individually very useful in the right circumstance, became a hinderance.  It added unnecessary weight and made it difficult to move swiftly along the trail.  It also had the added unpleasantness of adding soreness to feet, shoulders and knees without any added benefit.  The other tools and clothing that I had more than covered for the loss of the above-listed items.  After ditching this stuff (at our accommodations  at the end of day one) things got much better and our progress improved greatly.

Taking a much-needed break on the trail. This version of my pack was MUCH improved after I ditched some heavy redundant gear.

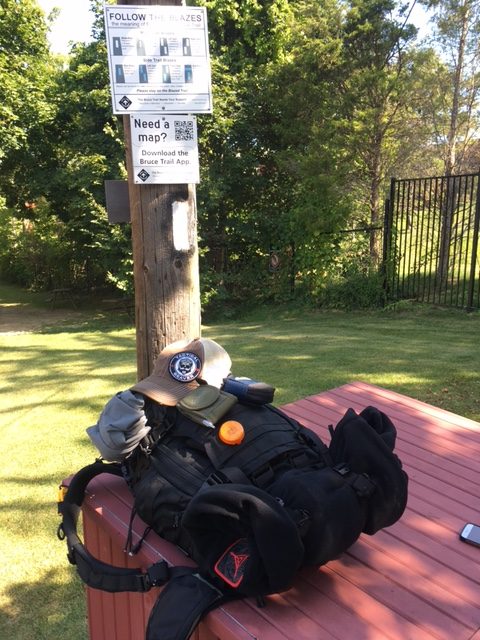
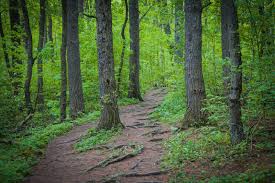
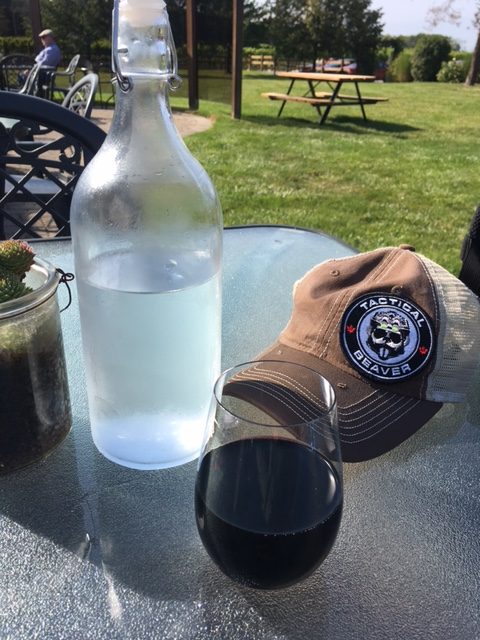
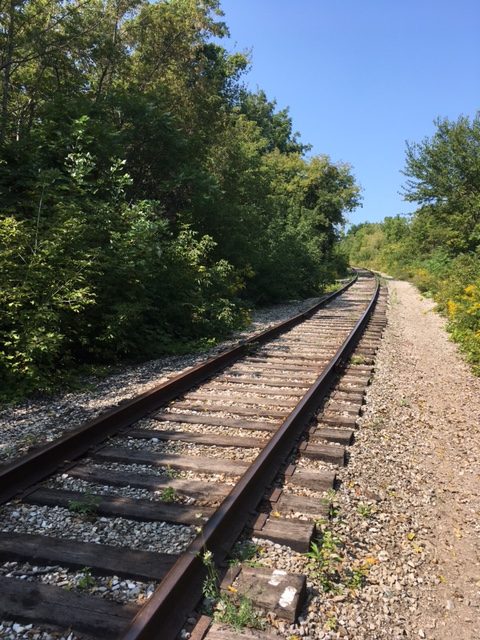
The trail itself was well marked and maintained (for the most part) and allowed for unimpeded movement.  The weather was warm and clear.  The terrain a never-ending series of up-and-down, so the quads and hams got a good workout every day.  Hydration was maintained through the 3-litre bladder I filled-up every morning and I found that I never even got through the entire thing despite drinking almost-continuously through the day.  It especially helped to have lunch and “hydrate” at a local winery along the way, just off the trail.

Henry of Pelham Winery. “Hydration” at its finest!

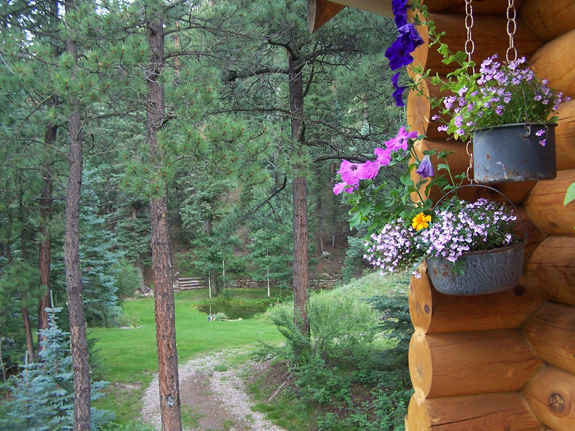
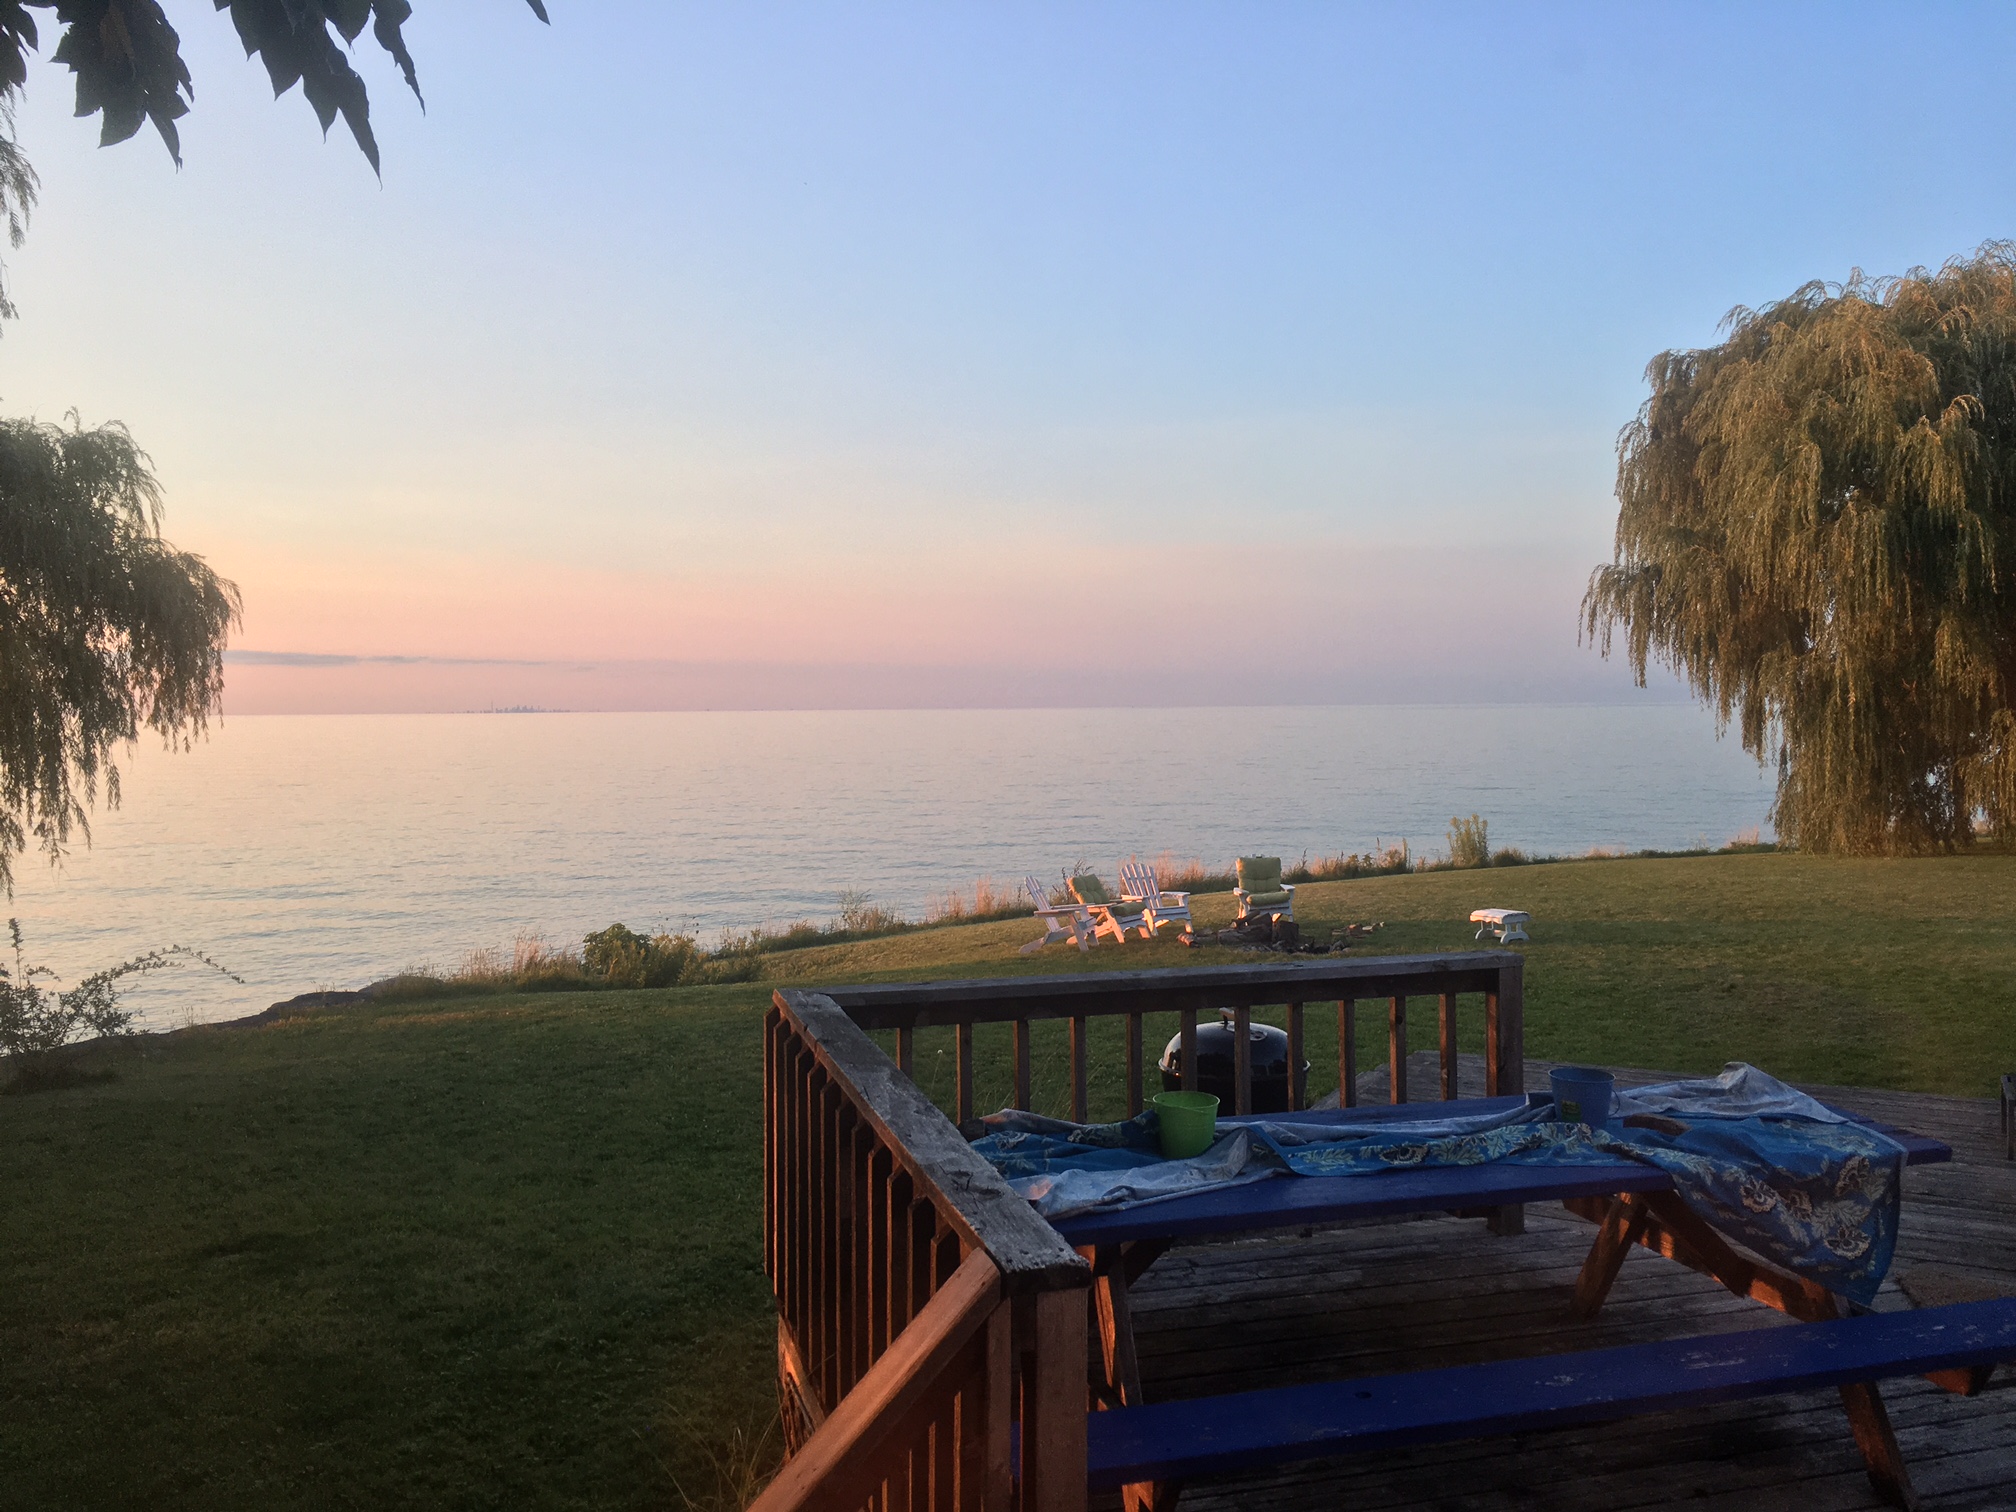
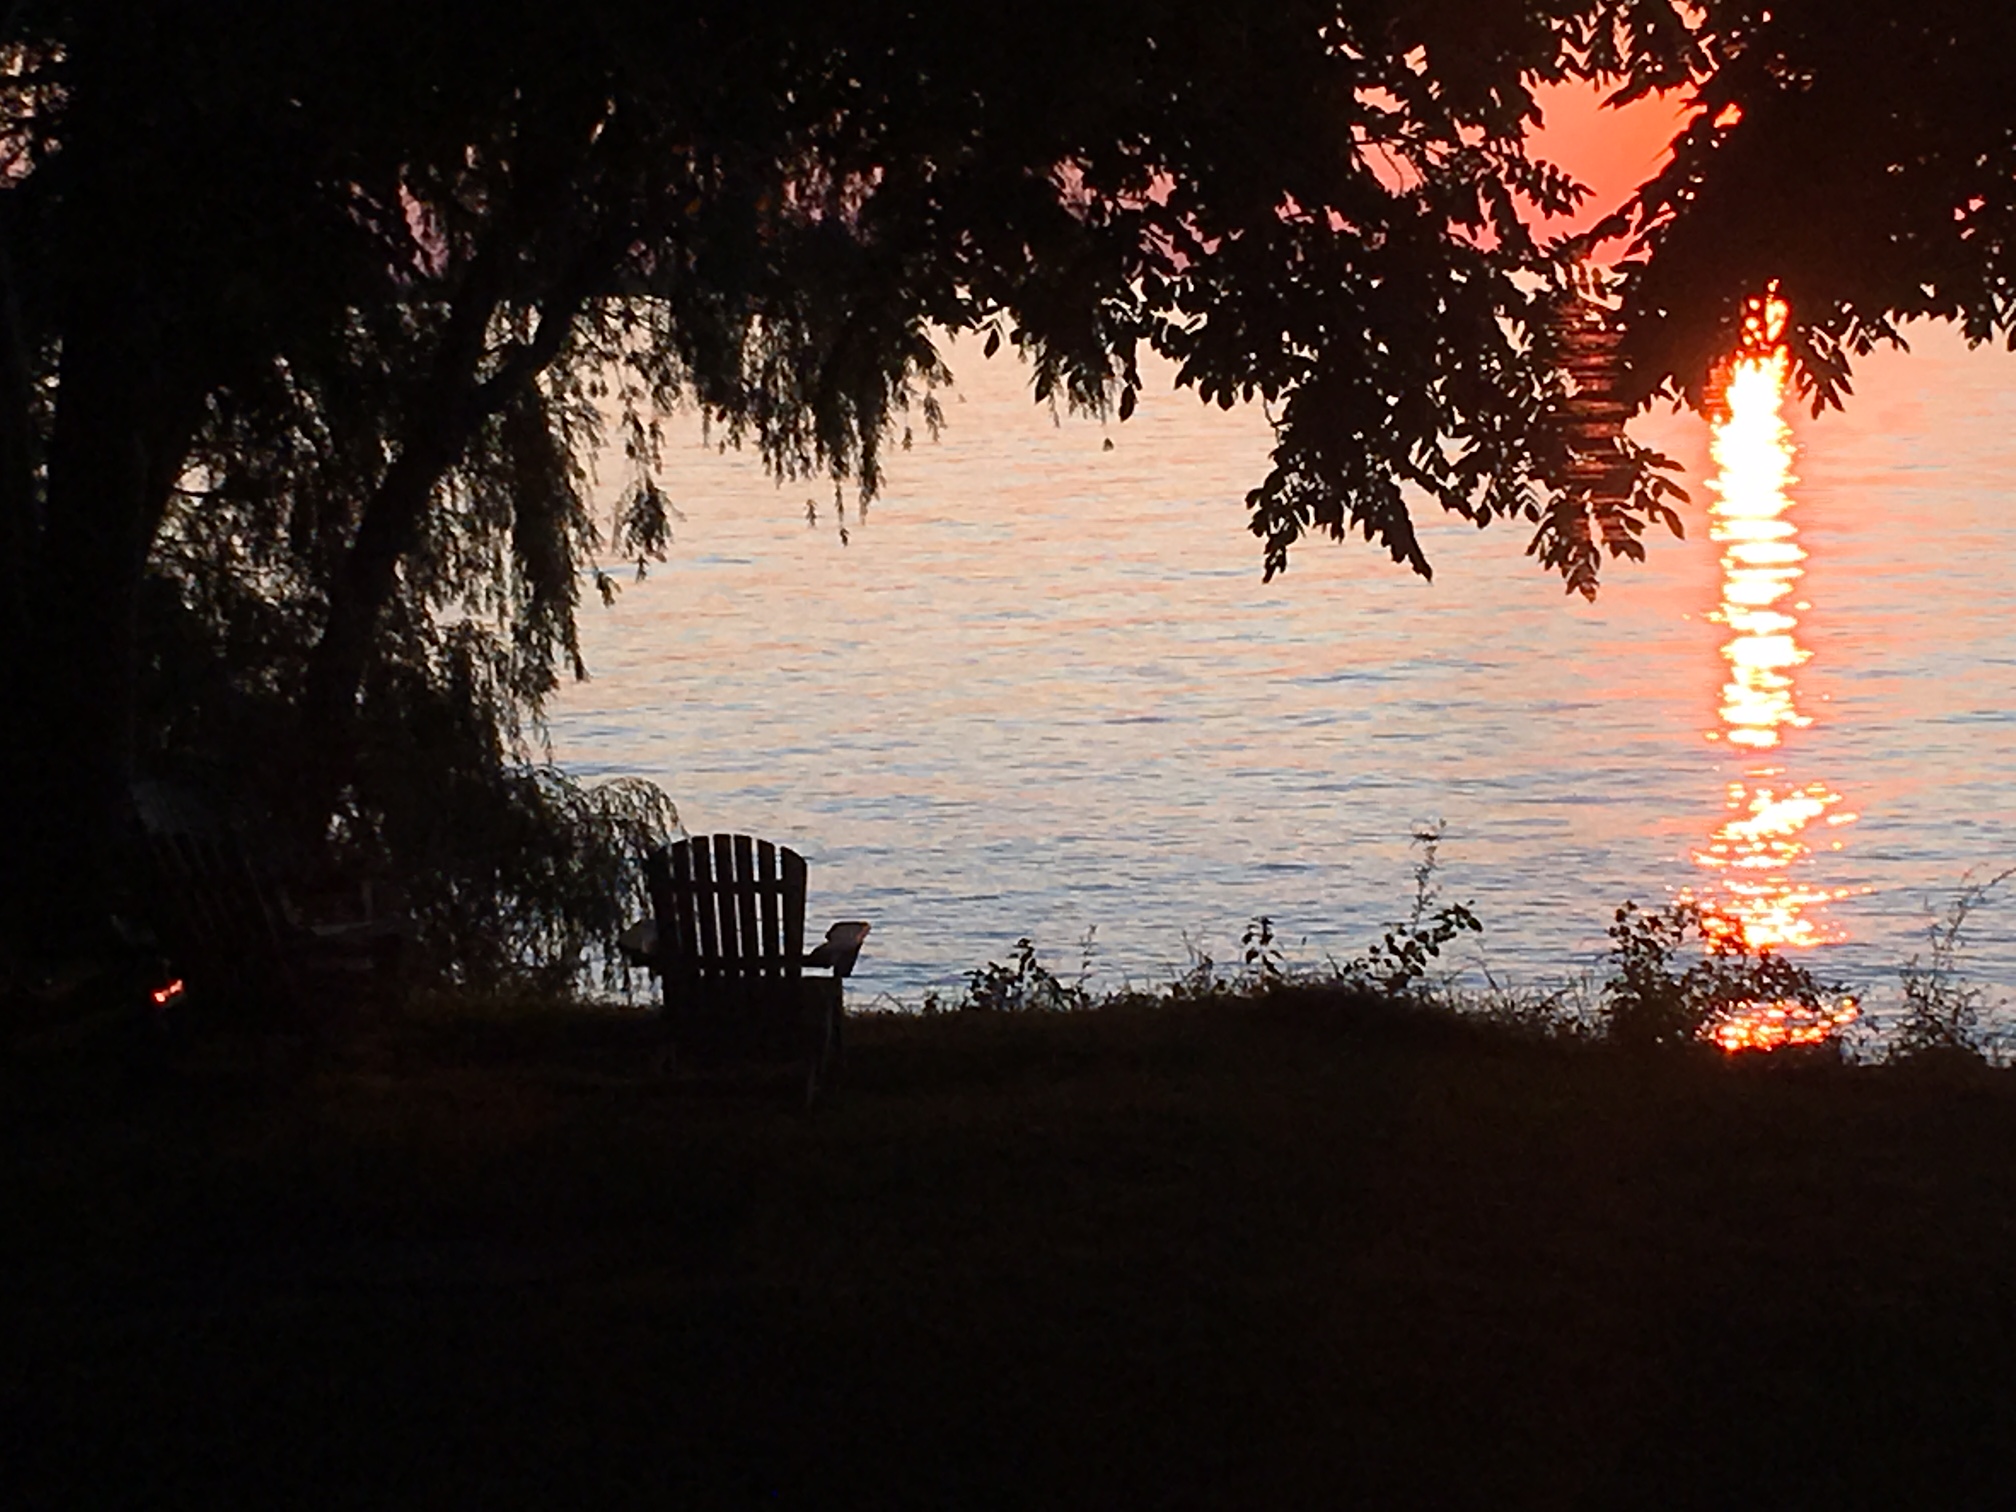
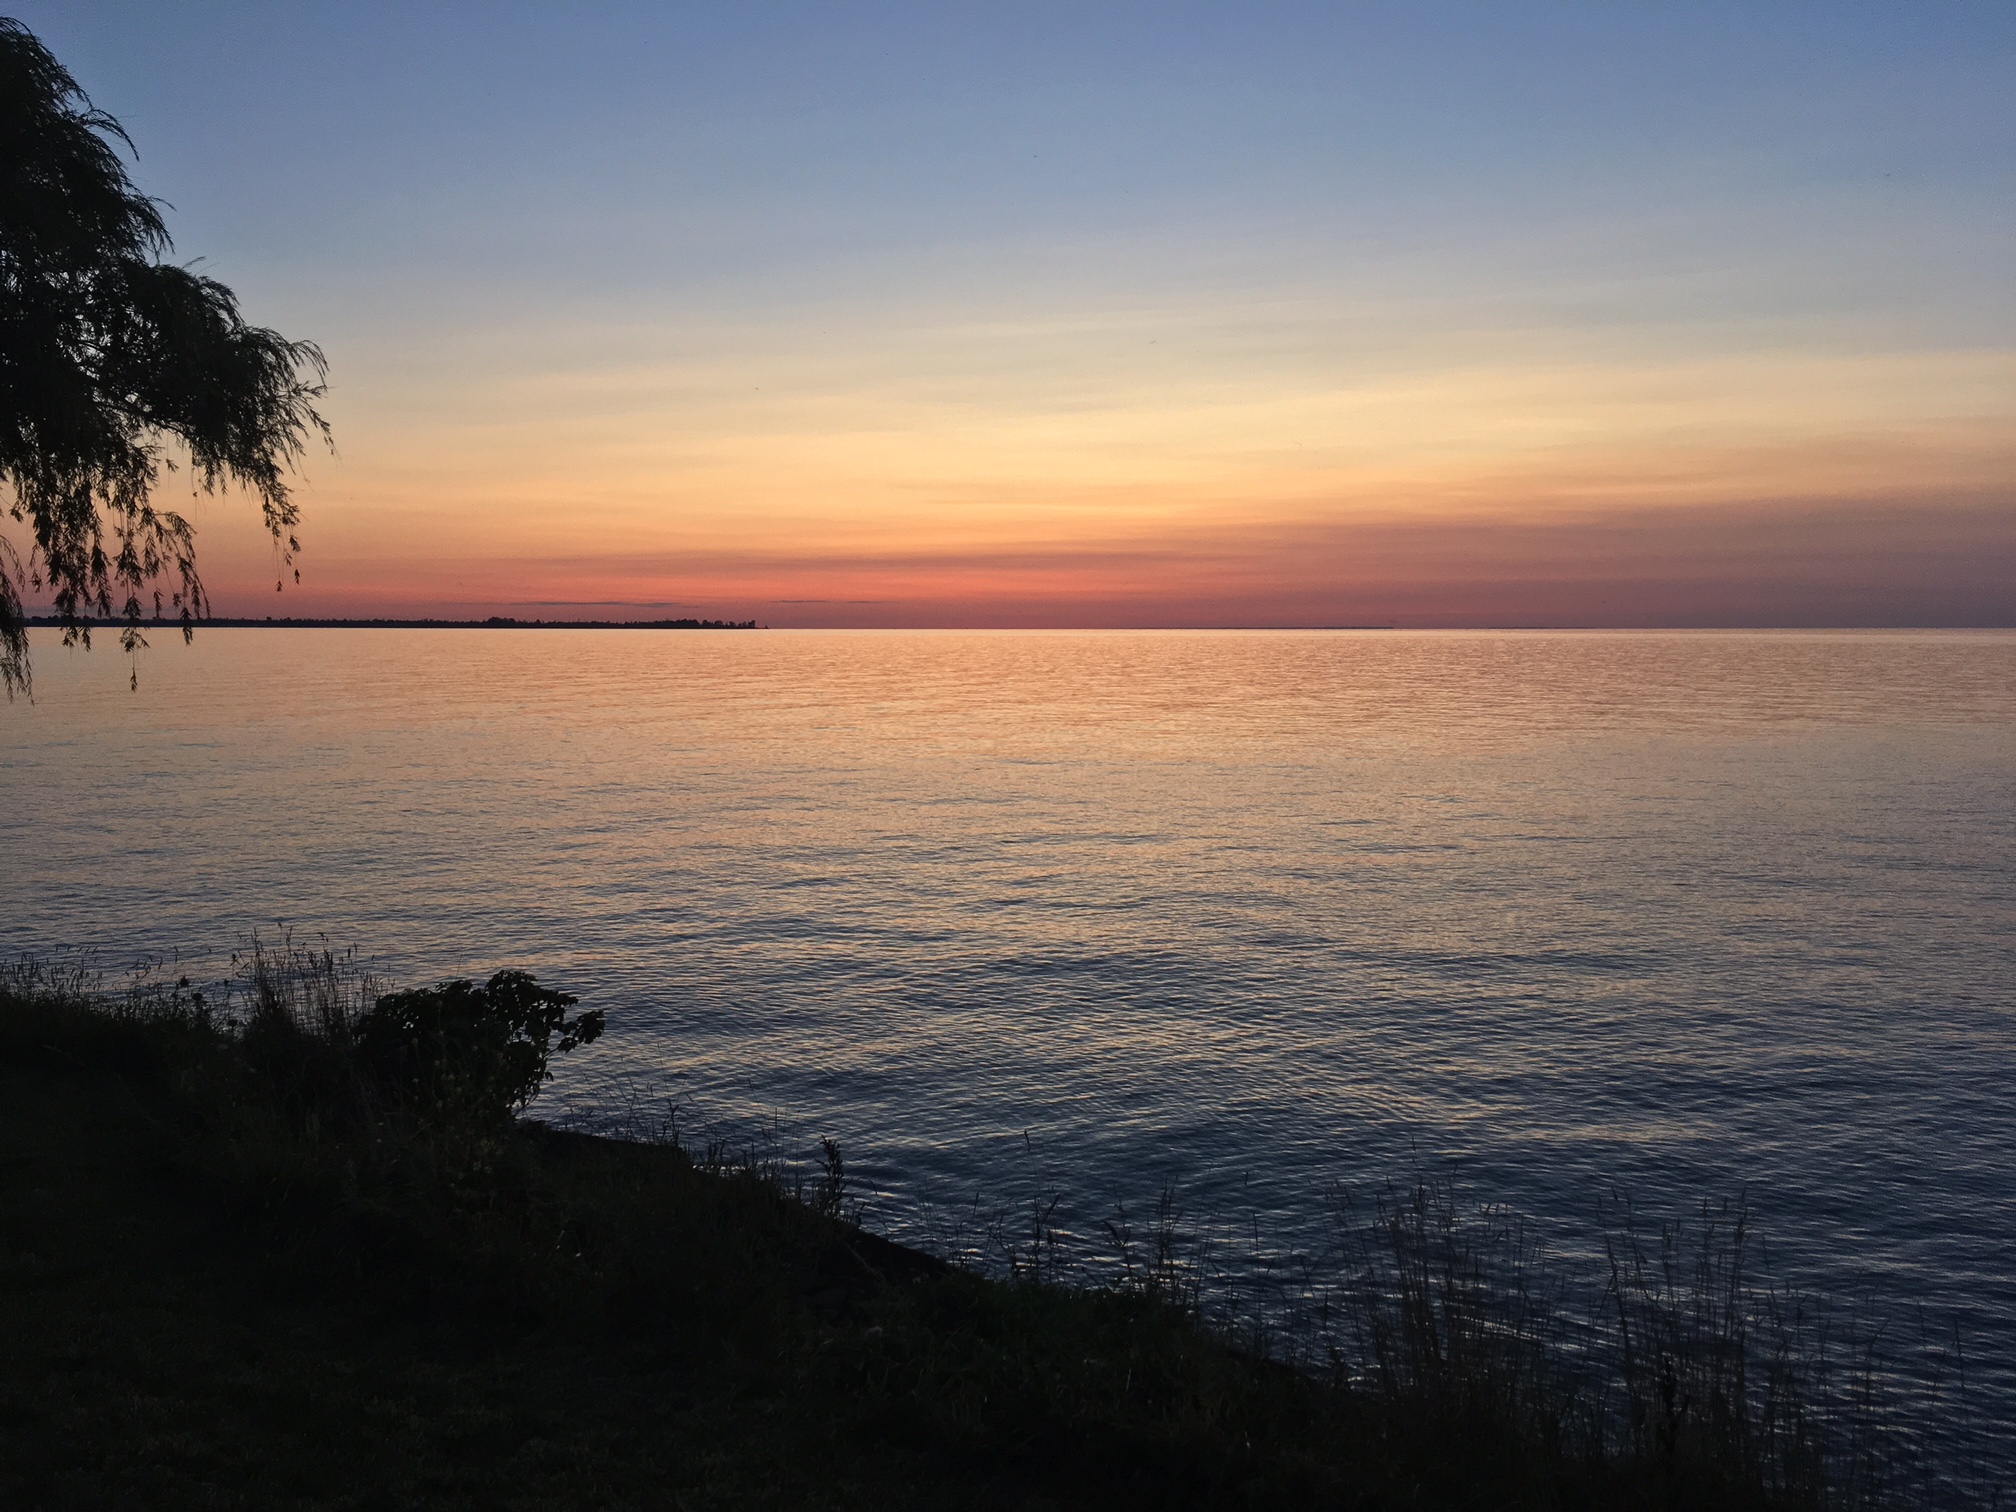
The topography of the Niagara Escarpment and the Niagara Region in general is beautiful and rugged.  The views from the tops of the cliffs were open for miles – all the way to lake miles below.  As strange as it was to be completely enveloped in the woods and still hearing cars sometime, the peace and calm from such immersion was restorative and calming.  Even my evenings were great.  Staying at various accommodations along the way made for a recovery treat!

The view from the cottage was just wonderful and the cottage itself was so well appointed it made all the difference at the end of the day. I have already made plans to go back.


So, with all the positives that came along during this trek, there were also some negatives as well.  As mentioned previously, the overage in clothing and equipment made for a more difficult first day.  Also, the topography of the area and higher elevations reduced our daily distance from 30km per day average to 20-25km per day.  Despite the reduced trail coverage, we still made good progress.  The weather held, the bugs were barely there, and we made good use of water and breaks to not fatigue ourselves too much.

We saw a whole host of animals, interesting natural and man-made things and got a feel for some of the history and landscape in a rich area so close to home which we’d hardly get to explore had we not gone and done this.  I’m very happy I had.

Like a nomadic hobo.

While walking along, I would think about how our context will change as we make our way farther north and farther away from civilization.  Those sandals still won’t have a place, but the axe and possibly more first-aid components due to a greater removal from access to emergency medical care.  As we continue this journey piecemeal, I’ll be constantly re-evaluating my set-up.  With that in mind, to anyone thinking about traversing the Bruce Trail I would humbly suggest that you invest in the Bruce Trail Guidebook.  It’s very well laid-out, full of detailed topographical maps and chock-full of useful information.  Well worth the $40.  Also, ensure you have your compass and separate topographical map of the area.  There were a few times where I had to shoot a bearing off a distant tree across an open field with no markings to ensure I crossed to the next trail marker and not on a side trail (or worse, off the path all together).

One step at a time…till you’ve made many, many steps.

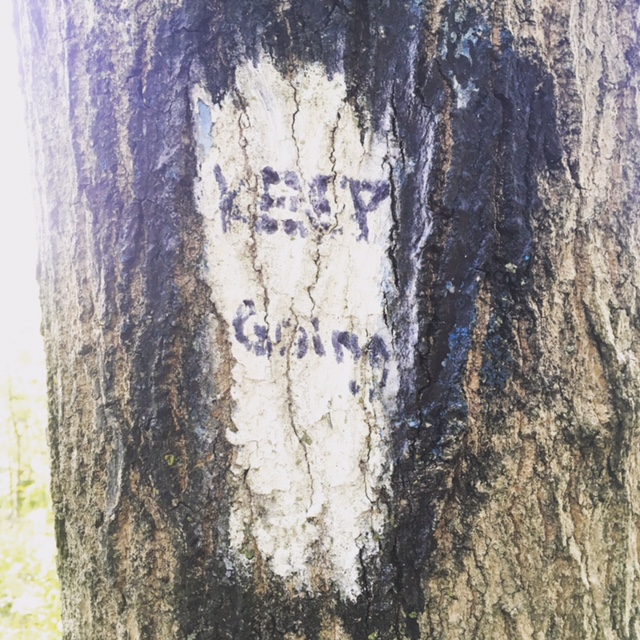
As we left the trail to get back home, one of the last things I saw on the trail gave me inspiration for not only continuing, but also for life in general.  “Keep Going” it said.  I guess that’s really it in the end.  Don’t give up.  Hustle and persevere and go for it.

Keep Going. No shit, a good mantra to have. A good form of resilience.

Till next time, stay safe and stay crafty.

Posted on

Hiking the Bruce Trail – Outline & Preparations

Setting off on the Bruce Trail.

Later this month, I will be hiking the Southern half of the Bruce Trail (Queenston to Collingwood) covering ~450km in about 2 weeks.

To that end, I have been making lists, assembling gear, organizing and planning things through to ensure the fewest amount of screw-ups on the trail.

Proper Previous Planning Prevents Piss-Poor Performance.  The 7 Ps.

Planning in this context is simply Risk Management.  The basic principles of risk management are the identification of things that are possible (hazards), how devastating they would be if they happened (impact) and the probability of those things happening.  The combination of those two (what is possible to happen, combined with their likelihood of happening) equals the level of RISK.  When you have looked at your situation through risk-coloured glasses, you will be better equipped to gauge your level of RISK to a certain situation and plan accordingly.

Im my planning process for this particular adventure I have taken several things into account for my planning process:

  • Distance
  • Terrain
  • Access to re-supply (food & water)
  • Logistics
  • Navigation
  • Communications
  • Shelter & sleeping
  • Access to coffee (VERY important!)
  • Weather & environmental factors
  • Possible hazards on trail during hike
  • Likelihood of encountering said hazards
  • Possible impact of hazards if encountered
  • Volume of gear
  • Weight of gear
  • Emergency considerations and procedures (personal safety & survival -gear and immediate actions)

Now, the premise of this hike wasn’t mine initially.  My darling wife wanted to cross-off “Hiking the Bruce Trail, End-to-End” off her bucket list for her upcoming birthday.  The first half this year, the second, next Fall.  Who wouldn’t jump at that?

If you complete all ~900km of the Bruce Trail, you can get this cool patch. I want. I will have.

For me, I am not only looking forward to the hike itself with my wife, but also of taking the opportunity to field-test some of my newer gear and review some things recently acquired.  I’m also keen to tighten up my lightweight backpacking game and sharpen my level of fitness too.  The one thing we will be taking out of the hiking equation is camping.  As we traverse the Southern half of the Bruce Trail, our accommodations plan will be Bed & Breakfasts and Air BnB along the way.

Hike-in to some luxury.

This does two things: keeps me alive and married, and, allows for a level of serendipity every day.  This is meant to be a fun time, not overly gruelling.  She likes to hike in style, and who am I to argue on her birthday?

The peace of a hike in the woods. Like the Infantry, but without the weapons.

So aside from the up-scale hike camping we will be doing, we are still aiming for a pace of 32-45km per day.  I have assembled the following set-up for the trip.  I will be breaking it all down over the coming weeks and months, as I can, to discuss it all in further detail.

All my stuff ready to go (minus a full water bladder and water bottle).

As we make our way along, I will post reviews of gear and trip reports  when I can and when I have connectivity.

Stay tuned for more posts leading up to my departure.

In the meantime, stay safe and stay crafty.

Posted on

Product Review – TheLolly by Delta 2 Alpha Design

I recently received a pair of tools – TheLolly – from our good friends over at Delta 2 Alpha and have gone about the process of playing with it and seeing what it can do.

***Note, I have both the Lollys – one “Predator Clear” and the other “Phantom Grey” coloured – however, I used only the “Phantom Grey” coloured one for better contrast in the photos.***

Here is what it looks like:

The Lolly – polymer last-ditch tool.

On their website, Delta 2 Alpha describes it thus:

"TheLolly is one of the most low profile, last ditch tools of its type on the market today. Due to its design it boasts a variety of carry options.

TheLolly was developed as a “Fingernail Saver” pocket pry-bar (light duty), and scraper (light duty) that will be less likely to leave scratch marks on glass, metal, and wood, it also features a 1/4″ bit driver. It has been laser cut from Cast Acrylic, a material that is only a few steps down from the canopy of a Tomcat.

The slot combined with our unique Ratchet-Teeth allows for an easy on off, but when twisted 90° (as it would be when held flat against the body) it acts as a cloth grabber for the elastic in undergarments and trousers.
*we haven’t seen the Ratchet Teeth done before, if you have please let us know so we can credit that person".

TheLolly is about the size of a standard house key.  It had a lanyard hole, a driver/hex bit hole, the attachment “ratchet tooth” slot, and of course, the chisel tip.  It makes for an interesting little tool as it is made from acrylic.

What I like about this design is first and foremost, it’s small.  It’s small and non-metallic, making it an ideal EDC (Every-Day Carry) item, even in various non-permissive environments.

About the size of a house key. Weighs next to nothing.

The edges are smooth, except for the points on the chisel tip, which are surprisingly sharp.  The lanyard hole will easily accept standard kevlar or 550-paracord to create a lanyard.  The ratchet tooth area grabs clothing well and is easy to manipulate into concealable places.  The inside of my TAD (Triple Aught Design Recon Shorts – in Deception) allowed easy and un-noticed concealment.

Inside-the-fly of my Triple Aught Design Recon shorts. As if TheLolly isn’t even there.

I suppose the sharp points on the Lolly are effective enough to puncture or cut certain materials (like packaging, for instance) and to be used for light scraping duties.

An additional use for TheLolly is as a last-ditch impact weapon.  Like a key, it can be held in the hand in multiple ways and used to strike an aggressor.  Here are some examples:

Through the first knuckle.
In the bottom of the fist, like the tiniest ice pick in the world.

To be clear, I didn’t test its durability in a strike, so I am not sure what kind of punishment the acrylic can take in the even you were to strike someone, nor do I know if TheLolly would shatter in your hand and cut you in the even you would use it.  That said, it does feel solid, and even so much so that I drove a screw into a window casement to try out the bit/hex function:

Using a standard driver bit with a standard screw, the acrylic Lolly did not bend nor break in the process.

Like the caption above states, the Lolly did not bend nor break nor seem to strain in any way during this process.  I was pleasantly surprised by this.  It gave great leverage and got the job done.  The bit fit perfectly.

All in all, TheLolly seems like a great little addition to your EDC kit, car kit, or travel load-out.  It’s acrylic, looks like a key and is non-threatening in appearance.  For the $15 bucks, it’s a great deal.

And Delta 2 Alpha is a Canadian company run by some really great bros doing some really great stuff, so check them out at http://delta2alpha.com

And if you’re really interested, the great guys at Delta 2 Alpha have graciously donated a few Lollys to be door prizes during our Covert Entry Concepts Course being offered in Toronto in July!  Check it out here!

Till next time, stay safe, stay crafty.